Source I Chris Isherwood/Flickr
Discover how an EGR valve functions and how to replace one
If you've never done an EGR valve replacement, have no fear. It's a fairly straightforward job any DIY mechanic can tackle using a few basic hand tools.
How does an EGR valve function?
EGR stands for exhaust gas recirculation, and was one of the earliest forms of emission control on vehicles. As engine combustion temperatures approach 2500 degrees, formation of smog-producing nitrogen oxides (NOx) increases. EGR valves function by recirculating small amounts of exhaust back into the combustion chambers. Since exhaust is mostly carbon dioxide, it doesn't burn. This reduces combustion temperature and NOx emissions. When an EGR valve malfunctions, carbon dioxide is reintroduced at the wrong time or in the wrong amounts, and engine performance suffers.
When do you need an EGR valve replacement?
EGR valves frequently malfunction when they become stuck open or closed due to carbon build up. Signs of an EGR valve malfunctioning include:
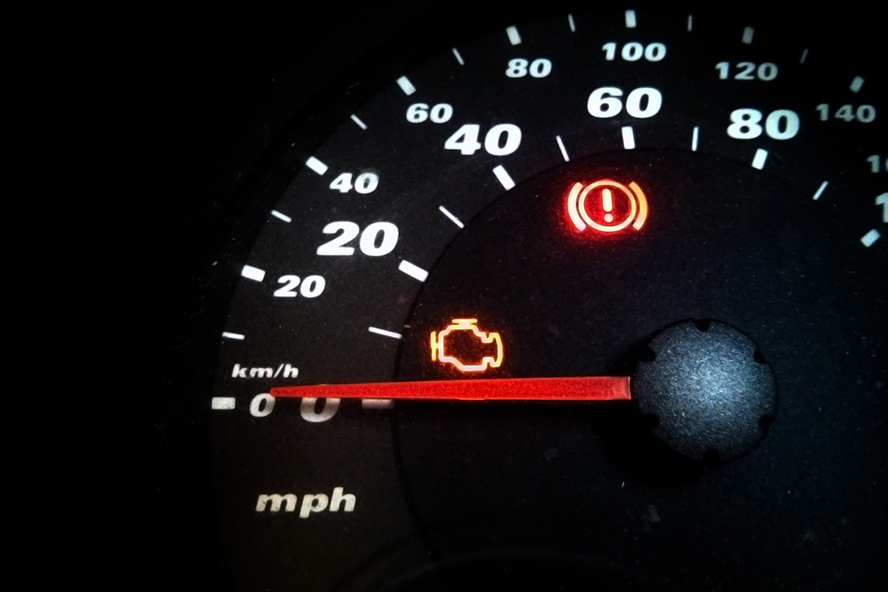
- Check engine light (diagnostic codes usually in the low P0400s)
- Reduced power and fuel economy
- Pinging or knocking sounds
- Rough idle
- Stalling and hesitation when accelerating
You can clean an EGR valve, usually done every 15,000 miles, to prolong the life of the valve. It's less expensive than a replacement, but the amount of work involved in cleaning an EGR valve is equivalent to a full replacement. So decide which solution works best for you. Of course, if your EGR valve goes bad, your vehicle won't pass an emissions inspection, and the choice will be made for you.
This is a project that needs some know-how
-
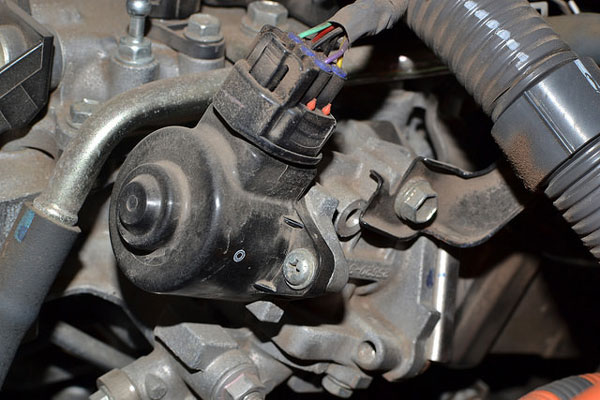
Place the vehicle in park. Apply the emergency brake. Consult your owner's manual or vehicle repair manual to locate the EGR valve.
-
Disconnect all electrical components and allow to fully discharge before proceeding.
-
Inspect the hoses attached to the EGR valve for cracks or leaks, which will affect performance. One good way to diagnose possible vacuum hose leaks is to spray the vacuum line in question with starting fluid while the engine is idling. If you hear the engine's RPMs pick up, it means the vacuum line is sucking in the starting fluid. Replace hoses if necessary.
-
Remove the bolts holding the valve to the cylinder head. If you have trouble removing the bolts, spray them with WD-40 and let them sit before trying again.
-
Remove the valve and any remaining gasket material. Avoid having debris fall into the cylinder head.
-
Install the new EGR valve, following factory instructions.
-
Reattach all electrical connections and hoses.
-
Use a diagnostic tool to check for codes and reset the engine light if necessary. On older vehicles, disconnecting the battery for about five minutes can be enough to reset the computer and clear all engine codes. Take your vehicle for a short drive to be sure it's running, and idling, smoothly again.
Have check engine light codes read for free at your local Advance Auto Parts store.
Remember that engine trouble codes for a specific sensor or a specific problem may not be the whole story. The code might be be stored due to another problem that's causing that sensor to send a bad reading, so before you start replacing parts, make sure of what the real problem is. If you're not sure about a specific trouble code and what it implies, do some research or talk to a professional.

