Why it's important to replace exhaust headers, and how to perform this task on your own
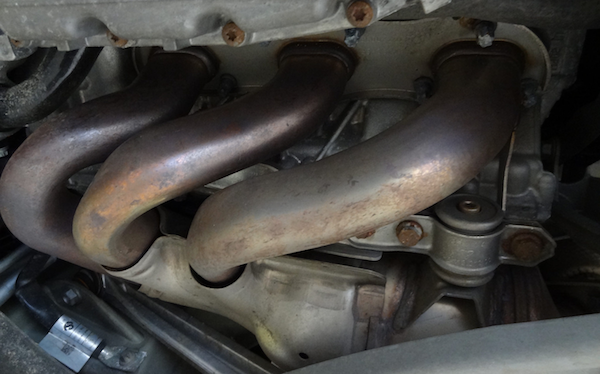
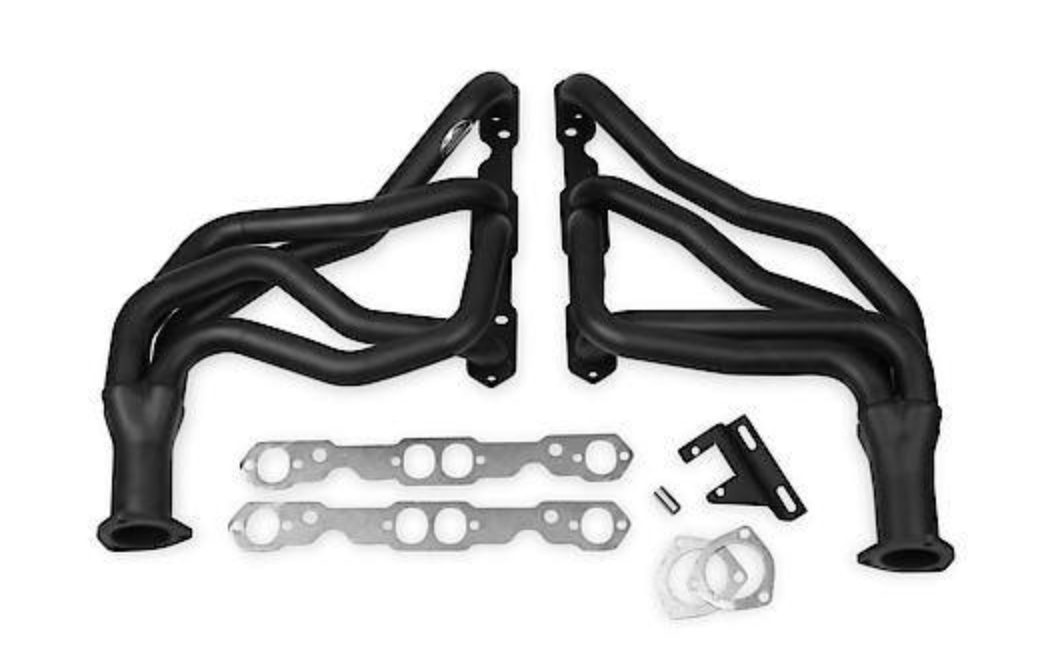
Exhaust headers improve performance by providing a less restrictive path for exhaust gases. This releases additional power for the vehicle. More efficient exhaust gas flow can also help improve fuel economy. Headers are especially effective when other air flow enhancements have been added, such as a cool air intake system.
How an exhaust header can improve performance
Factory cast iron exhaust manifolds are often restrictive. The easier air flows into and out of the engine, the less work the engine has to do to pump the air and the more power that's available to move the vehicle. Headers offer smooth, larger diameter passages for improved exhaust flow, giving your engine more power.
This is a project that needs some know-how
-
Use jack stands to safely support the vehicle when working underneath it.
-
Removing the stock exhaust manifolds may require removing the spark plugs or unbolting the steering shaft or other components to get sufficient clearance room. Heat, rust and years of expansion and contraction can result in exhaust manifold (and exhaust system) bolts becoming very stubborn. Use lots of penetrating oil, give it time to work and be very careful not to round off the bolt heads or break off a bolt.
-
After removing the stock manifolds, clean off the head surface so the new gasket can provide a tight seal. A gasket scraper is recommended for this job, along with some solvent to help remove any residue from the old gasket.
-
Coat the new header's bolt threads with anti-seize compound. This is especially important if the cylinder head is aluminum.
-
Use strips of masking tape to hold the new gasket in place on the exhaust header. Do not cover any bolt holes.
-
The new performance headers should slip into place where the stock manifolds were mounted. Install the header bolts and torque to the manufacturer's specifications. There may be a specific sequence for tightening the exhaust bolts; make sure you tighten them in the right order.Connect the header to the exhaust system.
-
Reinstall the spark plugs or any other components that were removed for installation access. On many engines, you may need to remove quite a bit of wiring and possibly pull the starter
Remember that any performance modification you make to your vehicle may require relocation of stock components. Check your warranty contract before the project to be sure that the modification will not void it.
Heads Up: For the kind of clearance you'll need, some engines might also have to be partially pulled; be prepared to undo motor mounts and either jack up the engine or use a cherry picker to lift it several inches out of the engine bay. In extreme instances, you may even need to remove the transmission mounts and disconnect the driveshaft, transmission wiring connectors, kickdown linkage, shift linkage and other transmission accessories to allow you to partially pull the engine.

