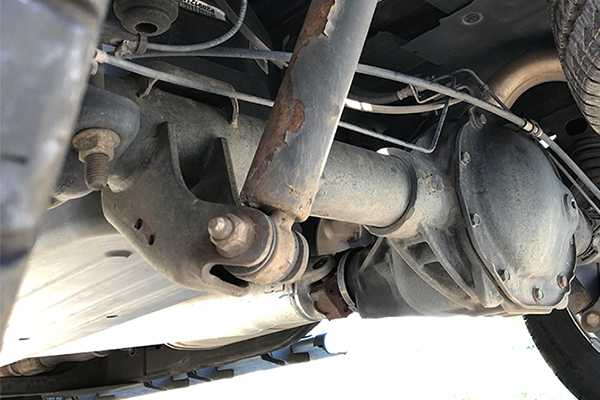
Tapered wheel bearings are used on the front or rear wheels of cars, trucks, and trailers to support the wheels/axle hubs and allow them to rotate freely. They have to support the weight of the vehicle or trailer with a relatively small point of contact without distorting and allow the vehicle to roll easily. Excess or incorrect wear of these bearings can present itself as a wobbly wheel, squeaks, groans, ratcheting, clicking or other similar noises, or pulling.
Advance Auto Parts is going to show you how to remove, inspect, service/grease, and replace inner and outer wheel bearings.
Before beginning, though, follow these steps to make sure you really do need to service or replace your wheel bearings:
- Grasp the wheel at the top and bottom and push and pull in and out and up and down.
- Repeat this holding the tire at the three and nine o'clock positions. Worn or loose bearings will show up as movement as you perform these tests.
- You might also notice a growling or grinding noise as you spin the wheel by hand.
This is a project that needs some know-how
-
Park the vehicle on a level surface and set the parking brake. Loosen the lug nuts but leave them firmly against the wheels you'll be servicing. Jack the vehicle up high enough to remove the wheels and use jack stands (only one is needed if you're only working on one wheel) to support the vehicle. Remove the wheel and slide it under the vehicle behind the stand. This is just in case something happens to the stand.
-
Remove the disc brake caliper if equipped, and use a wire or bungee cord to hang it so the flexible brake line has some slack. Skip this step if you're looking at drum brakes.
-
The bearings are under the dust cap. It has a small ridge around its circumference that keeps it from going in too far and gives you purchase to remove it. Hold the tip of a thin, flathead screwdriver between the hub and the lip at an outward angle and tap it lightly with the screwdriver in several places around the cap until it drops off or you can pull it off by hand.

Source | Mike Aguilar
-
Lay out a shop towel under your work area to hold parts as you remove them. Remove the cotter pin through the castle nut and spindle using pliers or wire cutters. Use a large adjustable wrench to loosen and remove the castle nut. Bump the bottom of the rotor or drum to loosen the notched thrust washer and outer bearing. Remove these parts and set them on the towel.

Source | Mike Aguilar
-
Thread the spindle nut back onto the spindle three or four revolutions. Using clean gloves on brake rotors, grasp the rotor or drum firmly with both hands and pull it towards you firmly to remove the grease seal and inner bearing.
-
Wipe the bearing and races clean and look at them carefully. If you see any pitting or deep bluing of the bearing or race surfaces, replace them. They also need to be replaced if you can move the inner and outer cages 1/8 inch or more. Some people just replace the races anyway, to be on the safe side. If they look and feel good, you can move to packing or filling them with new grease in the next step.
NOTE: Not all grease is created equal, so be sure that you're using the correct formulation and temp range of grease that's recommended by the manufacturer.
Although not required, bearings are usually replaced in axle sets; e.g. both inner and outer bearings, along with new seals per axle.

Source | Mike Aguilar
-
The races are punched out from behind in the same direction as the race's bearing. Looking into the hub, you will see one or two small scallops exposing the back of the race.
Place the drum or rotor on two pieces of wood. With a punch that fits the scallop, hold the tip firmly against the scallop and strike the punch. Switch sides and repeat until the race is removed.
Install the new race using a seal and bearing installation tool, making sure the race goes in evenly.

Source | Mike Aguilar
-
Place a good-sized dollop of grease in the center of the palm of one hand. Firmly press the larger end of the bearing into the pile of grease four or five times and rotate the bearing a bit.
Another option is to use a cone-shaped wheel bearing packing tool, which encloses the bearing in two concentric cones. Just attach a grease gun hose to the tool and pump the gun until you see all the old grease is gone from the bearing.
Repeat this process of pressing the bearing into the grease after each small rotation until you can see grease evenly squirting out around the top of the bearing. Repeat with both inner and outer bearings.
-
Flip the rotor or drum face down and set it down on your blocks of wood. Wipe some clean grease onto the inner race and down inside the hub. Drop the inner (larger) bearing into the hub with the small end down. Place the new seal on the hub and use a seal/bearing driver and a hammer to drive it into the hub evenly until it sits flush.

Source | Mike Aguilar
-
Wipe the old grease off the spindle(s). Wipe down the friction surfaces of the drums, if so equipped. Slide the rotor or drum and hub assembly over the spindle and slip the smaller outer bearing into place, small side first.
Slide the thrust bearing onto the spindle against the bearing, making sure you align the notch on the washer with the groove on the spindle. Install the nut as tightly as you can by hand.
Use a wrench or pliers to turn it enough for align the castellations with the hole in the spindle. Make sure it spins freely without looseness. If it doesn't spin freely loosen it one opening at a time until it does spin freely. Conversely, if the drum/rotor wobbles, tighten the nut one opening at a time until the wobble goes away.
Slide a new cotter pin through the spindle and bend the ends over the end of or around the spindle. Reinstall the dust cap.

Source | Mike Aguilar
-
Reinstall the brake calipers if so equipped (installation will be the reverse of removal). Torque the hold down bolts to the specification shown in the vehicle-specific repair manual. Remove any grease or oil from the rotor surfaces.
-
Rehang the tire and run the lug nuts down as much as you can by hand. Lower the vehicle and torque the wheels to specification.
Make sure you use gloves that are resistant to both petroleum products and brake cleaner. Otherwise they will disintegrate while you're working.
The spindle nut on some vehicles will be a regular nut with a castellated cover instead of a castle nut.