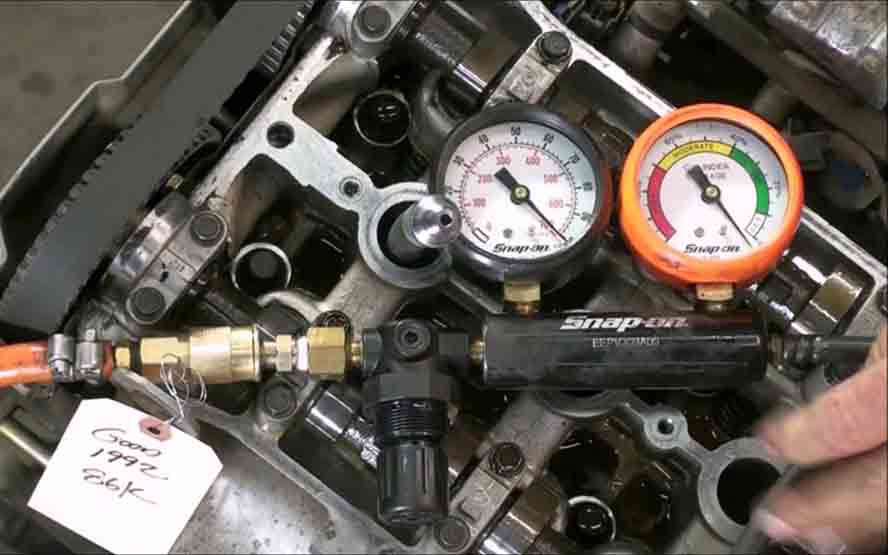
Do you have an overheating engine or misfires caused by a failing intake manifold gasket? While the process is a little involved, this is something that can be completed by the mechanically inclined. Here's everything you need to know before replacing an intake manifold gasket.
The intake manifold gasket sits between the bottom of the intake manifold and the top of engine block, providing a reliable, vibration-proof, flexible means of connecting the two different metallic surfaces without leaks. Many manufacturers build multi-piece intake manifolds that use additional gaskets between the plenum and runners, or upper and lower halves. Gaskets are long lasting parts but can wear out over time. This is mostly due to the caustic coolant flowing through the engine passages, which should be a good reminder to change your coolant on time.

Source | All photos by Andy Jensen
Symptoms of failure include misfires and performance issues, like poor acceleration or gas mileage. This is due to a vacuum leak letting air into the wrong area, but also look for coolant leaks (especially around vacuum ports or spark plug holes) and steam or a sweet burned coolant smell. Eventually, the engine will run low on coolant and begin overheating.
This is a project that needs some know-how
-
Ensure the engine is cold to the touch. Give it several hours to cool off after last operation, so all parts and fluids are air temperature.
-
Disconnect the negative battery terminal.
-
Jack up the vehicle using proper jack points. Set it on jack stands.
-
Remove the radiator cap and disconnect the lower radiator plug, draining into a catch pan. Most vehicles circulate coolant through a part of the intake manifold, so draining it here will prevent a huge mess later.
-
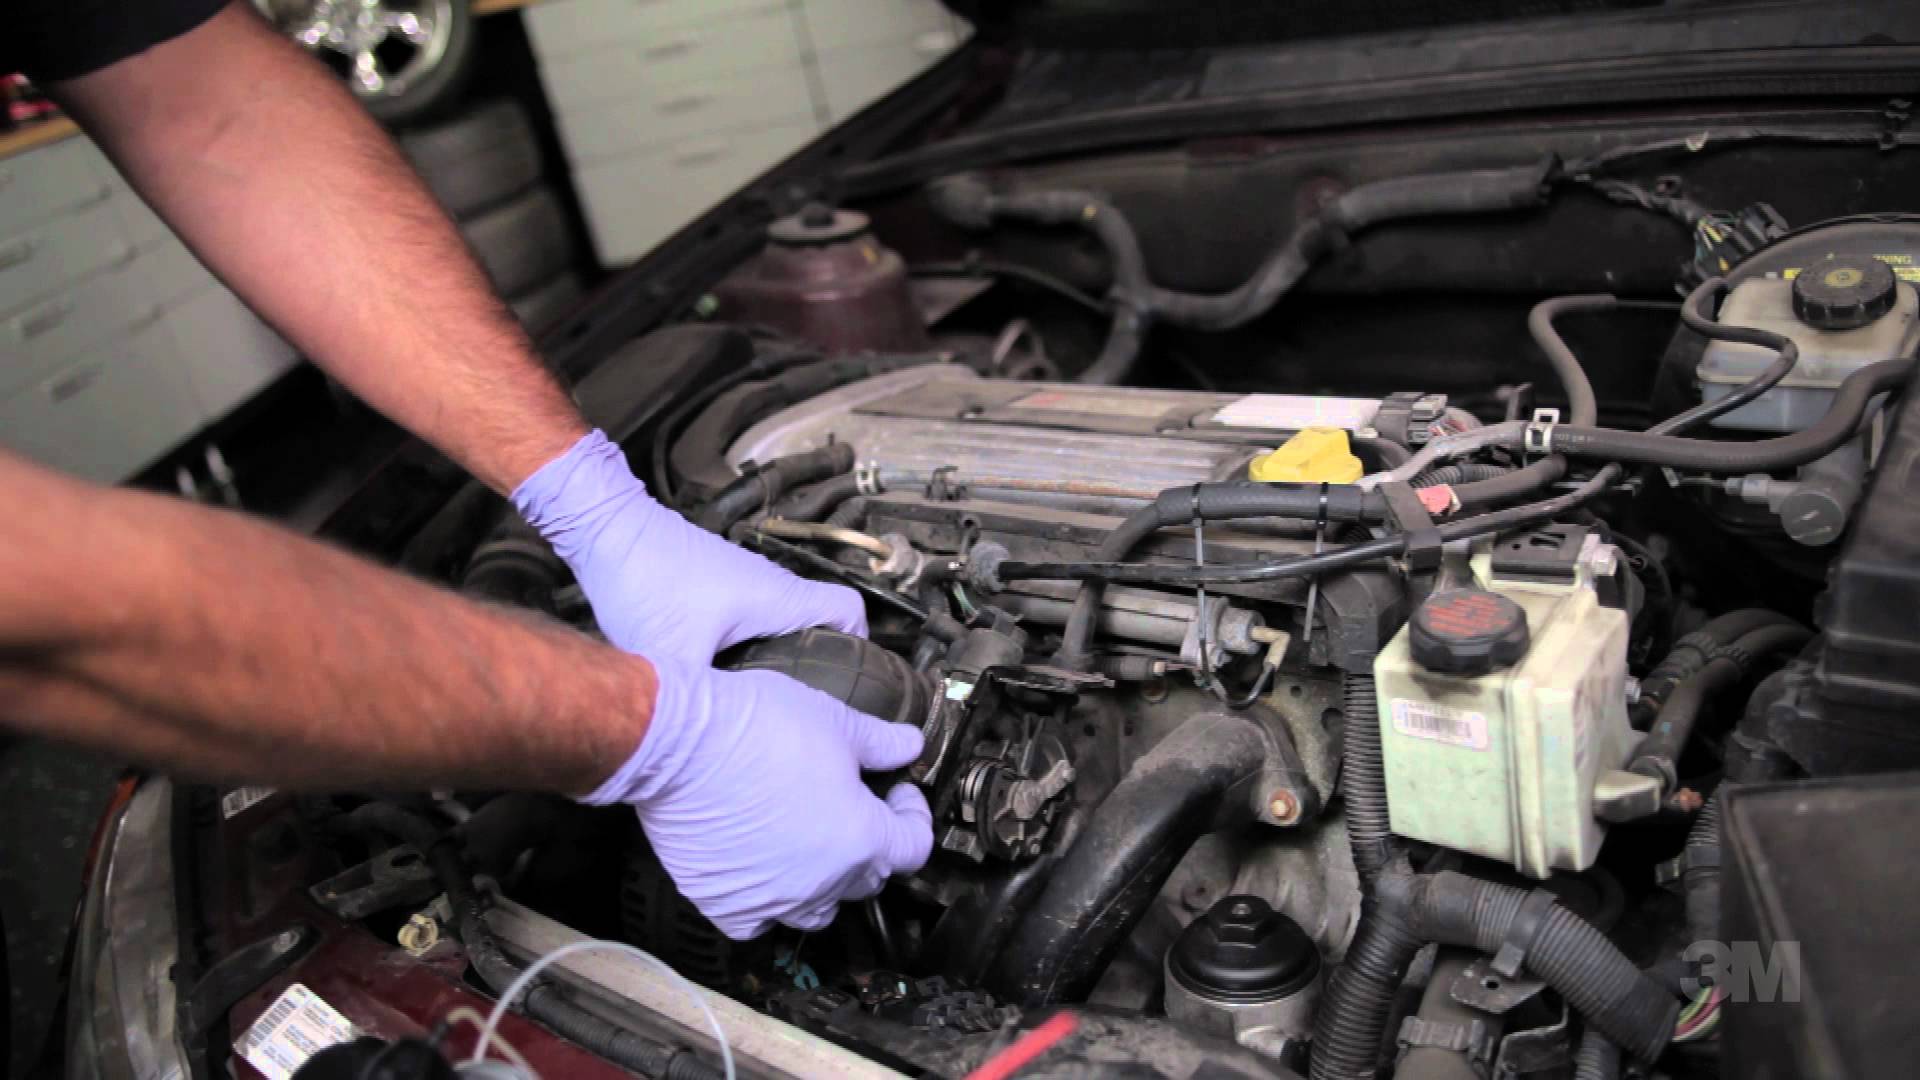
Take a look at the intake manifold and identify all hoses and wires that will need removal.
-
Use a ratchet and socket to remove the intake manifold bolts. Identify if your intake manifold is a multi-piece type. If so, remove the bolts to the intake runners or upper manifold.
-
Remove the lower intake manifold base. It is likely stuck to the old gasket, so you may have to use a pry bar or screwdriver. Work carefully, as most intake manifolds are aluminum or even blow-molded plastic, and can be damaged by metal tools. Optionally, use a rubber mallet to hammer from the side, cracking the gasket until it releases.
-
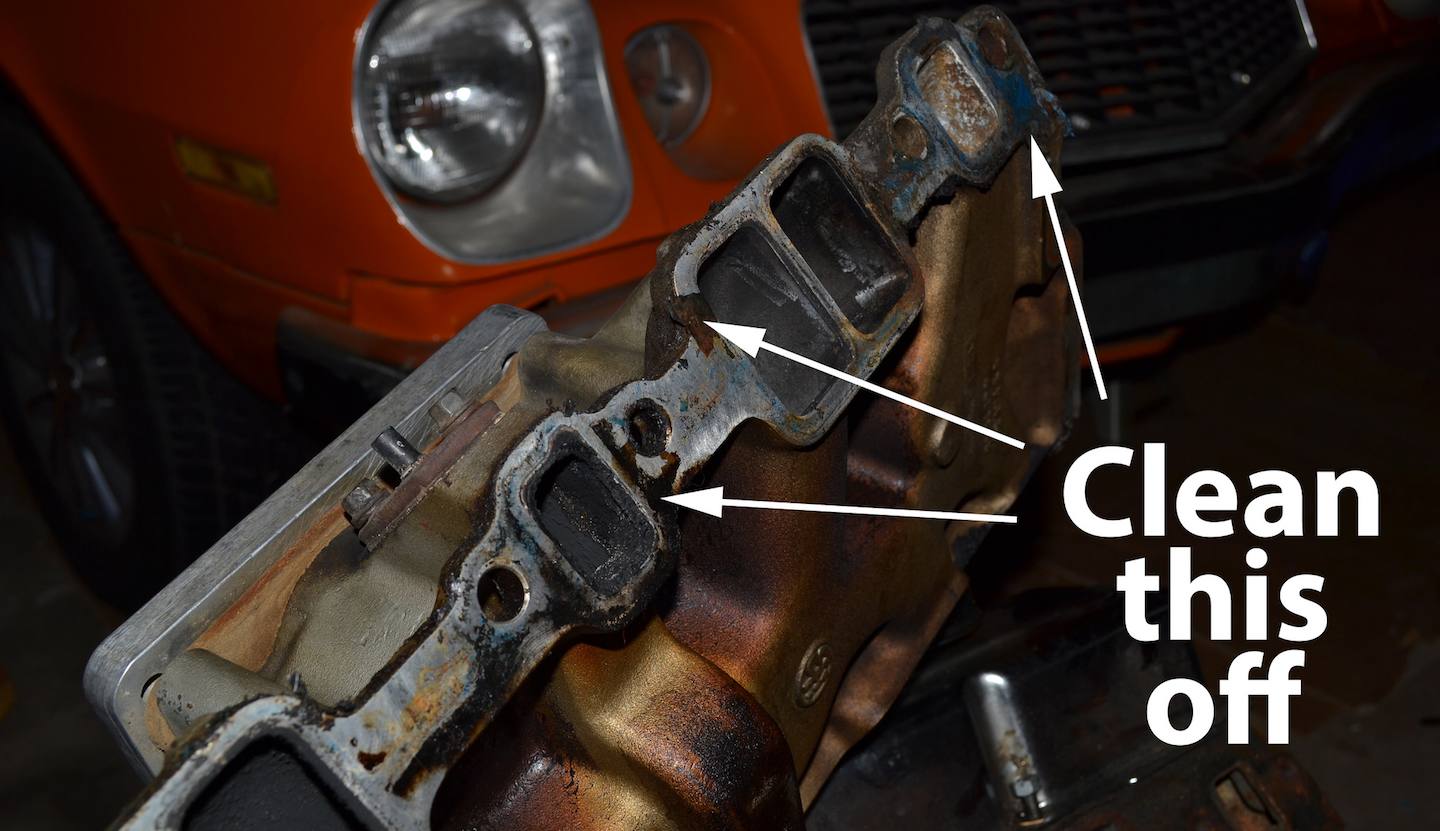
Place clean rags or shop towels in the engine intake ports to keep foreign material from dropping into the engine. Use a scraper or razor blade to remove gasket material from the intake manifold and the engine mating surface. Take your time, as cleanliness matters when sealing the new gasket. You may find that an aerosol, such as brake cleaner, can help with this step.
-
Test-fit the gasket set on the engine block and cylinder head(s) to get a visual of proper gasket orientation. Test-fit with the manifold on the new gaskets to ensure everything will fit together tightly.
-
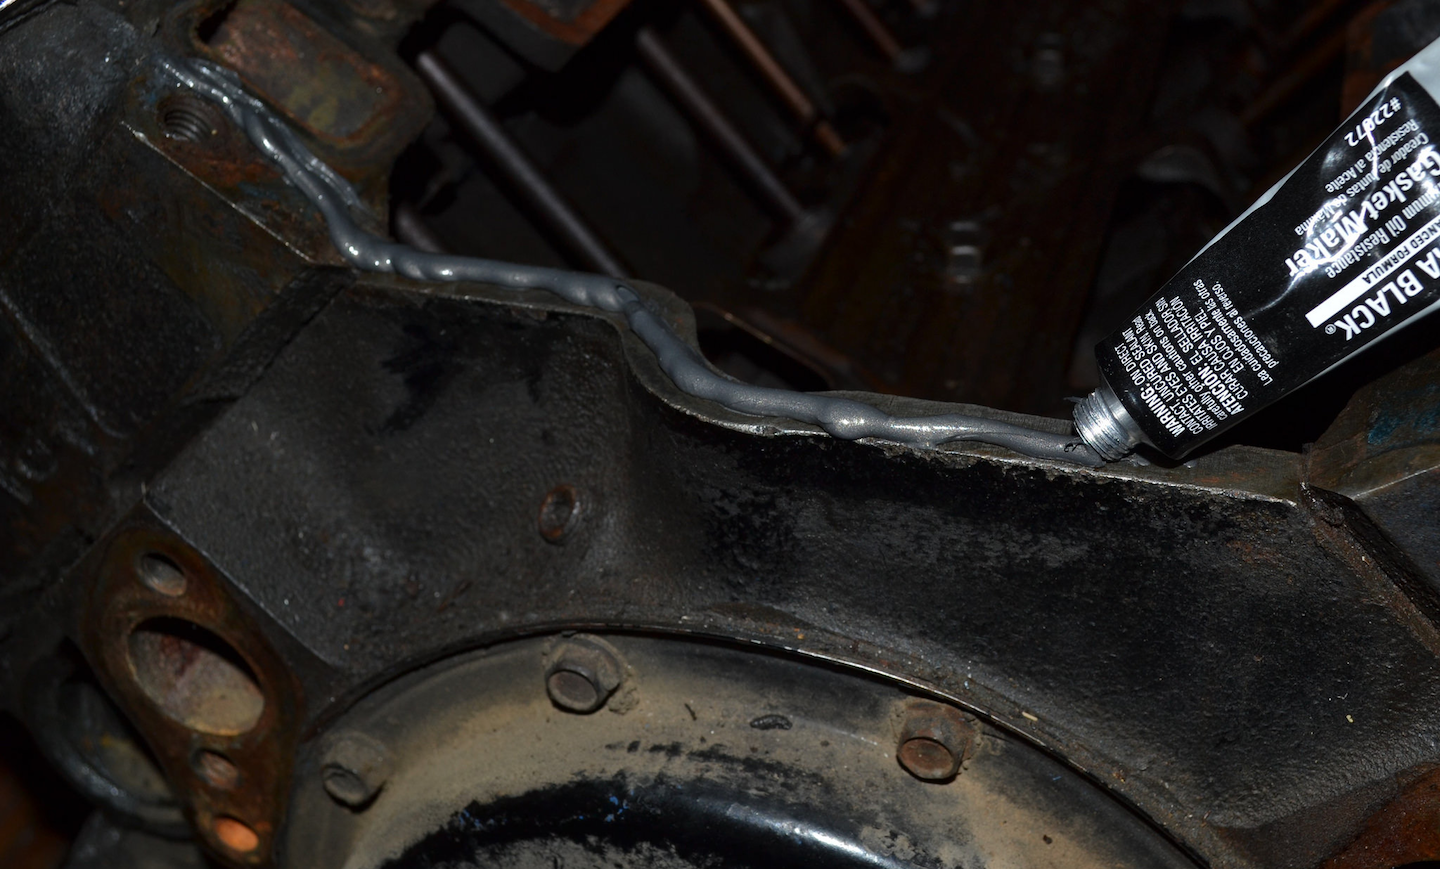
Service manuals will differ here depending on your engine. Older engines will need a solid bead of high-temperature RTV sealant around all the water and air ports. One continuous band will prevent air leaks. Modern engines will require only the new gasket for a secure seal. Check your gasket kit for RTV and, if it is included, use it.
-
Set the intake manifold gasket on the RTV. Ensure proper alignment and let it cure a few minutes so it doesn't move when you reinstall the intake manifold. Then set the intake manifold on the gasket.
-
Reinstall all hoses and wiring. Add coolant. If the vehicle has a bleeder valve, use it to remove air from the cooling system. If not, open the heater hose at a high spot and add coolant until it flows out of the hose.
-
Start the engine and set the heater to high. Bring it to operating temp while watching the coolant level. When at temperature and the radiator is filled, put on the radiator cap and monitor for leaks. Keep an eye out for leaks at vacuum ports and around the edges and corners of the gasket, as the coolant pressurizes and heats up.
Use masking tape and a pen to identify where they go on the intake manifold, simply labeling them with numbers. For example, Hose 1 attaches to Port 1, and so on. Also, use separate sandwich bags for all the parts and connectors associated with each assembly, and label them accordingly. You don't want connectors left over at the end of the job, unsure where they go.
For an old-school engine, use extra RTV on any seams and joints. For example, on a Small Block Chevy, add extra RTV at the corners and ends of the gasket, and where the gasket meets the cylinder heads.
Note: Some repair manuals have a step for sealing the bolts, while others do not. If your engine calls for it, use a thread sealant; otherwise, just hand-tighten all bolts. The manual will also show the pattern for tightening the bolts and the torque specs.

