Many people are intimidated when it comes to working on electrical issues in their vehicles. But most of these problems can be diagnosed and fixed quickly and easily. We'll look at some of the most common wiring electrical issues, including a turn signal blinking fast or that doesn't flash at all, brake lights not working, and car lights flickering.

This is a project that needs some know-how
-
Using your owner's manual or the vehicle-specific repair manual (available at Advance Auto Parts), locate the fuses for the turn signals and the flashers. Check the fuses and replace them if they're blown.
-
If the fuses are good, locate the turn signal relay and replace it.
-
When only one light fails to turn on, remove the bulb and see if it's smoky or if the filament is loose inside. If so, replace that bulb.
-
If none of the brake lights turn on when you step on the brake, open your manual and locate and check the brake light fuse.
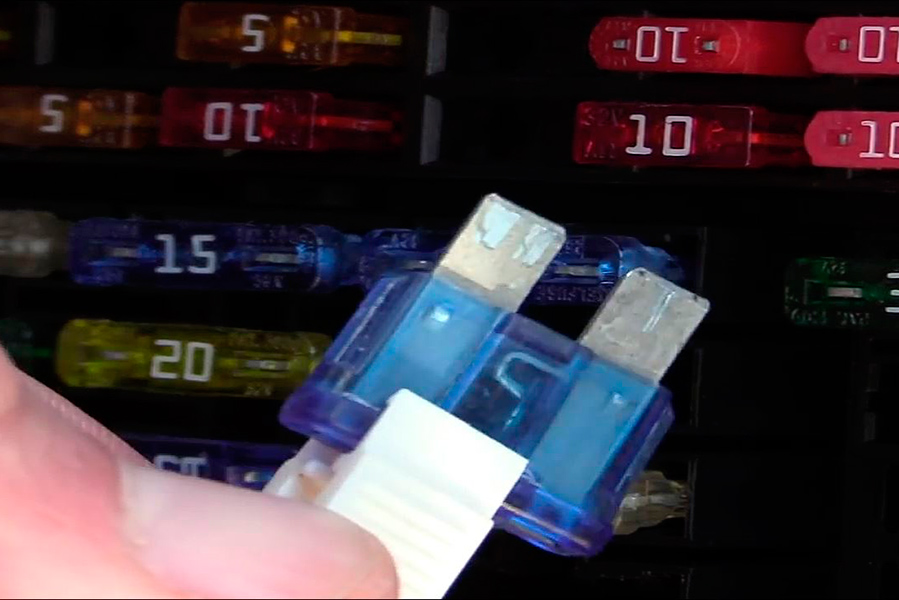
Source | Mike Aguilar
-
If the fuse is good, grab either a test light or multimeter and test the brake light switch, located on the hanger for the brake pedal. Probe both sides of the switch to verify that it is receiving constant power and energizing the light circuit when you depress the pedal. If the brake light switch is letting power check in but not out, head over to Advance Auto Parts and pick up a new one. The good news is that the brake light switch is easily accessible, making this an easy job.
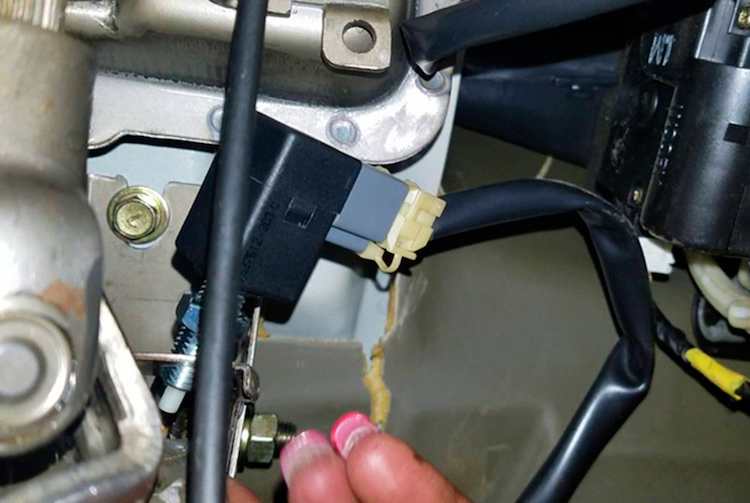
Source | Mike Aguilar
-
Tail and parking lights that don't energize usually indicate a blown bulb. Inspect the bulb, and if it appears blown, replace the bulb.
-
If replacing the bulb doesn't fix the problem, you'll need to gain access to the light assembly to determine whether power is getting to the light sockets or not. Your manual will walk you through gaining access here. If only one bulb is out and replacing the bulb doesn't fix the problem, you'll need to trace the wires and find and fix the open circuit. You may find a damaged wire or connector, for example.
-
You're going to need to break out the repair manual and find out which ground serves those lights, and then locate and fix the broken wire. Begin with the connector at the light assembly and then move to the ground connector. Nine times out of 10, the problem is going to be at one of these ends. Rarely will you need to unwrap the wiring loom to find a broken or shorted wire.
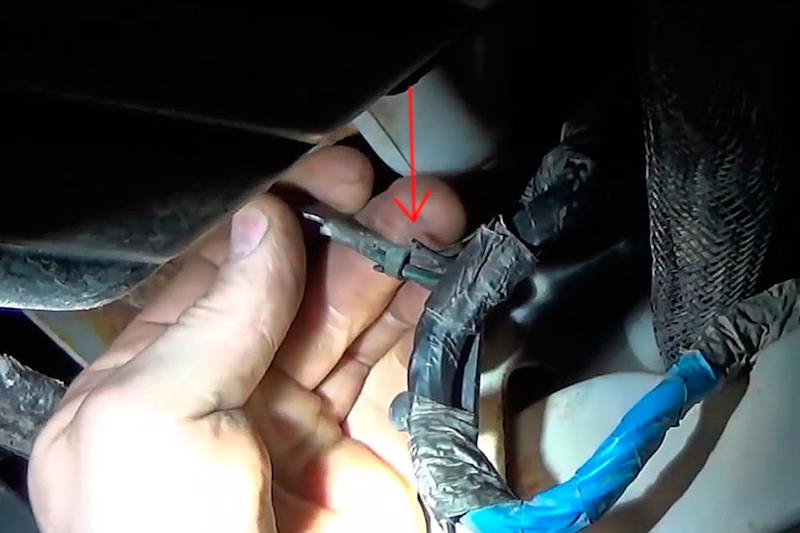
This is the ground cluster for all front lights on a Dodge Caravan. Notice the broken wire. Source | Mike Aguilar
-
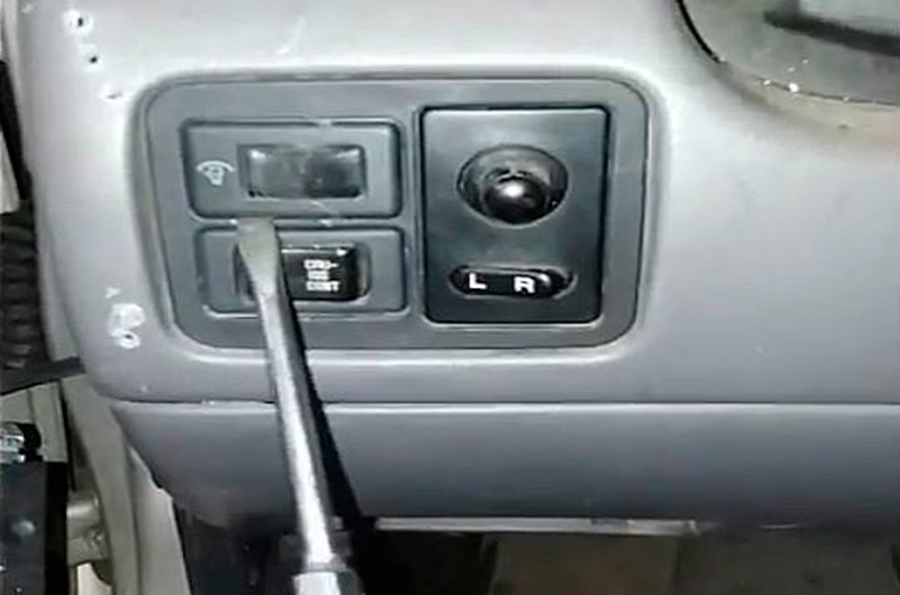
The dashboard dimmer switch is a simple, adjustable resistor similar to a radio's volume control. Turn on the lights and wiggle the dimmer switch. Replacing the dimmer switch stops the dashboard lights from flickering.
Source | Mike Aguilar
-
You're going to need to dig a little deeper if wiggling the dimmer switch doesn't cause flickering. Refer to your manual and locate and wiggle the connector on the back of the dimmer. Do the same with the cluster connector. Loose cluster connectors causing just the cluster lights to flicker is rare, especially on newer vehicles. Loose main connectors should also cause the gauges to bounce around.
Source | Mike Aguilar
-
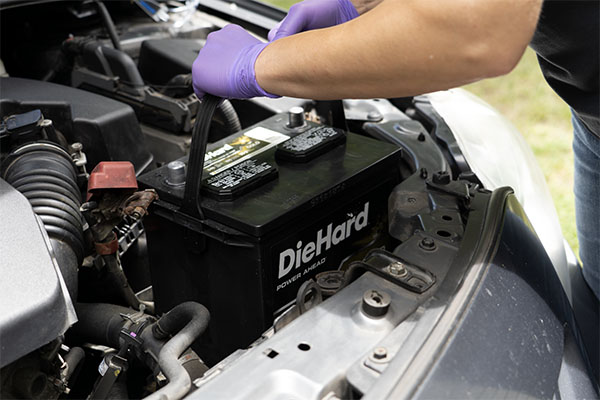
Pop the hood and wiggle the battery connectors, tightening or replacing any that are loose or broken.
-
Wiggle the wires themselves, looking for bad or broken crimps or solder joints. Trace the wires leading from battery and tighten or repair as necessary.
The turn signal and hazard flasher systems are interlinked, so they need to be looked at together. Common problems are the turn signal indicator that flashes too fast when indicating a turn, or the indicators don't flash at all. There's a part called the turn signal relay that causes the lights to flash, and it looks for a certain amount of current and resistance when the turn signal is turned on. A bulb that's not lighting will change these values, and this causes the assembly to flash more quickly.

Two things can cause the lights to stop flashing altogether.
There are three usual suspects when brake lights are not working.
On a used car, these kinds of problems can suggest that the vehicle was in a collision, since shorts and other body-related electrical problems are pretty common in such cases.
I call these ghost lights. Turning on your headlights, you notice that the parking light on one side appears too bright. Then you turn on that turn signal and both lights turn off. This tells you that the ground for the lights on that side of the car is bad.
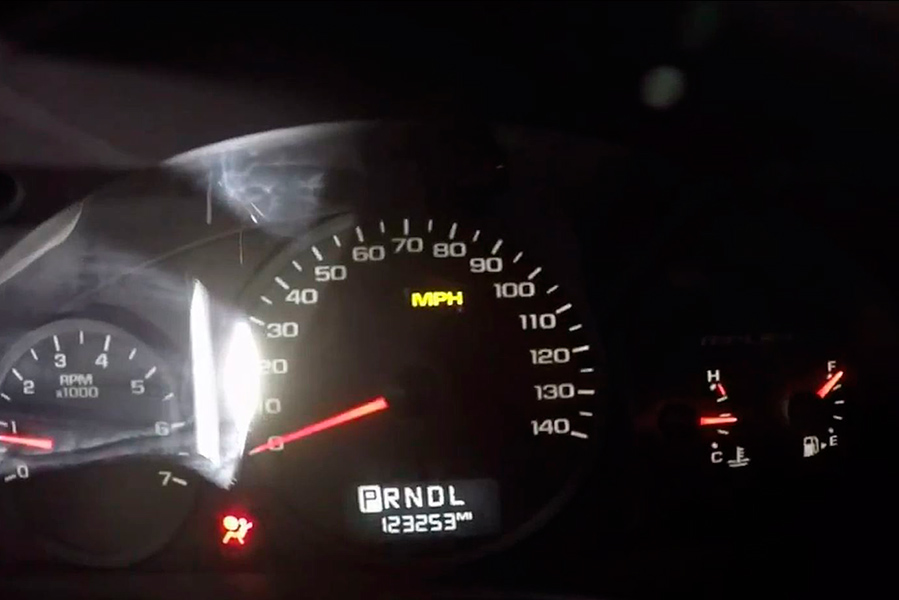
Car lights flickering indicate a loose connection in the circuit. With dash cluster lights, this loose connection will either be in the main connector or the dimmer switch.
blinking, the high beams are on, and things like that. When you see these blink or flicker as you're driving down the road, it indicates a poor main power connection. Since different computers control these dashboard indicators, that poor connection is usually found at the battery or a main ground.
Some projects may be too challenging or time consuming to tackle at home, and that’s why we partner with trusted, professional shops that are ready to get you back on the road. Use our directory to find a qualified technician near you.


