Whether your ride is a 1934 Duesenberg or a 2018 Toyota Camry the engine is timed internally with either a belt or chain between the camshaft and crankshaft. Some engines have the camshaft on the cylinder head. These engines are called overhead cam (OHC) engines because the camshaft is on top of the cylinder head. OHC engines can have either a single camshaft (SOHC) per head or one for the intake and another for the exhaust valves (DOHC).
Engine performance can suffer when the belt/chain wears because it allows the timing between the crankshaft and the camshaft(s) to change. Advance will teach you some ways to check if your timing belt/chain(s) needs to be changed by showing you ways to test. We'll then go into a generic tutorial on the basics of changing timing belts/chains in a variety of OHC engines.
Old Chains/Belts Allow Mechanical Timing to Change
Valve and piston timing is an intricate dance that is choreographed by the timing belt/chain. When this belt/chain wears, one partner steps on the toes of the other and engine performance suffers. One way to check if yours has slipped if you have a distributor is to pop the cap and turn the engine by hand (with a ratchet man!) until the timing mark on the crank pulley lines up with the "0" on the timing indicator on the block/head. The rotor should be within 10-15 degrees of the No. 1 spark plug terminal on the cap. A slipped belt/chain will move the rotor.
You can also use a timing light to see if there's too much slack in the belt/chain. Hook the timing light leads to the battery and the No. 1 spark plug wire and start the engine. Aim the timing light at the crankshaft pulley and timing indicator. A stretched/loose belt/chain will show itself by the timing mark being off at idle and bouncing around when the engine is revved up.
Excessive slop or deflection in the chain(s) or belt(s) is another indicator of excessive wear that requires replacement. Slop or deflection is a measurement of length; if the chain or belt is too long, you will be able to deflect, or move it too much by pushing on it. Keep an eye on the tensioner for movement, too. A good test for belts is to twist them. If you can go past a full turn, the belt needs to be changed. Advance carries the vehicle-specific repair manual for your vehicle that will tell you how much slop or deflection is acceptable.
This is a good project for new DIYers
-
Raise and support the vehicle with stands and remove the passenger side wheel. Remove the inner fender shield.
-
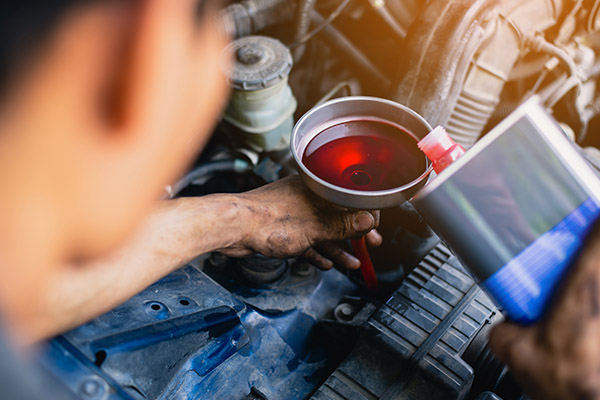
Place the drain pan under the radiator drain. Drain the cooling system.
-
Place a block of wood on the jack and support the engine under the oil pan.
-
Remove the front engine mount.
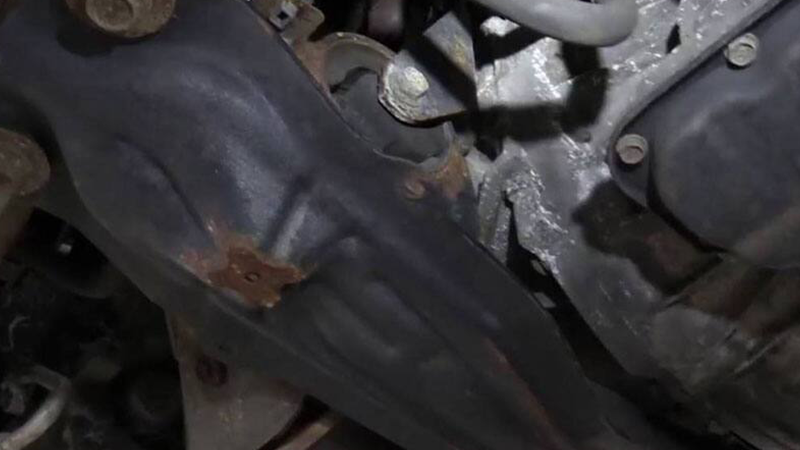
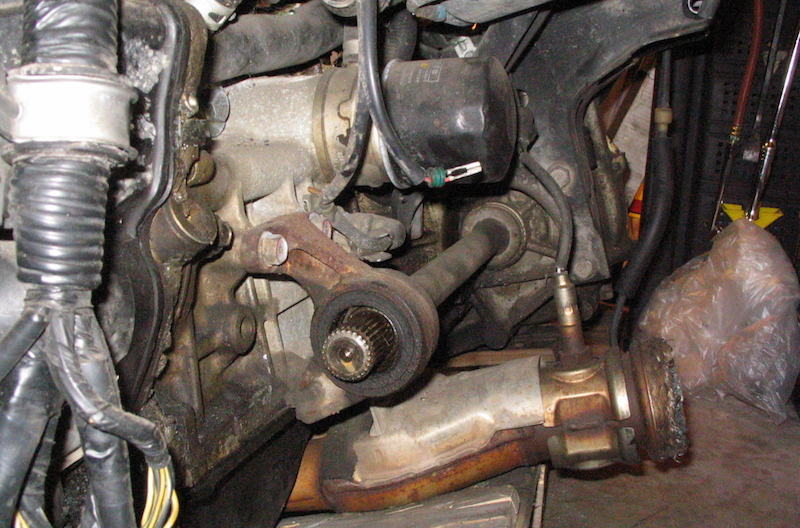
There will be vehicles, such as this 2003 Nissan Sentra 2.5, in which the front and rear motor mounts will have to be removed in order to affect the timing chain replacement. Source | Mike Aguilar
-
Remove the accessory drive belt(s).
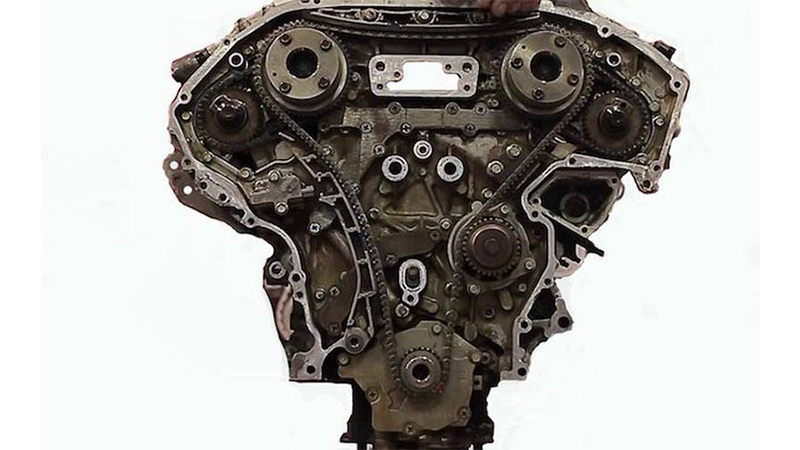
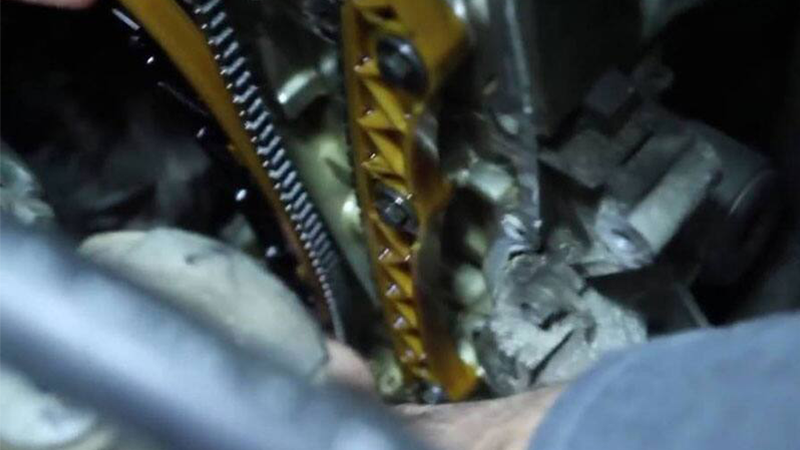
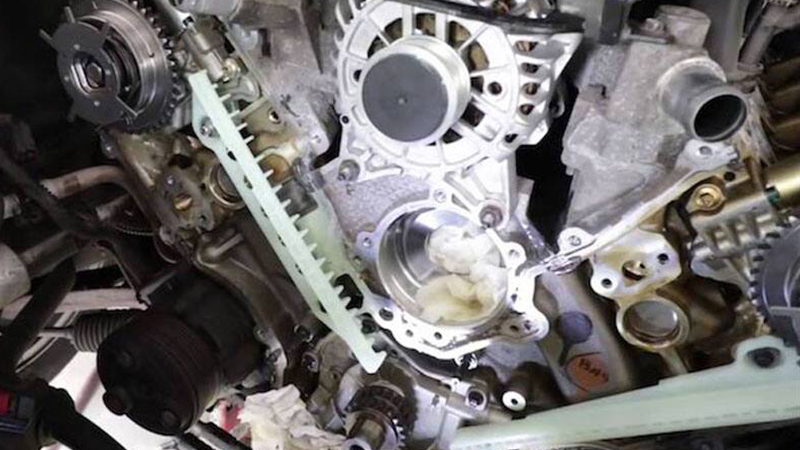
This is Nissan's 3.5L V6, as found in such vehicles as the Altima and 350Z. It's been taken out of the vehicle to show the complexity of its timing chain system. Source | Mike Aguilar
-
Remove the timing cover. This can be one, two, or three pieces.
Source | Mike Aguilar
-
Line up the timing marks on the crank and cam pulleys by rotating the crankshaft clockwise with a ratchet and socket. Getting both/every timing mark to line up perfectly may be impossible if the gears have slipped. Get the crank lined up perfectly, at a minimum. You can easily determine Top Dead Center on the compression stroke by removing spark plug No. 1 and turning the engine until compression pushes your finger out.
-
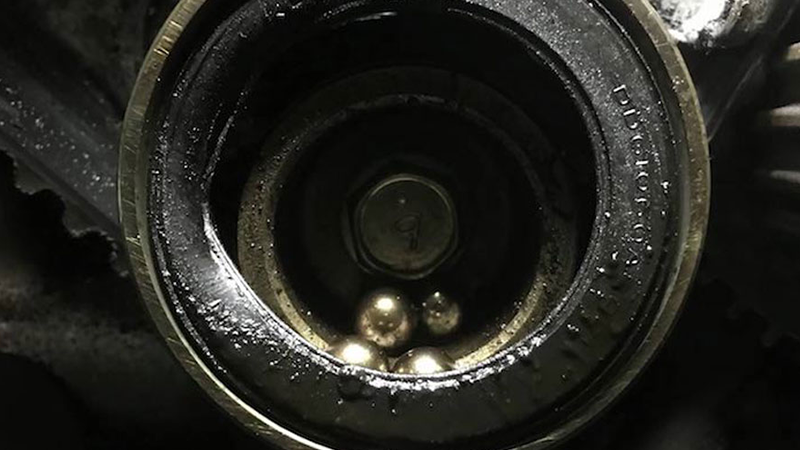
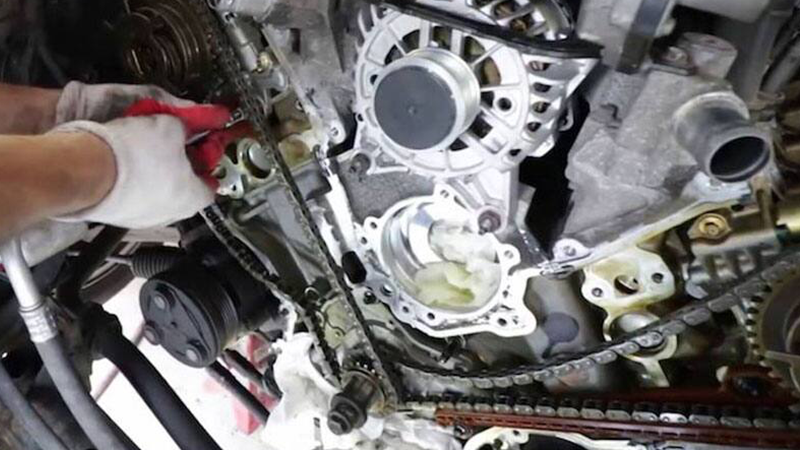
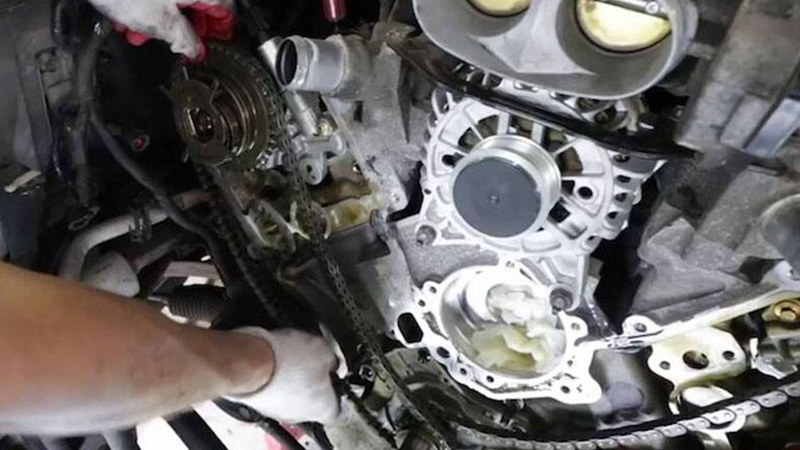
Remove the belt/chain(s). This may require nothing more than removing bolts securing the crank and cam gears or it may require removing several idler and tensioner pulleys/gears. It will also be necessary to remove the water pump in many applications.
Source | Mike Aguilar
-
Install the new belt, gears, and idler and tensioner pulleys. Fine tune the positioning/alignment of the crankshaft and camshaft(s) prior to tensioning the belt/chain(s) and torquing any bolts.
-
Carefully remove any gasket residue or debris from the surface where the timing cover mounts, using a gasket scraper and brake cleaner. Reinstall the timing cover(s) and any accessories that were removed to provide access. Refer to the vehicle-specific shop manual linked in the tools and parts list above.
-
Refill the cooling system and verify oil level prior to starting the engine.
-
Place the drain pain under the radiator. Drain the radiator/cooling system by opening the radiator drain valve/petcock. Remove the lower radiator hose and fan shroud.
Source | Mike Aguilar
-
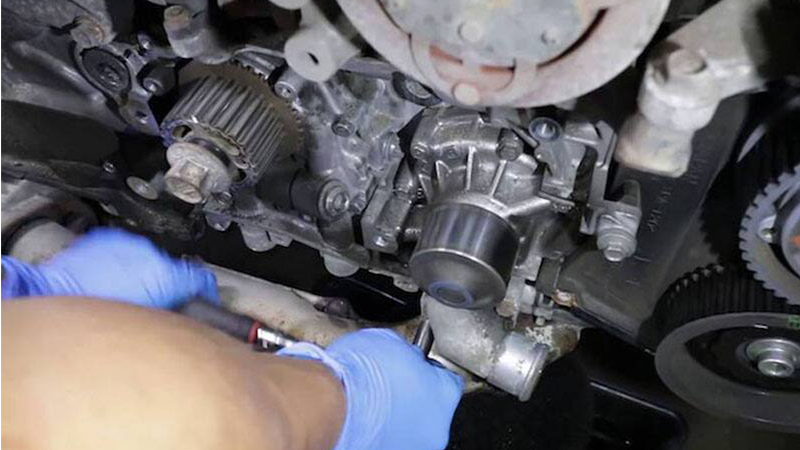
Remove the drive belt(s) and any accessories in front of the timing cover. This will usually include the water pump.
Source | Mike Aguilar
-
Remove the crank pulley in the list above. Remove the timing cover(s). This will usually also require removing the valve covers.
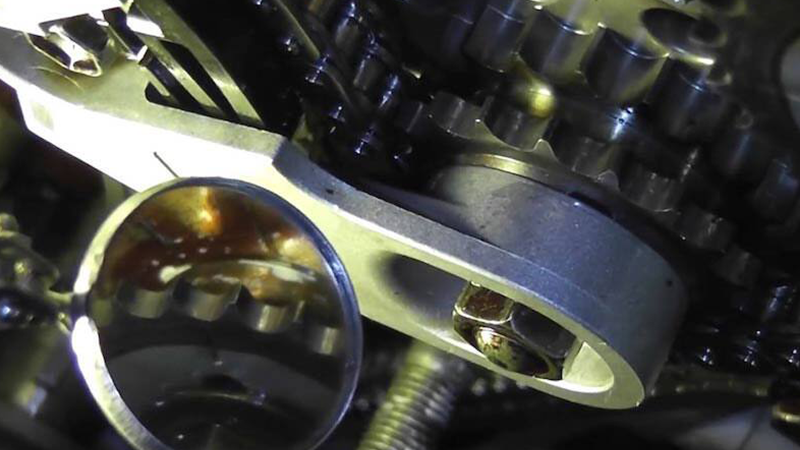
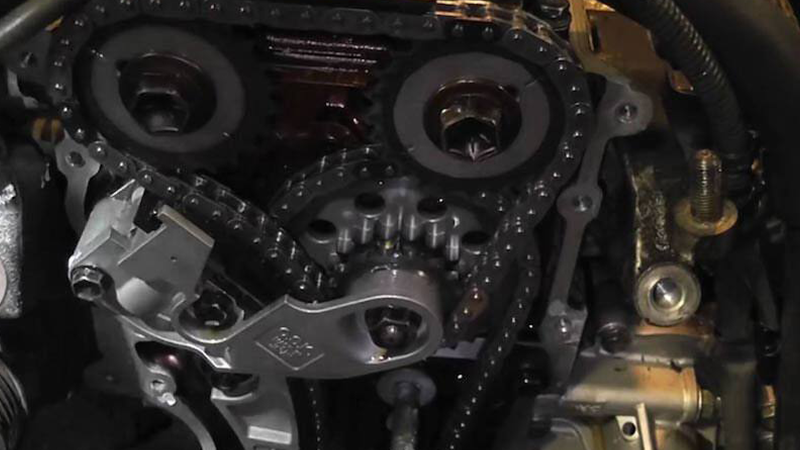
Many dual overhead cam engines will require that you use mirrors to line up the timing marks on every pulley/sprocket. Source | Mike Aguilar
-
Rotate the engine to line up the timing marks on the pulleys.
-
Remove the chain/belt(s). This may be as simple as sliding the belt off the pulleys/gears and as complicated as removing several idler and tensioner pulleys. Although I've never had to, you may need to use the puller again for this.
Source | Mike Aguilar
-
Reattach any required pulleys/gears and reinstall the chain/belt. Double and triple-check pulley/gear alignments prior to final tension adjustment.
-
Reinstall everything that was removed to obtain access to the timing assembly.
-
Start the engine and check for leaks. Top off the cooling system as needed.
Refer to the vehicle-specific service manual from Advance for torque specifications and patterns, service intervals, and engine alignment procedures, as these often vary greatly between manufacturers and even model years.
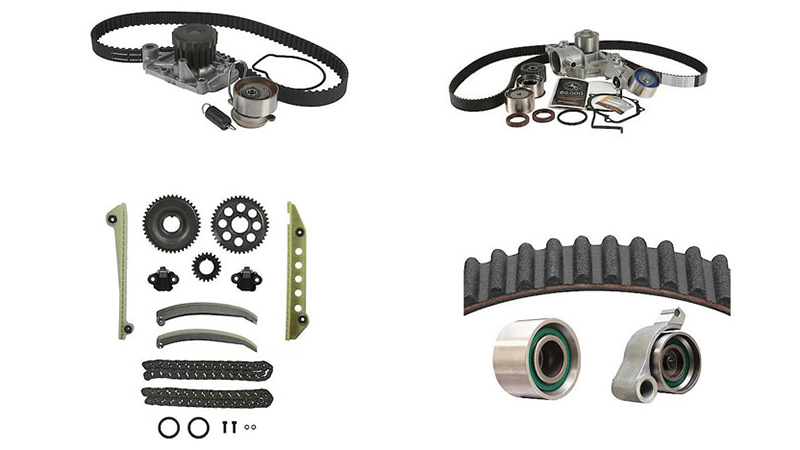
Also, the water pump and thermostat are optional. If both have been installed for a few years it is recommended to do both while doing the timing belt/chain(s). There are few rear drive engines where the water pump doesn't have to be removed to get at the timing chain/belt. The timing belt also drives the water pump in many front-wheel-drive engines.
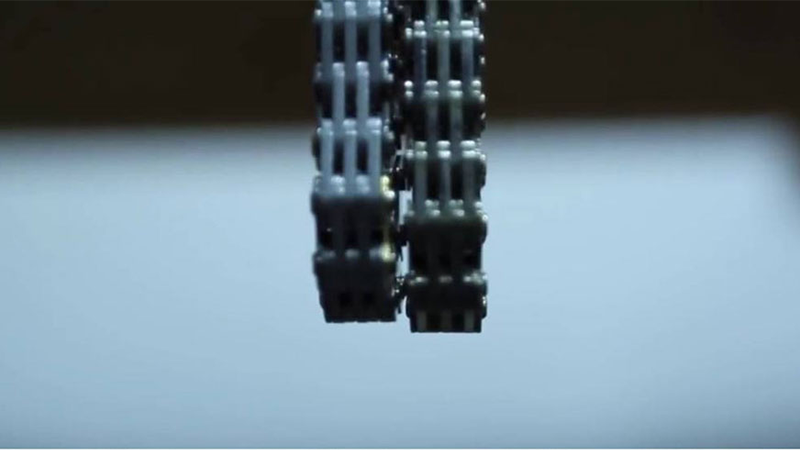
This photo shows the timing chain removed. Source | Mike Aguilar
Some projects may be too challenging or time consuming to tackle at home, and that’s why we partner with trusted, professional shops that are ready to get you back on the road. Use our directory to find a qualified technician near you.