Maybe your oil light is on, and the code reader says it's due to low oil pressure. Maybe you've noticed higher engine temps, and a new, louder clattering under the hood. Unfortunately, signs are pointing to an oil pump replacement — and the sooner, the better.
Fortunately, parts are affordable, it's a straightforward task if you have some time, and the DIY method can save you hundreds of dollars. Let's get started.
Prevent oil pump failure
The specific steps and torque specs in this guide are for 1998 – 2004 VW 1.8L and 2.0L engines, but steps will be similar for many other engines. Due to the design of some engines — like this one and the Toyota 3.0L V6 — they can quickly create excess oil sludge when the owner ignores the strict maintenance schedules. This sludge is a thick tar-like substance that reduces oil circulation through the oil passages in the engine, potentially causing thousands of dollars in repairs. That's why it's important to stick with the recommended maintenance schedule, change your oil on time, and use a high quality oil.
Note that this task requires a repair manual, as the torque specs and timing must be correct.
How an oil pump works
You might have heard the saying that oil is the lifeblood of an engine. Taking the analogy further, that makes the oil pump the heart of your engine. The oil pump circulates oil throughout the engine, keeping all the moving metal parts lubricated, protected, and spinning easily, while also providing an important role in engine cooling. Usually, as the crankshaft spins, it drives a gear wheel on the oil pump. The pump pushes oil up from the oil pan, through small passages in the crankcase and block, then back to the pan.
In the days of way-back-when, engines didn't even have pressurized oiling. Instead, they had small dippers on the crankshaft counterweights that would scoop oil out of the crankcase sump and splash it upwards, which is how most small engines are still lubricated. By the '50s, pressurized lubrication was a must and most oil pumps were driven by the distributor shaft. Today, the oil pump is typically driven by a gear drive from the crankshaft.
Symptoms of a failing oil pump
If you're thinking it's weird that you haven't replaced the oil pump yet on your 10-year-old daily driver, don't worry; oil pumps typically last 150,000+ miles or the life of the vehicle, but only if you keep up with the required maintenance. If you're the fourth owner, you likely have no idea how the vehicle was previously maintained, meaning the oil pump might be wearing out.
Common signs of oil pump issues in modern vehicles are the oil light and check engine light illuminated on the gauge cluster, and a code showing low oil flow. As the oil flow slows due to a failing pump and sludge buildup, you'll probably hear engine clatter from moving parts that aren't receiving enough oil. You might especially hear more clatter at startup, as oil tries to make it to the engine's upper end in those first few seconds. Additionally, you might hear a new whine from the pump. You won't want to keep driving with a failing oil pump, as the reduced oil flow is causing wear to expensive parts like the bearings and camshafts.
If the oil pump fails entirely, it will quickly destroy the engine as well. This one is best to replace at the first sign of trouble.
This is a challenging and technical project
-
Disconnect the negative battery terminal. Set the parking brake, and lift the front of the vehicle using a jack and jack stands.
-
Drain the engine oil. While it drains, remove the serpentine belt.
-
Rotate the engine until the number 1 piston is at TDC, or the top of its compression stroke. (Consult your repair manual for exact steps on your vehicle.) On this engine, look at the crank from above and you will see a rectangular window in a bracket. Rotate the crankshaft using a 19mm socket until the timing mark is even with the bottom of the window.
-
Remove the oil pan bolts. On this engine there are 20 10mm bolts. There are also three 16mm bolts connecting the oil pan to the transmission. 2005+ uses a M12 bit here.

Source | Andy Jensen
-
Carefully pry the oil pan off using a paint scraper or flat blade screwdriver, being careful not to damage the mating surfaces.
-
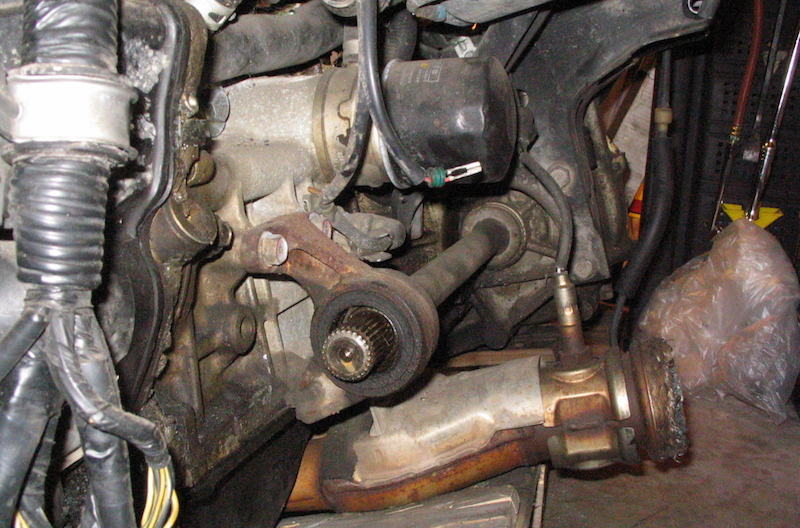
Next, remove the three 10mm bolts holding the oil pump to the engine crankcase/block.
-
At this point, the oil pump is help in place by the timing chain. With one gloved hand, hold the pump in place and press on the tensioner to add slack to the timing chain, freeing the pump. Alternatively, remove the oil pump sprocket with a T24 bit and the chain will hang free.

Source | Andy Jensen
-
Clean the surfaces thoroughly with brake cleaner and steel wool, getting off any bits of gasket or sludge.
-
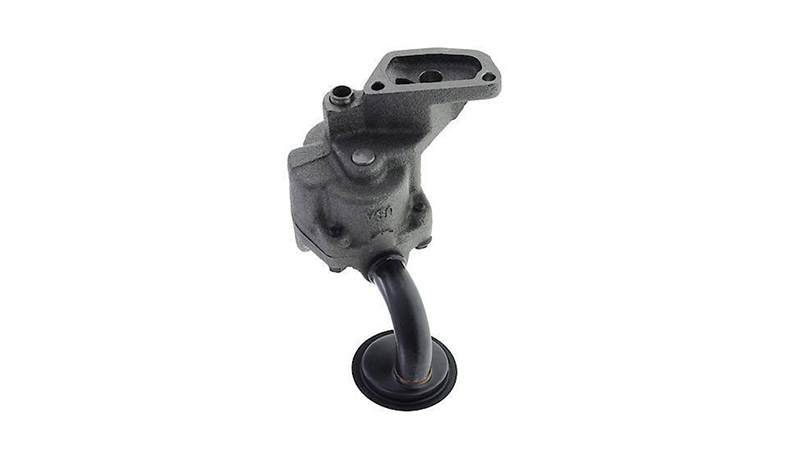
Set the new oil pump in place, securing the timing chain over the gear teeth. Check your repair manual on how to verify your engine still has TDC alignment. Thread in the 3 bolts by hand, then torque to 12 lb-ft. On other engines, check your repair manual for the correct torque spec.

Source | Andy Jensen
-
Apply sealant. Don't go overboard on the sealant as excess can break off and circulate in the oil system. The repair manual says the bead should only be 2 or 3mm thick. Use new gaskets instead of trying to re-use the old ones.
-
Press on the oil pan, and tighten the oil pan bolts by hand. Then tighten the three pan/transmission bolts to 33 lb-ft, and the pan/crankcase bolts to 11 lb-ft. Consult your repair manual for the proper torque specs for your engine.

Source | Andy Jensen
-
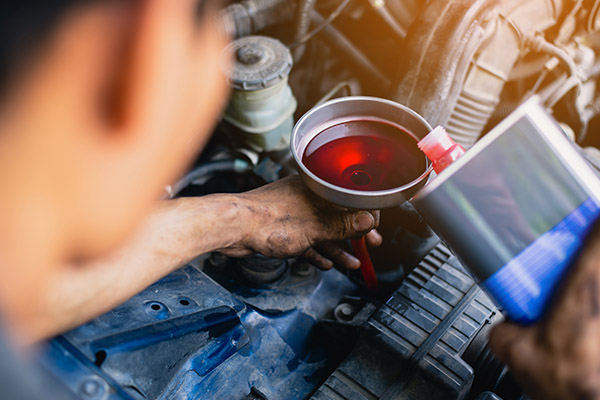
Give the sealant an hour to dry then refill the engine with oil. Double check timing by using a ratchet to spin the crank a few times to be sure the timing marks align and that it turns freely. Lower the vehicle, run the engine briefly. Then check for leaks at the pan, and again check the oil level.