The Dana 30 differential is normally found as the front differential on various Jeep products. It's a good differential, but it can be better. This is where the PowerTrax Lock Right Locker steps in, improving your off-road experience. The Dana 30 is an open differential, and this kit turns it into a locker, sending torque equally to both wheels regardless of traction. The locker capability means that even if one wheel is a foot in the air, the other wheel will still get torque and keep pulling.

Source | Rafi B.
The PowerTrax Locker can be installed without removing the carrier from the housing, although doing so does make the installation easier but much slower. I'm going to describe the quicker process but show exactly what's being done during the installation with photos from the slower procedure.
Note: If you do remove the carrier from the housing, you should at least check preload and backlash after reinstalling the carrier.

The PowerTrax Lock Right Locker | Advance Auto Parts

Source | Mike Aguilar
This is a project that needs some know-how
-
Jack up the front of the vehicle and remove the tires and brakes. Use a piece of wire or string to support the caliper.
-
Slide the drain pan under the differential. Leaving two bolts loosely threaded, remove the bolts securing the differential cover. Tap a small screwdriver or prybar between the bottom of the cover and housing and let the fluid drain out. Remove the cover.

Source | Mike Aguilar
-
Remove the three 12-point bolts on the back of the knuckle that secure the hub assembly. Do this on both sides. Thread two old bolts into two of these holes—one in front and the one in back several full turns. Alternate tapping the bolts until the hub assembly separates from the knuckle and pull the hub and axle assembly out about six inches as a unit. If you have the slide hammer, it can help here.

Source | Mike Aguilar
-
Rotate the carrier assembly until the roll pin securing the bar is exposed. Use a hammer with a small punch to drive the roll pin out. Tap the spacer bar out of the carrier. If you are unable to remove the spacer bar, you will have to remove the carrier. If you remove the carrier, mark and make note of the location of the bolts and orientation of the bearing caps.

Source | Mike Aguilar
-
Rotate the axle/spider gears and remove the planetary gears from the top and bottom of the carrier.
-
Remove the axle/spider gears from the carrier, making note of any shims.

Source | Mike Aguilar
-
Lube the four pins and springs, the two spacers, drivers, and couplers, and the spacer bar.

Source | Mike Aguilar
-
Install the couplers with shims and thrust washers into the sides of the case.
-
Place a pin, detent ball down, into each of the two “windowed" openings in the drivers. These are the deep holes with the open sides.

Source | Mike Aguilar
-
Install the drivers in the carrier and line them up with the couplers so the pin holes line up.

Source | Mike Aguilar
-
Use a pick or small screwdriver and push the pins into the couplers. Push a spring in behind each pin.
-
Hold the two assemblies apart and install the spacer/separator pin, making sure the roll pin hole in the pin lines up with the hole in the carrier.

Source | Mike Aguilar
-
Drive the roll pin in completely to lock the assembly together.
-
Wipe any debris out of the housing.

Source | Mike Aguilar
-
Clean the mating surfaces and reinstall the differential cover. A new gasket with Orange or Black RTV is preferred but not required. Reinstall the axles and refill the differential with the required fluid.

Source | Mike Aguilar
-
Reassemble the brakes and reinstall the tires.
-
Lower the Jeep and make sure the tires are tight.
-
Go for a 10-to-20-mile test drive and listen for strange noises from the differential. If things are quiet, check the fluid level in the diff and top it off as needed and then enjoy your newfound traction.

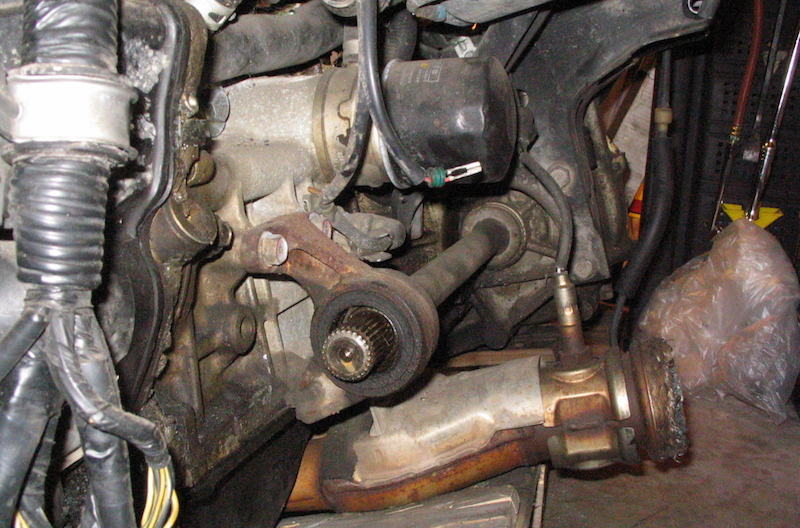
Removing the driver-side tie rod makes this project easier. Source | Mike Aguilar


