Winter means your windshield wipers have to be ready to face intense conditions. It's easy to change deteriorated blades, but what if the wipers don't move when you turn them on? We'll walk you through the process of windshield wiper motor replacement, troubleshooting, and then fixing the moving issue.

This is a good project for new DIYers
-
Locate and verify the fuse for wipers. If the panel or door covering the fuse panel doesn't have the fuse payout printed on, use the repair manual listed above. Replace the fuse and check the wipers again.
-
Probe the fuse holder pins to ensure the fuse is receiving power.
-
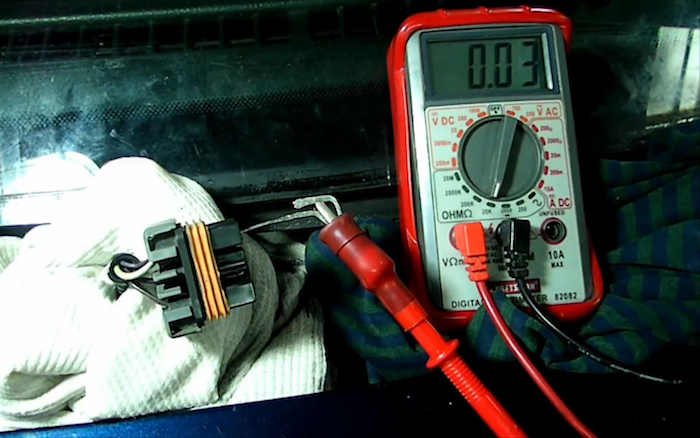
Find the wiring diagram in the repair manual and locate the wiper system on it. In most cars, the wiper motor has power going to it all the time, and the other pins control the speed and timing of the wipers. Turn the key to “run" and use the test light or multimeter to verify power at this pin on the connector. Next, use the multimeter set on "resistance" to verify ground. Some motors are grounded by a strap that is bolted to the car, while others have the ground on the connector. No ground/power = no wiper motor functionality.
Source | Mike Aguilar
-
Cycle the wiper switch through its positions and verify the presence of electricity at the other pins of the wiper motor connector. No “switching current" from the switch to the motor means either bad wiring or a bad switch. If the motor is receiving constant power, has a good ground, and is receiving this switching current, the motor is bad.
-
Locate and remove the wiring connector from the back of the switch. This will require that you either lift or push a latch to unlock to connector.
-
Remove the defective wiper switch from the dash panel. On some cars, this means one or two bolts or screws, while on others you'll need to squeeze two clips as you push the switch through the dash panel.
-
Install the new switch and verify functionality.
-
Disconnect the battery.
-
Remove the shroud around the steering column. In most cases, this requires removing between two and five screws with a Phillips screwdriver. Other cars will have Torx-head screws.
-
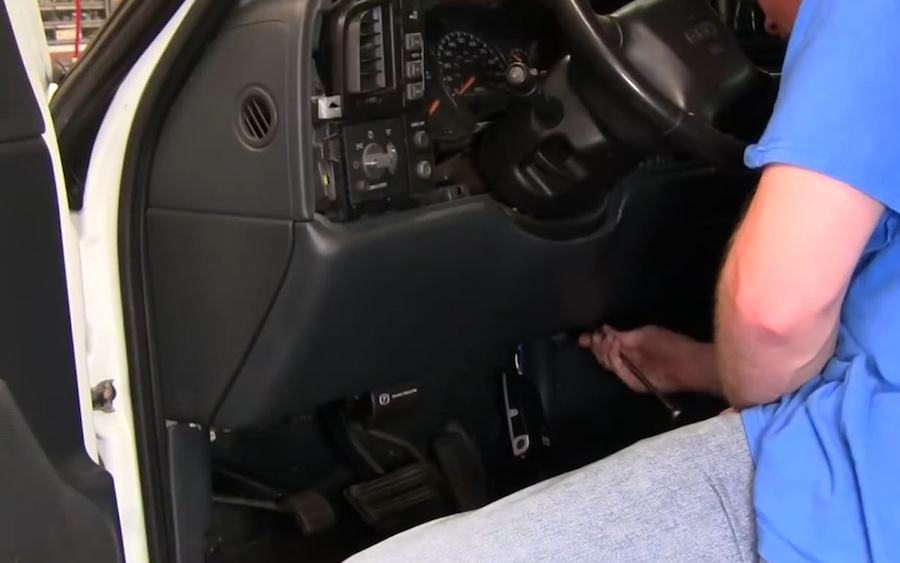
Remove the steering wheel cover by removing the two screws behind the steering wheel. The Chevy Silverado pictured also required the dash knee bezel to be removed.
Source | Mike Aguilar
-
Remove the steering wheel locknut. You may need someone to hold the steering wheel while you break the nut loose. Use the steering wheel puller to remove the steering wheel from the column. Be sure to disconnect the horn leads. Set the steering wheel aside carefully. Remember, there's an airbag in there on many cars.
-
Disconnect the wiring connector from the multi-function switch (MFS).
-
Connect the new MFS and install it in the column. Do not overtighten the screws.
-
Reassemble the steering column, being sure to reconnect anything disconnected during disassembly. Don't forget the locknut! The steering wheel and the column are keyed so the wheel will only go on one way.
-
Reconnect the battery and confirm functionality.
-
(Skip this step if the wiper motor is located in the engine bay.) Remove the four to six screws that secure the cowl to the body. Carefully lift the front of the cowl enough to get your fingers under it. The rear side of the cowl should be locked in place with plastic clips you can carefully lift out. You'll also have to remove the wiper arms from the wiper posts. These can be bolted together or use a locking clip, depending on year, make, and model. Be careful, as the cowl has been sitting in the sun for years and can be easy to break—take your time on removal.
-
Find and disconnect the wiring to the wiper motor. This will include the washer motor wiring on many older cars. There will be a tab or latch that has to be depressed or lifted to unlock the connector.
-
Remove the nuts/bolts securing the wiper motor. There will be two or three of these. Don't lose the rubber isolators and also keep an eye out for ground straps that are bolted in place. You may have to remove a bracket covering the motor first.
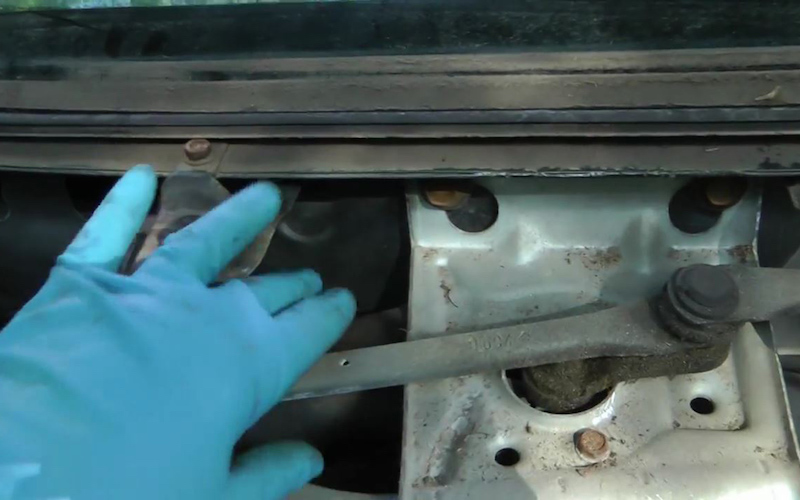
Source | Mike Aguilar
-
Disconnect the wiper mechanism from the motor. The process for this varies. On the Honda pictured, the previous three steps have to be reversed since Honda puts the connector where it can't be reached. Honda also bolts the wiper actuator arm and transmission to the motor with a 17 mm nut and lock washer that will have to come off.
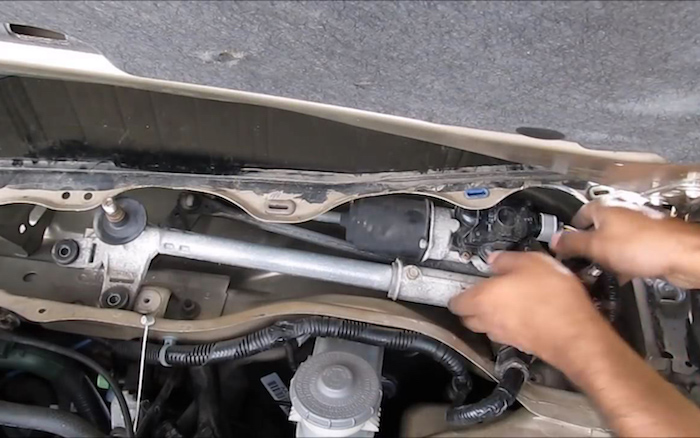
Source | Mike Aguilar
-
Install the new wiper motor and reconnect all components. Test to verify proper functionality.
If the wipers don't move when you turn them on, one of four things has happened: the fuse has blown, the switch is bad, there's an open/broken wire, or the motor itself has given up the ghost. Locate your vehicle-specific Haynes or Chilton manual and find the Component Finder (for the fuse panel layout) and the wiring diagram.
A good fuse getting power but not constant power to the motor means there's a problem in the wiring that you'll need to track down and fix. If you don't find power present where the fuse plugs in, this also indicates a problem with the wiring.

Source | Advance Auto Parts
The dash-mounted wiper switch is the easiest to replace. One or two screws secure it to the dash panel in most cases. In some, it's a friction clip that secures it to the dash.
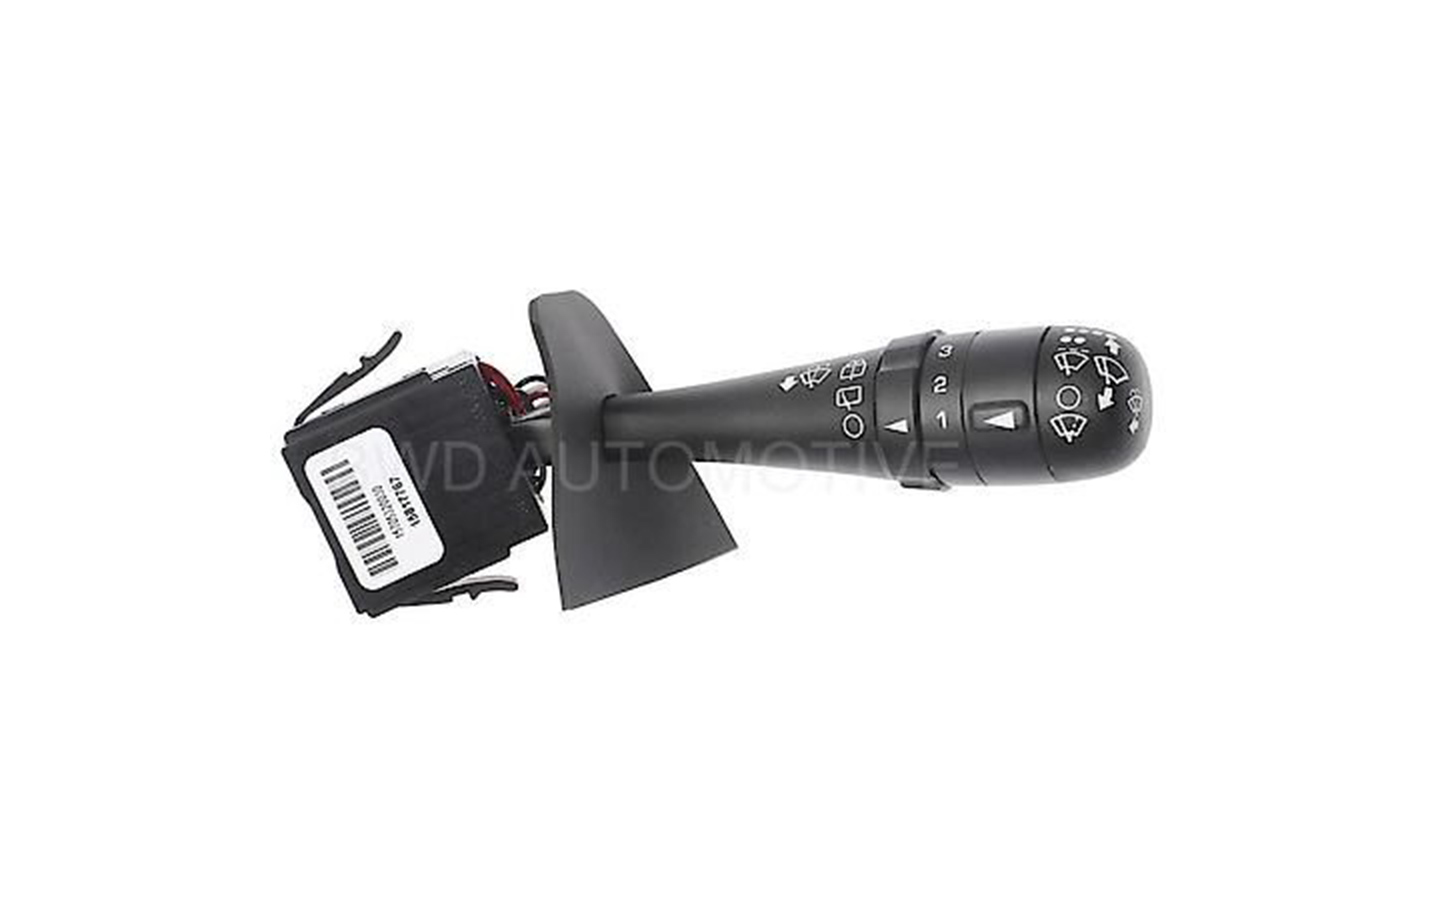
Source | Advance Auto Parts
These can be a little tricky, and you have to take care not to break something and let it fall into the column. You'll need to disconnect the battery before doing anything if your car has airbags.
Any stray voltage while removing the switch can cause the airbags to be deployed. This is a bad thing. Best-case scenario? About $800 to clean up and replace the airbag. And that's hoping you don't end up with injuries from the airbag deploying while you sit behind the wheel.
Some vehicles, like the Chevy Silverado pictured, will also require the removal of the steering column bracket under the dash.
When removing the steering wheel, take care not to damage the clockspring. The clockspring is a coiled piece of wire inside the column that allows electrical connection to the steering wheel for the airbag, horn, etc., as you turn the wheel. Damage to the clockspring can sever connections to these components.
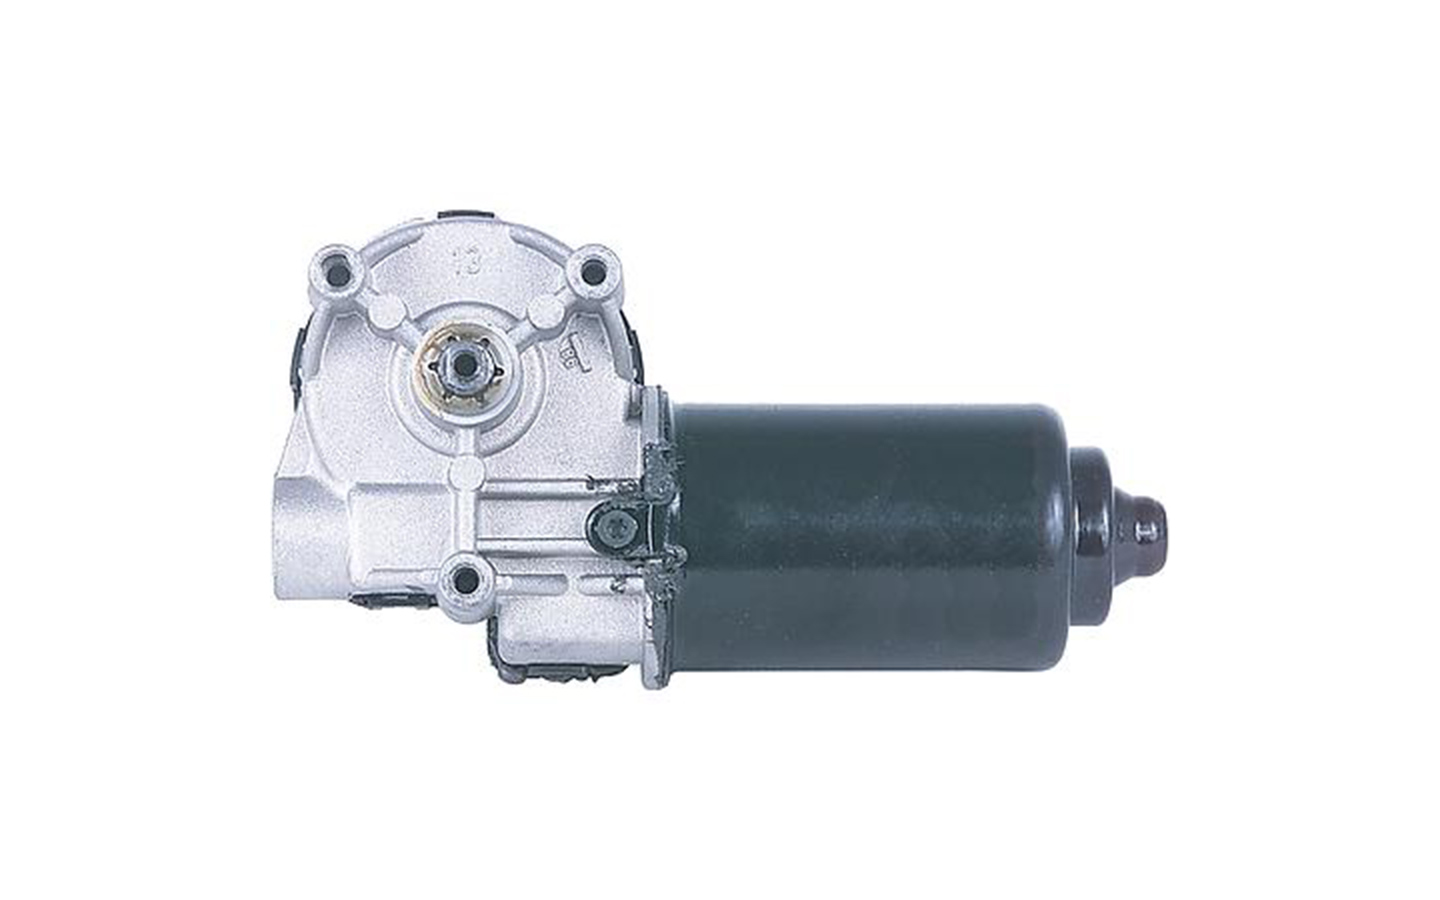
Source | Advance Auto Parts
The wiper motor on the majority of older cars will be in the engine compartment close to the brake booster. Engineers had to move the motor to under the cowl (between the hood and windshield) on newer cars. Make sure this area has not filled up with water, as it will result in damage to the new motor.

