Like all moving parts, distributor caps and rotors eventually wear out from a combination of heat, vibration, extreme voltage, cracking and carbon deposits and need to be replaced. These factors cause the plastic in the cap to break down over time and the internal plug wire contacts to oxidize and deteriorate from spark arcing. Hard starting, engine missing, stalling, backfiring and pinging are all signs that your car distributor cap may have called it quits. The cap and rotor on older vehicles are simple in their design, while on newer vehicles they tend to be more complex.
Inspect the cap and rotor for signs of damage or wear on a regular basis, and when it's time to replace this power-distribution duo, follow these steps to complete what should be a simple job.
This is a good project for new DIYers
-
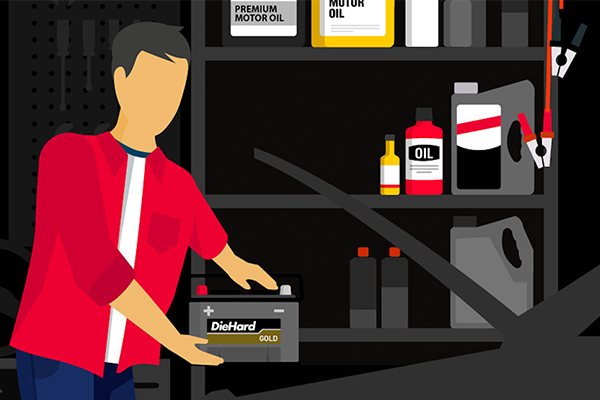
Disconnect the negative battery cable.
-
Locate the cap, with help from the vehicle owner's manual or a repair manual, if needed.
-
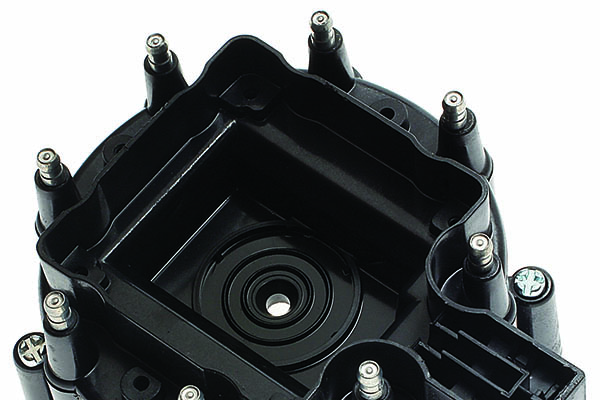
Loosen the distributor cap. Some older caps are secured using two J-hooks and the cap needs to be pushed down and rated 90 degrees to loosen. Other cap styles use snap clips or machine screws for retainers.
-
Lift the cap straight up to clear the rotor. You may have to disconnect the coil wire if it isn’t long enough.
-
Position the old and new caps next to each other, lining them up so their positions match one another exactly. Transfer spark plug wires one-by-one onto the new cap, following their location in the old cap as a guide and installing them in the same position in the new cap.
-
Lift the old rotor off and install the new one making sure it is aligned the same way the old one was. While you have the rotor off, try moving the distributor shaft back and forth to check for any excessive lash or play in the shaft itself.
-
After the wires have been installed in the new cap, place the cap on the distributor and rotate it until the alignment tab allows the cap to drop into place.
-
Reconnect the cap back to the distributor, and reconnect the short plug wire back to the ignition coil.
-
Double-check all wire connections.
-
Reconnect the negative battery cable.
The cap and rotor are critically important for power distribution and need to be replaced periodically.
Be sure to connect the spark plug wires to the new cap in the exact same positions as they were in the old cap. This will take extreme care on your part. A misplaced plug wire will change the engine's firing order and make it run very poorly.