Source | Mike Aguilar
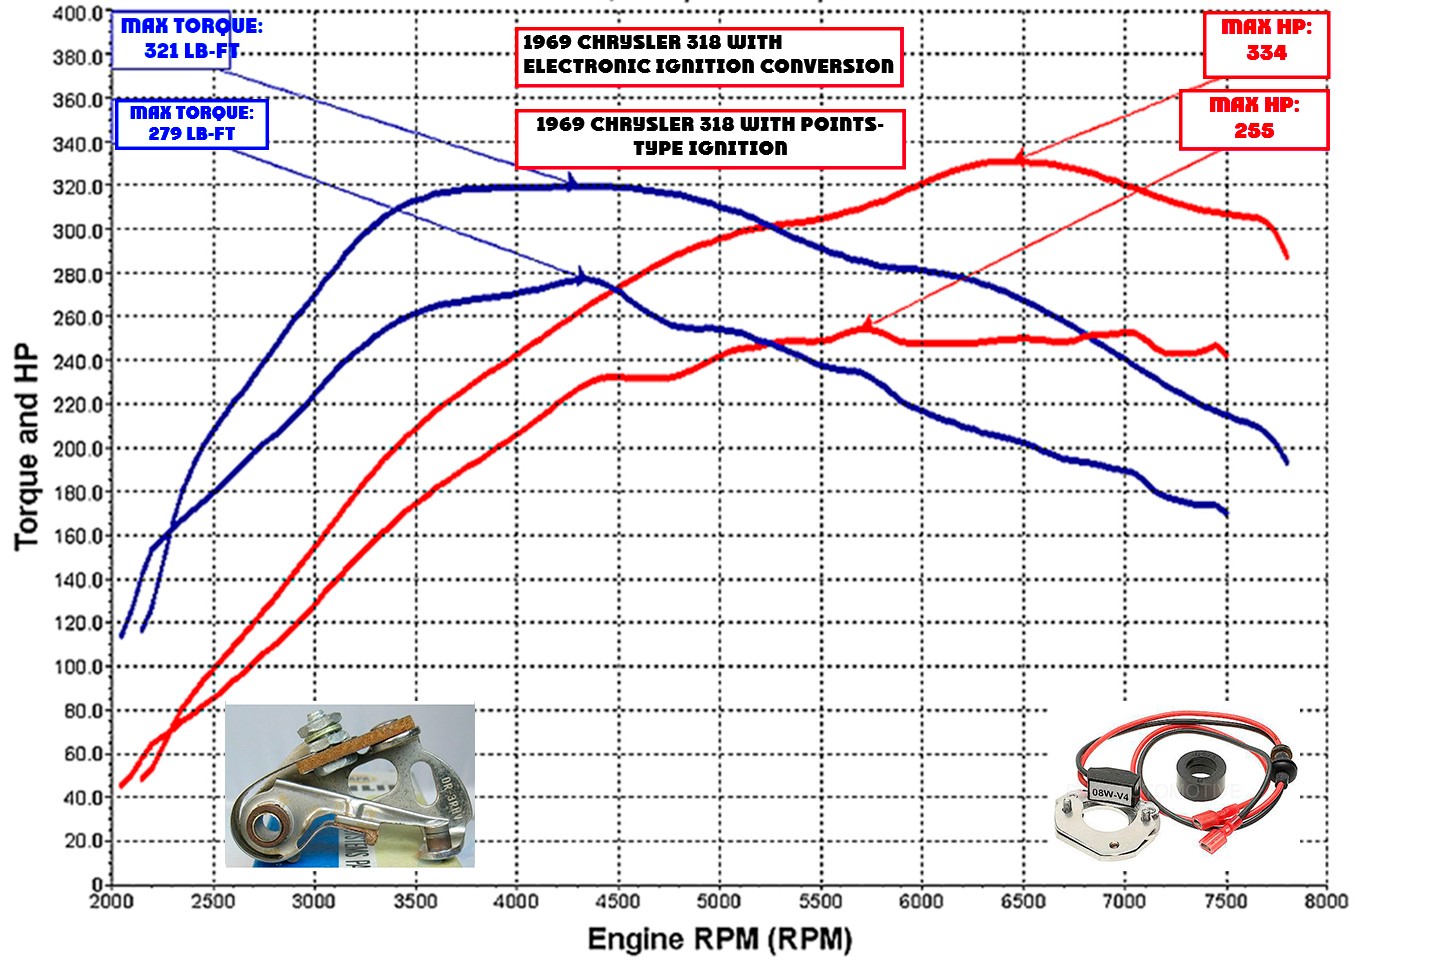
One of the easiest ways to increase the horsepower output of your classic car is by converting from the old, maintenance-intensive, unreliable points/breaker-type ignition to electronic ignition. Points-type ignitions are subject to wear which degrades engine performance and this wear begins immediately. Also, vibrations can cause the components to loosen and shift, further degrading engine performance. Advance Auto Parts is going to walk you through the basic steps of converting your old points/breaker ignition to electronic ignition.
This is a project that needs some know-how
-
Pop the hood and disconnect the negative battery terminal. Leaving the plug wires alone, remove the distributor cap and set it aside. rotate the engine until the tip of the rotor is pointing at the electrode for the number one cylinder and the timing mark on the harmonic balancer is at Top Dead Center (TDC). Mark or make note of where the rotor is pointing.
-
Clean the engine block where the distributor mounts. Remove the vacuum advance canister and the line to it, if equipped. The vacuum canister is secured to the distributor with two small screws. Remove the locking clip on the advance arm and lift the arm off the stud. Remove the canister. Loosen and remove the distributor hold down bolt with a wrench or socket (1/2 or 9/16 inch on most cars).
Remove the distributor, wiggling as you pull. Don't "change the timing" by rotating the distributor if you can. Make note of where on the body of the distributor the rotor is pointing at as it comes out.
Source | Mike Aguilar
-
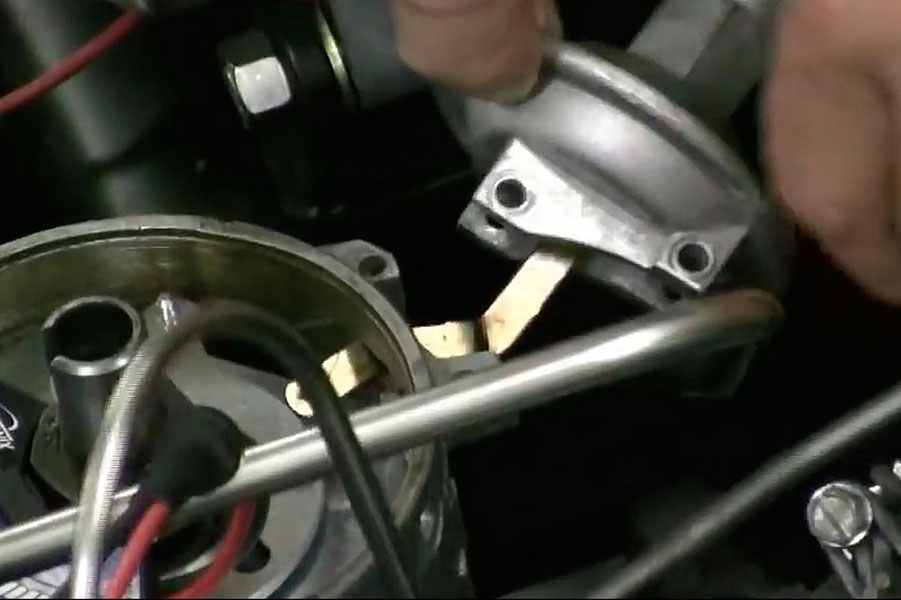
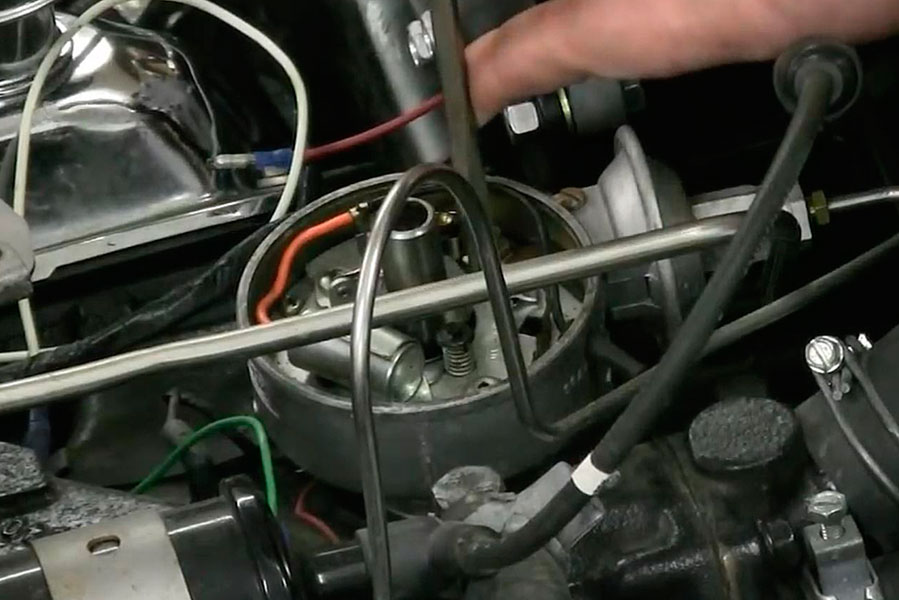
Use a screwdriver to remove the wire from the points. Then remove the points and condenser canister from the breaker plate inside the distributor. (The condenser may be mounted on the outside.) There are usually two small screws that secure both to the plate. Disconnect the wire going to the distributor negative.
Source | Mike Aguilar
-
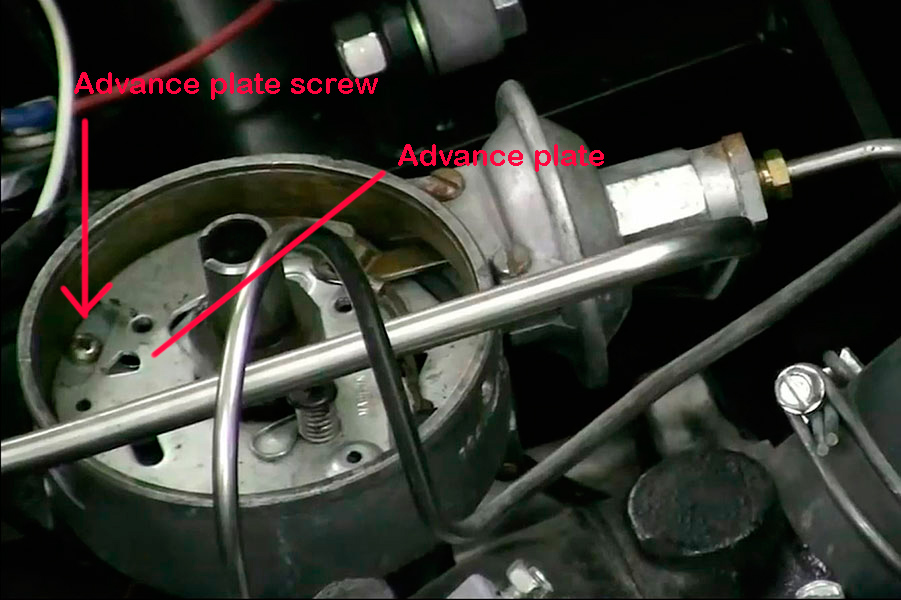
Remove the advance plate screws and remove the plate from the distributor. Thoroughly clean the inside of the distributor, paying particular attention to the plate's mounting points and the point cam.
Source | Mike Aguilar
-
Insert the wires (black and red) on the new electronic ignition pickup/ignitor and make sure they fit snugly in the notch in the distributor.
-
Slide the conversion adapter plate over the distributor shaft onto the breaker plate. Attach this plate to the breaker plate using the two larger (8/32) included screws. The adapter secures using the same holes that were used on the points. Make sure this plate sits flat on the breaker plate and don't over-tighten these screws.
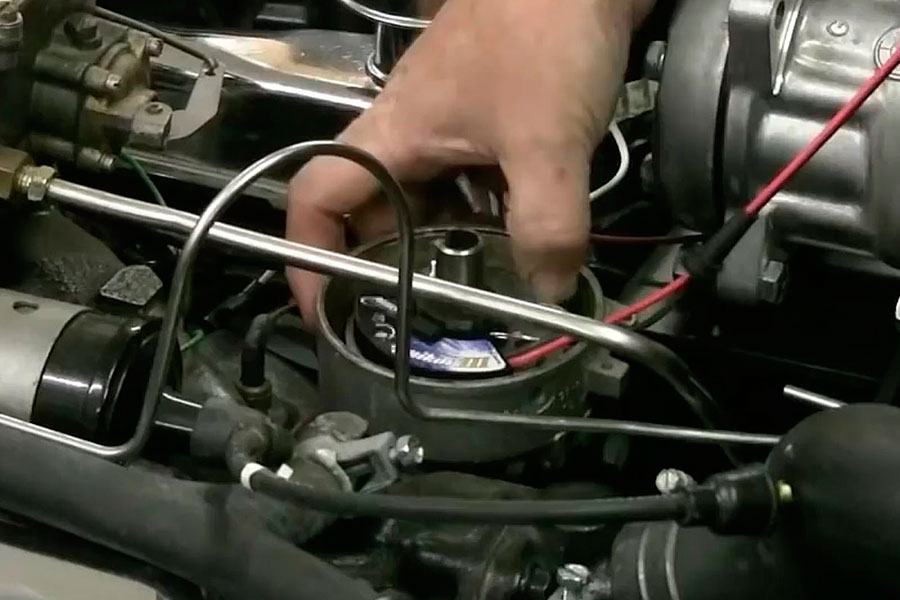
Source | Mike Aguilar
-
Make sure the wires on the new electronic ignition pickup/ignitor don't contact any moving parts inside or around the distributor. Cut these wires to the length needed to reach where the original wires connected. Strip the wires and crimp on the supplied connectors.
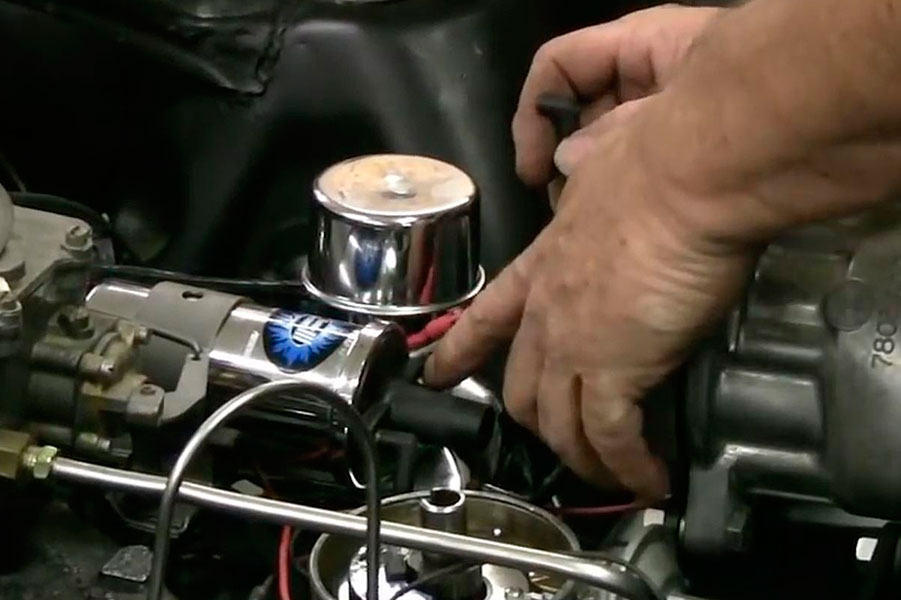
Source | Mike Aguilar
-
Connect the black to the negative terminal on the coil. Connect the red wire to coil positive and ignition positive. You may need to run a new wire from the ignition switch to the coil/distributor for this. This wire must have power when running and when cranking.
-
Verify that the timing mark is still pointing at TDC on the balancer. Put the rotor back on and realign it with where it was pointing when you removed the distributor. Slowly insert the distributor until it bottoms out. Test fit the cap and verify the rotor is pointing at the number one cylinder electrode once again.
-
Put the cap back on. Reconnect the battery. Start the engine and allow it to warm up. Set engine timing per the smog sticker or the repair manual.
When converting from points to electronic ignition, you've got two options. You can either convert your existing distributor, or you can install a new distributor. Advance Auto Parts offers kits that allow you to remove the old points components from inside your distributor and replace them with new ones. This makes conversion fairly quick and simple. It also allows you to retain the OEM distributor while obtaining the benefits of electronic ignition. However, while installing a new distributor with external control module gives you a little more flexibility, it requires more work with wiring.
If you decide to replace the distributor, it's best to purchase a complete kit to ensure that everything works properly together. These kits will be basically plug and play where you'll mount the external controller somewhere and connect it to the new distributor with the included harness. This article will cover converting the OEM distributor to electronic ignition.
If you have a dashboard with a stock “Rallye Pack" positive-fired tachometer, you will need to bypass or convert it to work with as a negative-fired tach. "Rallye Pack/Rally Pac" gauges combine the tachometer with a clock and have gauges indicating oil pressure, water temperature, and charging voltage. Connecting a positive tach to a converted electronic ignition system will cause damage to the system.
If the cap or rotor show excess wear, carbon tracking or pitting on the terminals, replace them.
This job can be completed without removing the distributor if it's mounted where you can gain complete access without removal. Most Dodge and GM distributors will have to be removed because they sit at the back of the engine. Removing the hood will make accessing these distributors easier. If you do so, be sure to make the locations of the bolts to ease reinstallation.
Check the open circuit (no wires connected) resistance of your ignition coil. If the resistance is 0.32 Ohms or more, most conversions allow you to remove the ballast resistor most classic muscle cars have. If the resistance is lower, you'll need a ballast resistor between the module/ignitor and coil positive.
Have you thought about converting your classic car to electronic ignition?

