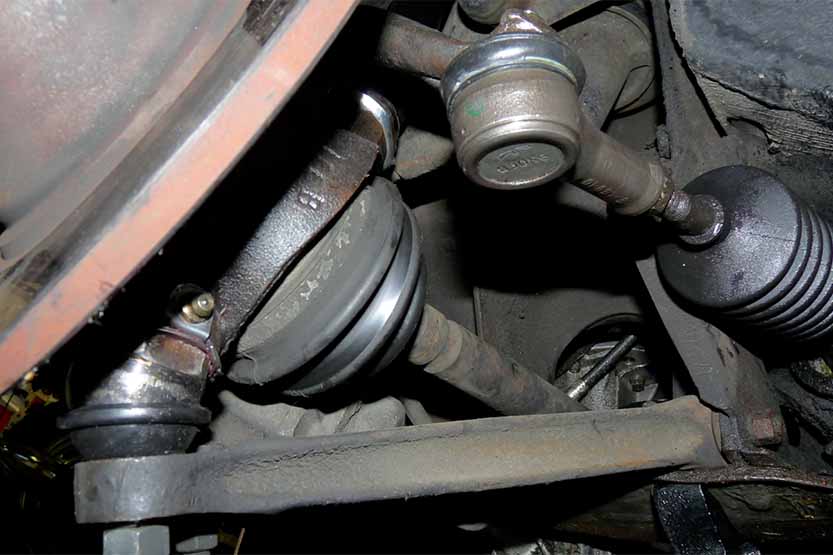
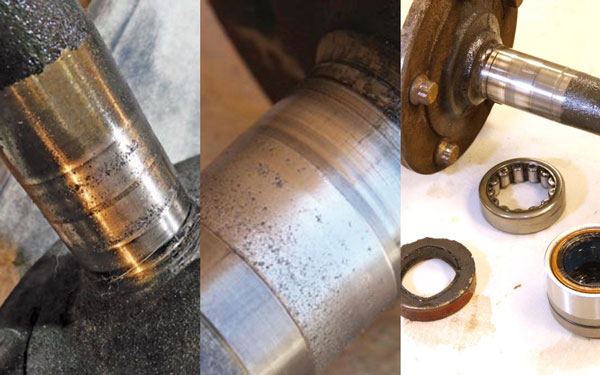
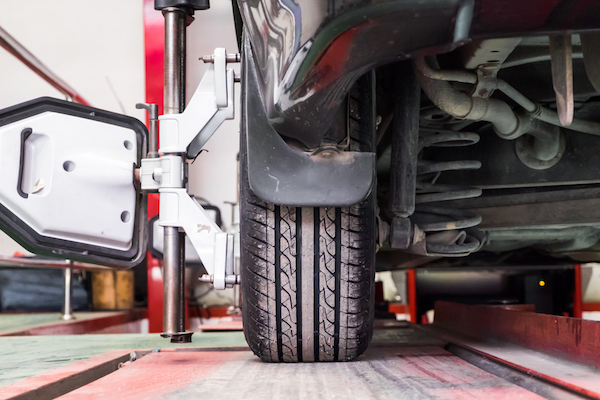
Wheel studs, also known as lug studs, secure the wheel to the axle or hub on your car in combination with lug nuts. Over time, they can rust or break, requiring replacement. Custom wheels may also require studs that are longer than the originals. You might think that you need to take your vehicle to a shop to replace the studs, but you can usually save money and time by doing it yourself. This is one of the most common tasks you'll run across on an old vehicle or on a restoration project for a vintage car or truck.
 All photos by Mike Aguilar
This is a project that needs some know-how
-
Raise and support the vehicle under frame members. Remove the affected wheel. If using a lug wrench, you'll need to loosen the lug nuts before raising the vehicle.
-
Remove the brake drum or caliper and rotor.
-
Broken studs will need to be punched back through the flange with the hammer and punch. The base of the stud and flange are splined to keep the stud from spinning. Once the stud clears those splines, it will come out easily. Use a hammer to pound out a rusted stud with a lug nut on it until the splines are cleared and the stud is loose.
-
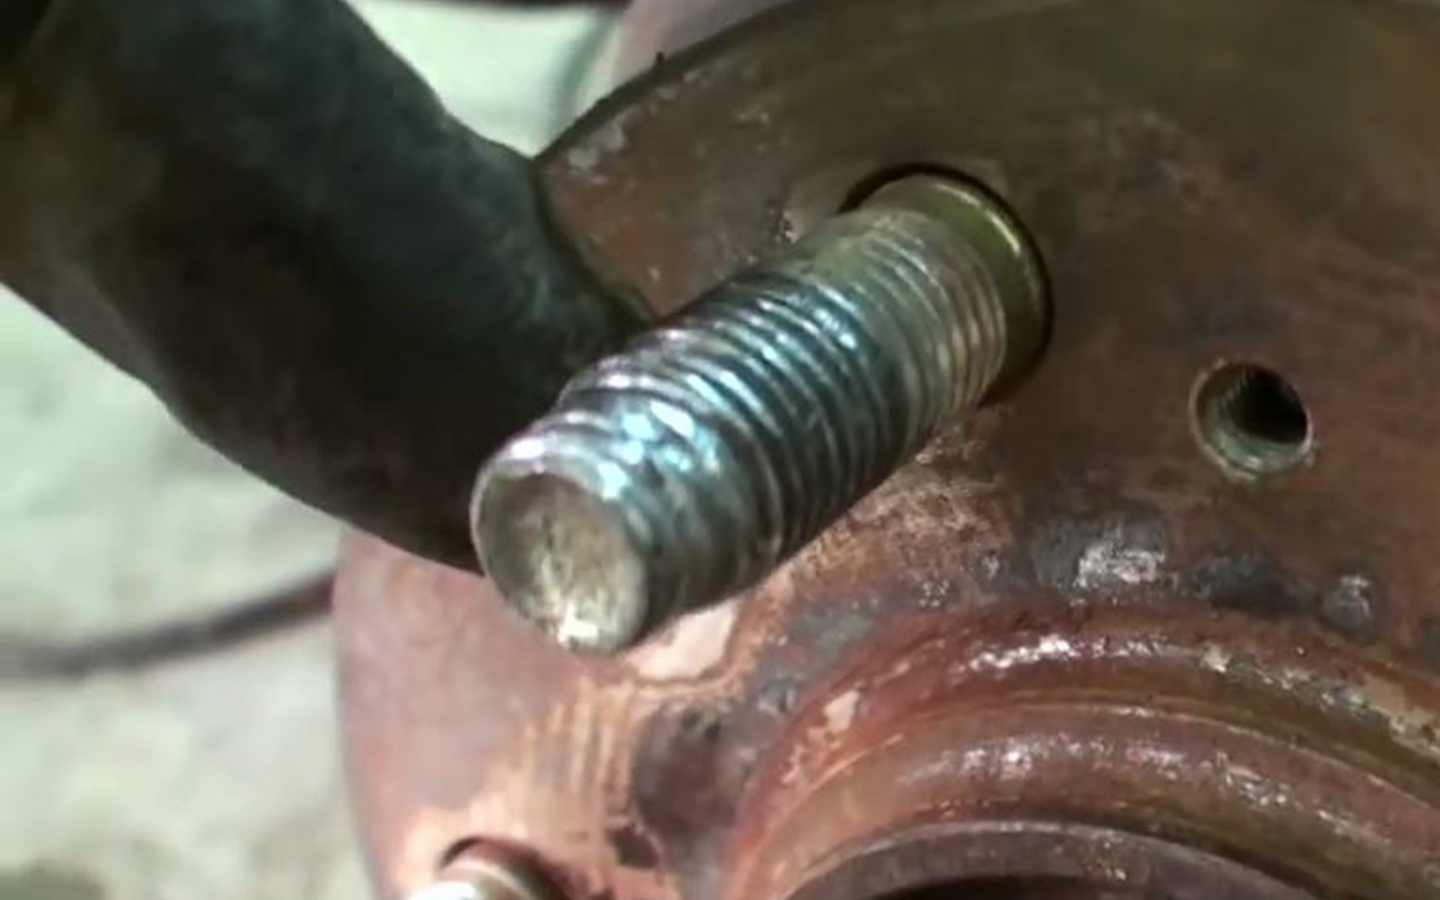
Push the new stud through the opening and slide a spacer or some washers over the stud. Thread a lug nut upside down until it makes contact with the washers. Crank the lug nut as tight as you can and check to see if it's fully seated. If not, remove the lug nut and add another washer or two and tighten the lug nut again. Repeat this process until the lug nut is fully seated. Use a pry bar or large screwdriver as a lever to keep the spindle from turning.
-
Loosen the lug nuts and the spindle nut prior to raising the vehicle. You may need a punch or chisel to open the tip of the spindle nut if it's staked. Once the spindle nut and lug nuts are loose, raise and support the vehicle and remove the tire and spindle nut.
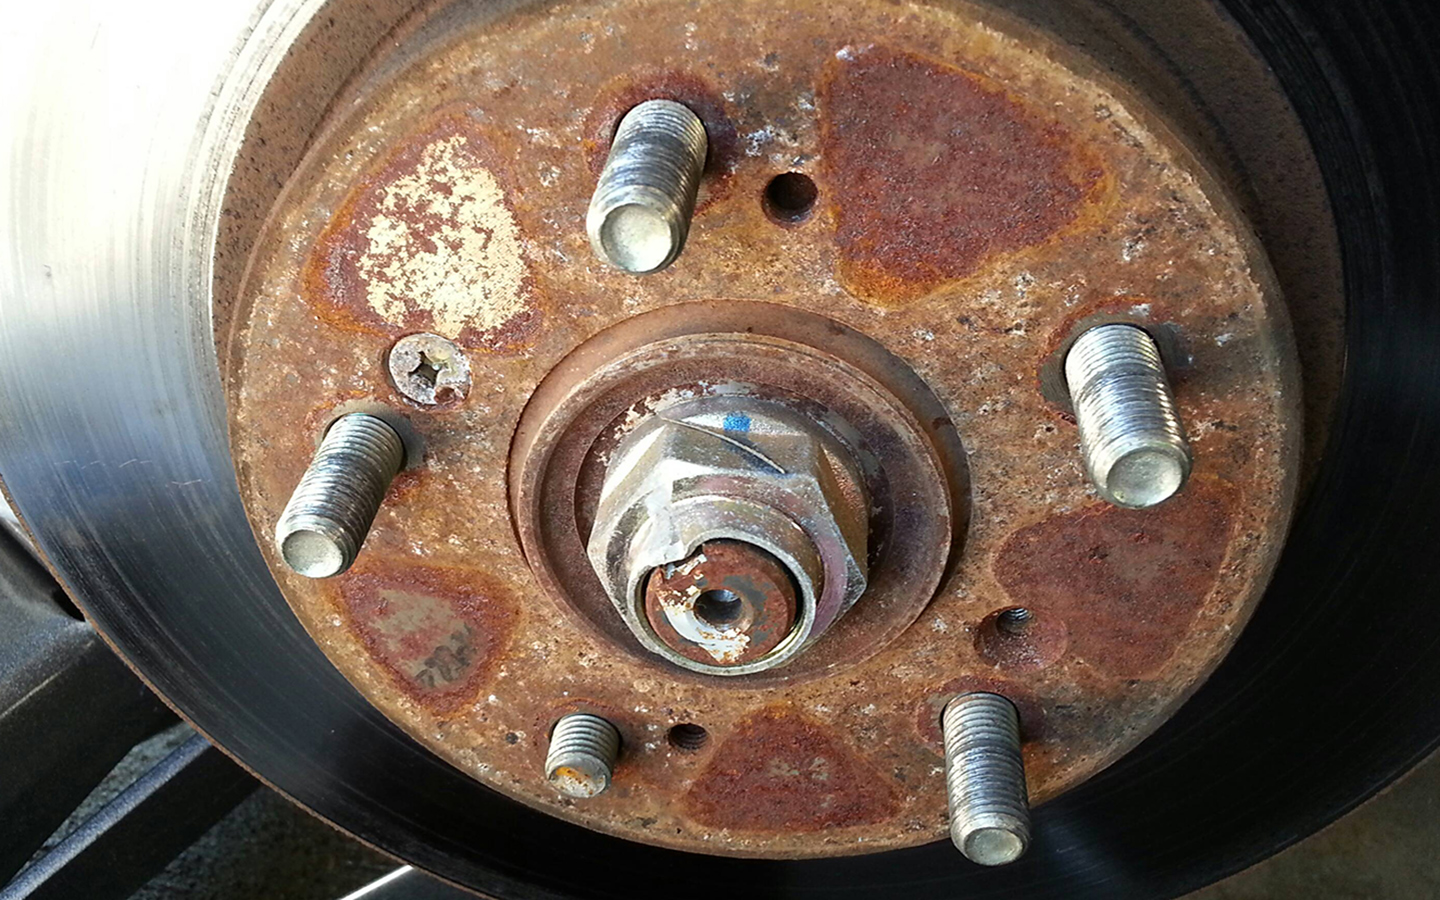
-
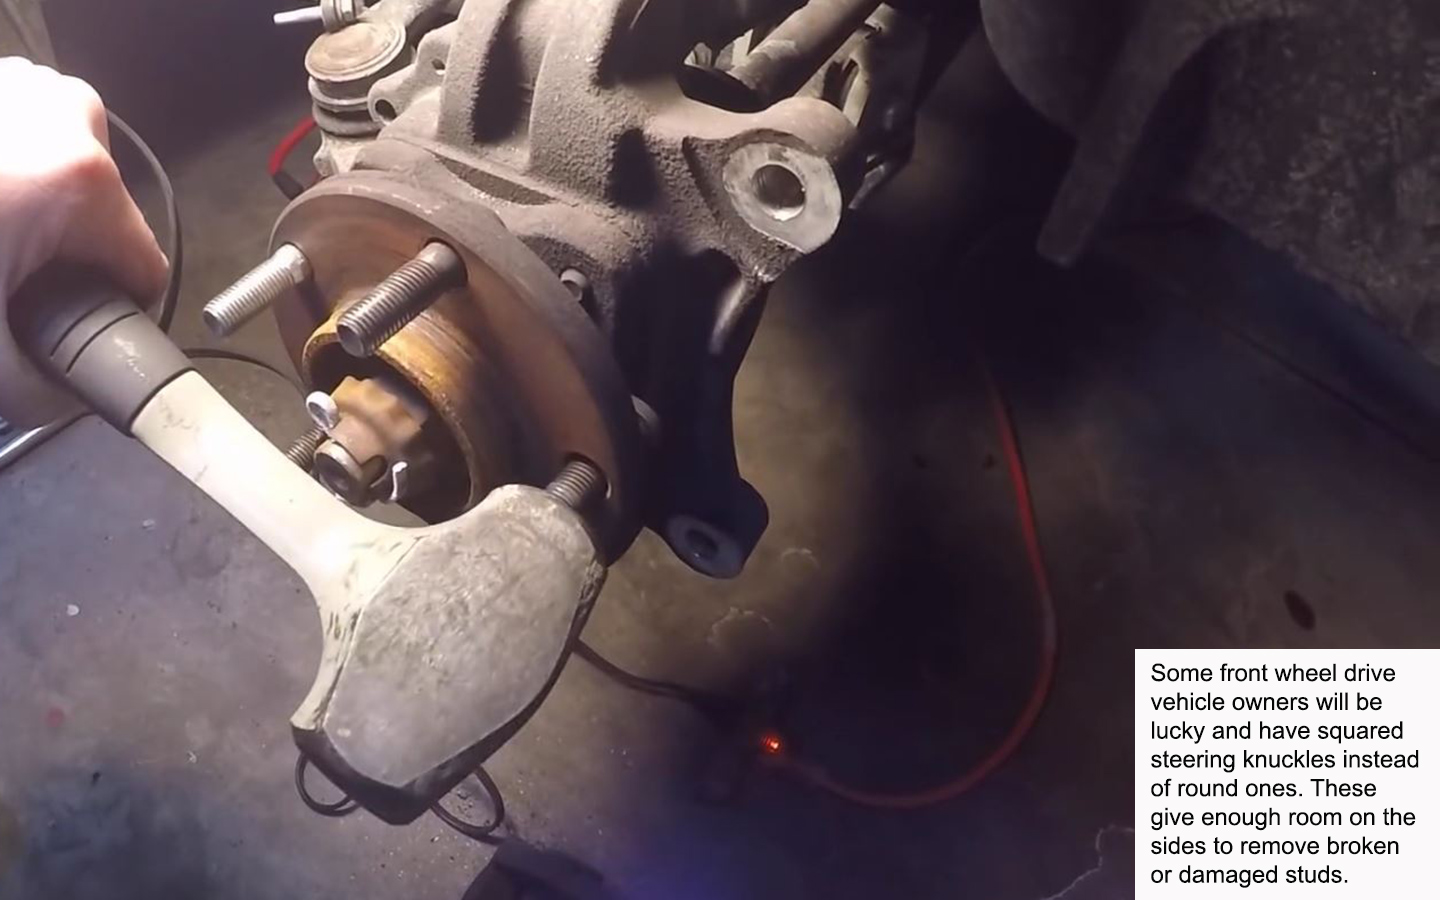
Remove the caliper and bracket. Loosen the nuts and bolts on the struts, and lower the ball joint and tie rod. Knock the ball joint and tie rod loose from the knuckle assembly. If you can push the spindle into the housing, skip to Step 4.
-
Attach the special axle puller or slide hammer to the axle with three lug nuts. Slam the sliding weight into the stop at the end of the rod until the hub bearing loosens from the spindle.
-
Pry down on the end of the lower control arm as you pull out and up on the knuckle to remove the ball joint stud from the steering knuckle, and remove the knuckle assembly from the vehicle.
-
Once the hub and knuckle assembly is back from the shop with the new wheel studs, reassemble in reverse order of the steps above. Once the spindle nut is torqued to the proper value (which varies from vehicle to vehicle), be sure to lock the spindle nut in place by punching it into the groove in the spindle or using a castle nut and cotter pin.
Buy two new lug nuts for each stud being replaced. The wear incurred during installation of a new stud makes the lug nut unusable.
You can modify a shallow 9/16 or 5/8-inch impact socket to become a wheel stud installation spacer and this will get the wheel stud most of the way in, but a few washers will almost always be required to fully seat the stud.
This process is much more involved on front-wheel drive vehicles, as higher torque values and hub bearings are involved. An unacceptable modification of the wheel stud is also usually required to clear the knuckle bulge around the hub assembly unless these are separated. For this reason, removal and reinstallation of the hub assembly is all that will be covered here. Take the hub assembly to a qualified shop to install the new studs.
If you have noise or a wobble coming from the hub bearing, it might be more economical to replace the hub assembly with one from Advance Auto Parts. You'll pay more for parts but save significantly on labor and time lost.

