Replacing your vehicle's shock absorbers is key to a smoother, safer ride.
Common signs of worn-out shock absorbers include unusual tire wear, excessive bouncing, an unstable feeling at highway speeds and fluid leaking from the shock absorber. If your vehicle has these symptoms, it’s probably time to replace them. If you’re unsure, we recommend taking a moment to read our articles on troubleshooting your suspension and what you should know before replacing your shocks and struts.
The following guide to replacing shock absorbers uses images of a 2012 Chevrolet Silverado as an example. Keep in mind, however, that the steps for all vehicles are not the same. For instance, if you have a shock or strut inside a coil spring, you may find this how-to guide more helpful instead. You’ll also want to make sure you check out our free loaner tools* to help you get your project done right.
With all of that out of the way, let's get to work replacing those shocks. We know you've got this.
*A deposit is required at the time of checkout. The full deposit is then refunded once the tool kit is returned.
This is a project that needs some know-how
-
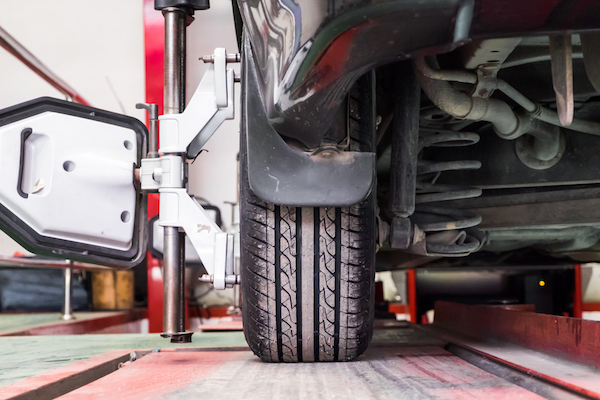
Park the vehicle on a level surface and block the wheels that will remain on the ground. Using a floor jack, raise the vehicle and secure it with jack stands. Leave wheels on the vehicle if possible for added safety. Be sure you place the jack stands in the right spots on the frame for stability!
-
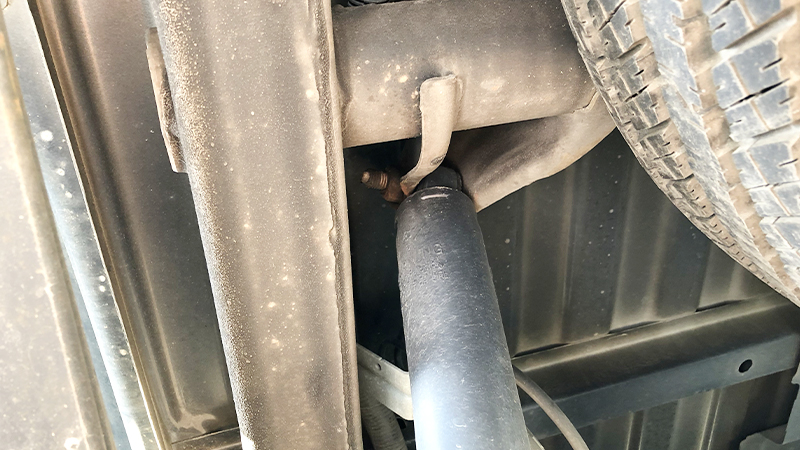
Loosen the lower shock retaining nut, but do not remove the bolt at this time. Nuts on the shock bolts may be rusted and/or difficult to remove. Use some penetrating oil, such as PB B'laster, and give it some time to work to help loosen them. You can also use a nut splitter to help remove stubborn nuts.

Lower retaining nut on a Chevy Silverado rear shock | Source: Lisa Kowite
-
Locate the attaching/mounting hardware at the top of the shock. Depending on the type of shock, it may be retained by two bolts that require a long socket extension to access.
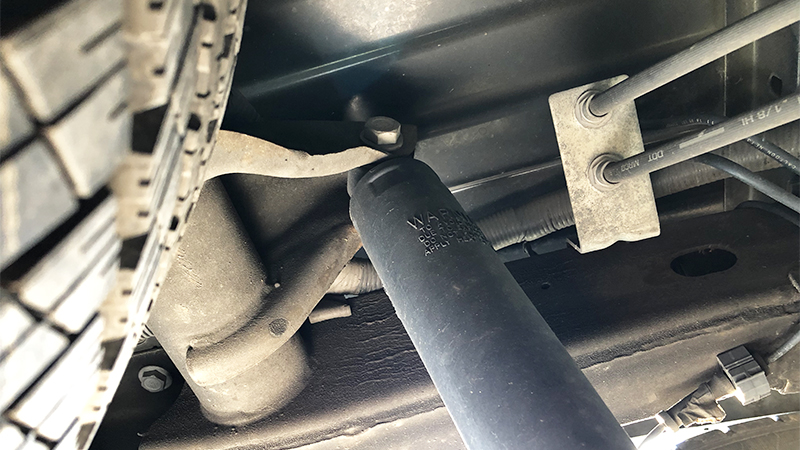
Top bolt on a Chevy Silverado rear shock | Source: Lisa Kowite
-
Remove the two retaining bolts. Your shock absorbers may be retained by a single stud/nut on the top of the shock or a through-bolt.
Retaining nut on the end of the top bolt of a Chevy Silverado rear shock | Source: Lisa Kowite
-
Finish removing the nut and tap out the bottom shock bolt using a rubber mallet.
-
Remove the old shock.
-
Install the new shock by inserting the lower bolt first. Hand tighten the nut.
-
Once the bottom bolt is in place, use the utility knife to carefully cut the shock compression strap. The shock is under pressure and as soon as the strap is cut, it will slowly expand. As it does, be ready to insert the bolt(s) into the top of the shock and mounting hardware.
-
Torque the nuts on the top and bottom bolts to the proper specifications.
-
It's always recommended to replace shocks in pairs, so once you've finished with the first one, repeat the process on the second shock.
-
After doubling checking the torque on all of the fasteners, go out for a test drive. You'll enjoy the improved quality of ride!
You'll need an alignment after replacing struts, but not shock absorbers. This is because struts are an integral part of your steering and suspension system, whereas shocks are not.