If you can change a light bulb in your house, you’re on your way to knowing how to replace headlights on your vehicle. Knowing how to replace headlights is a straightforward maintenance item that is great for both the seasoned pro and beginner DIYer.
Headlight bulbs on older vehicles may be a sealed unit, consisting of a lighting filament, reflector, and lens, while headlight bulbs in newer vehicles are replaceable bulbs that twist out. Once you know which type your vehicle has, the steps to replace headlights aren't complex, so you're in luck there.
We recommend replacing both headlights regularly, when you notice that they're dim and hopefully before they've burned out! We also recommend that you replace both headlights at the same time, because when one headlight bulb fails, the other usually isn’t far behind. Bulbs also dim over time, and replacing both is the easiest way to keep your vehicle operating safely.
This is a good project for new DIYers
-
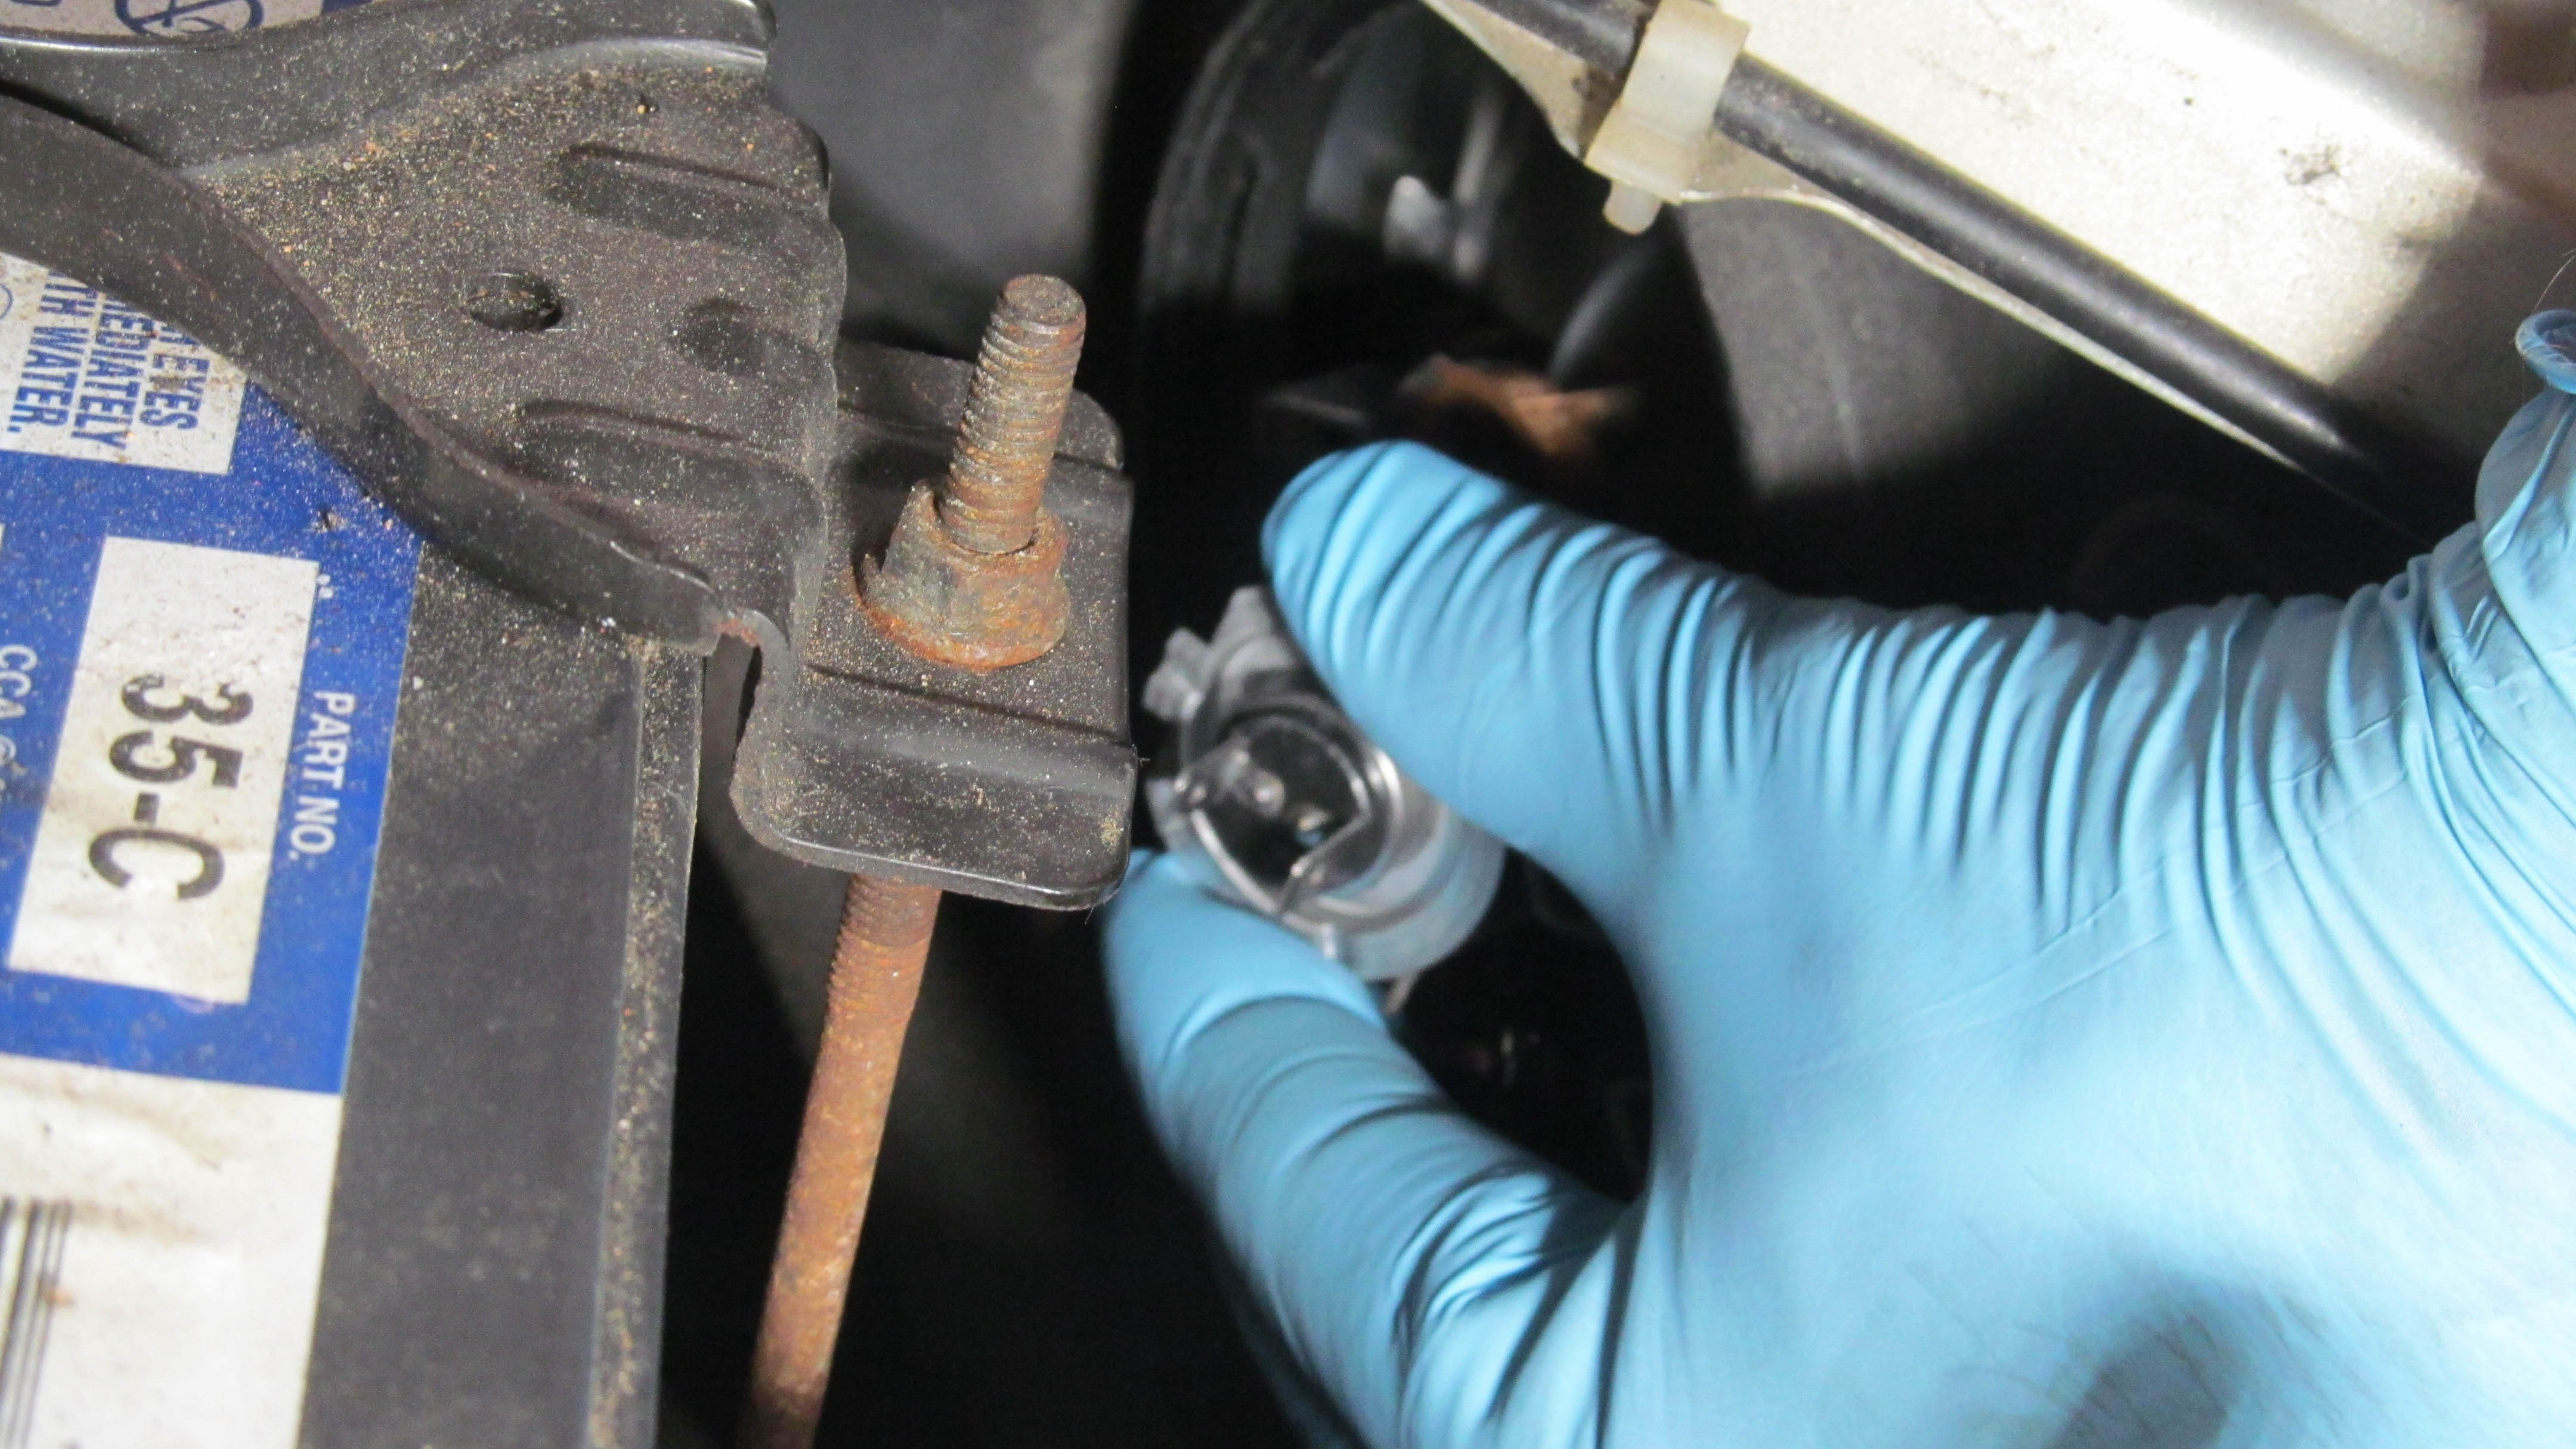
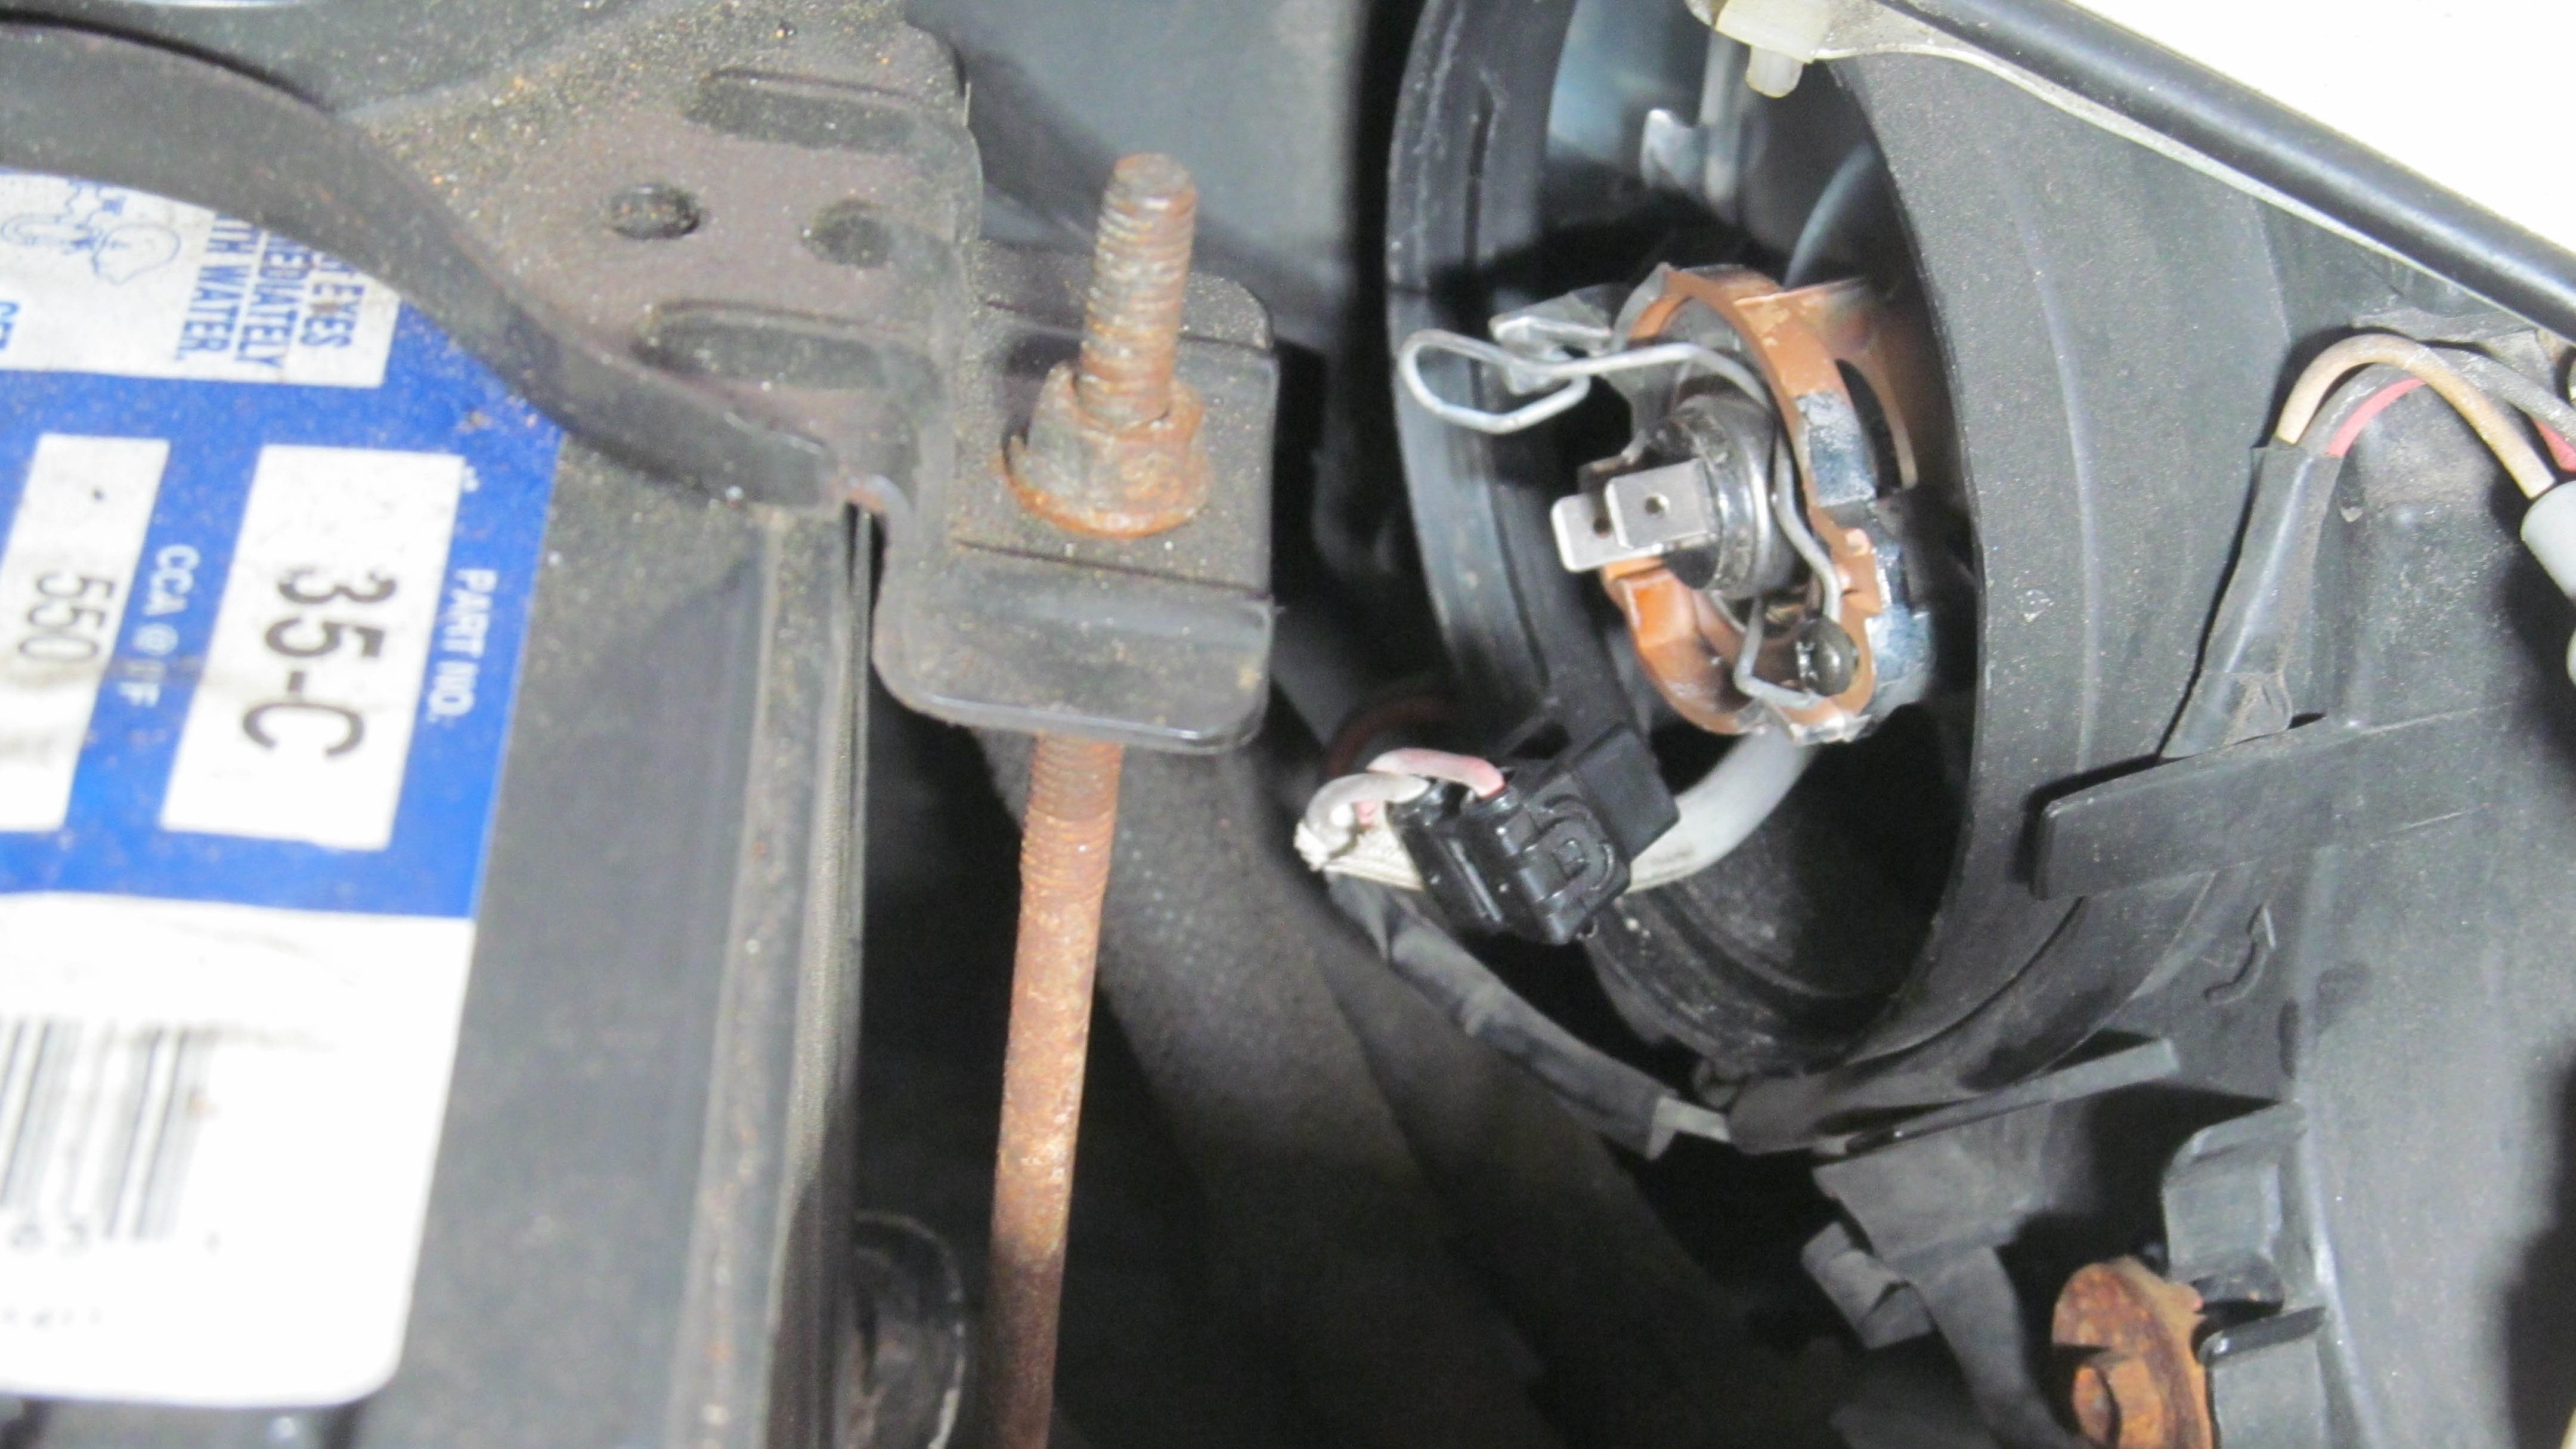
If your vehicle has removable headlight bulbs, remove the protective shield from the back of the headlight assembly (if there is one), then turn and loosen the plastic harness containing the bulb.
-
Slide the plastic harness and headlight bulb from the headlight assembly’s back.
-
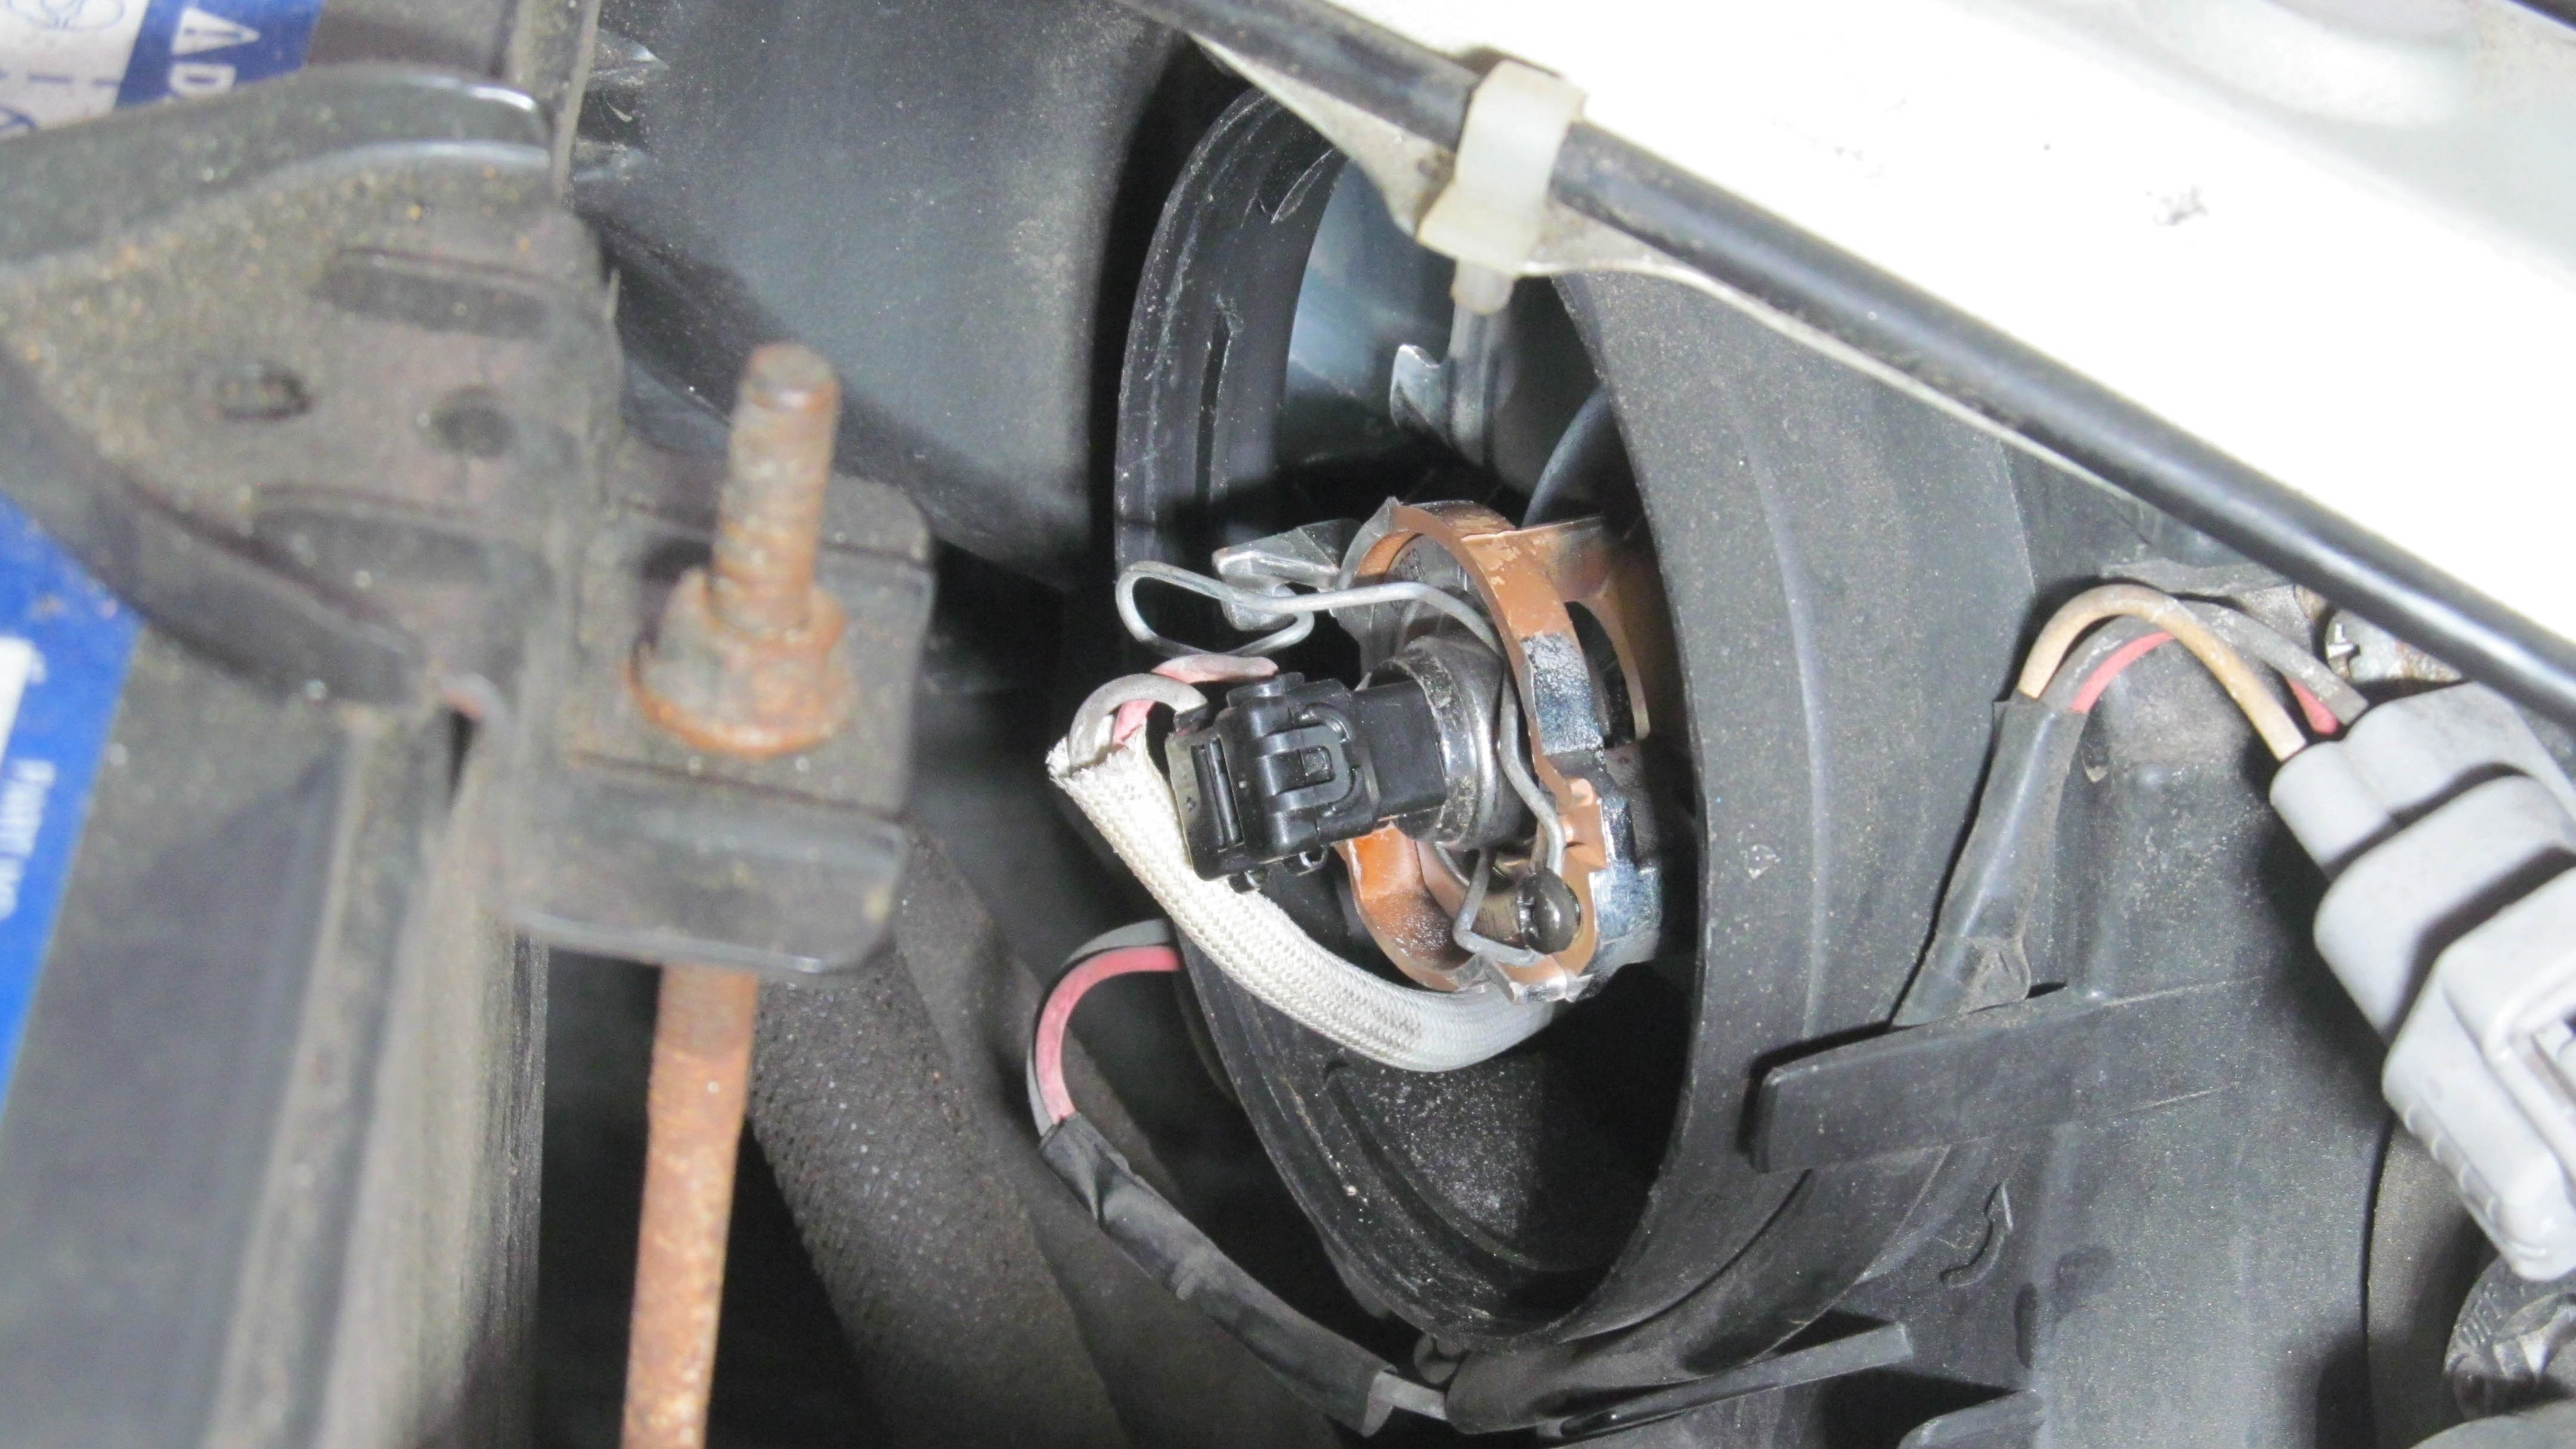
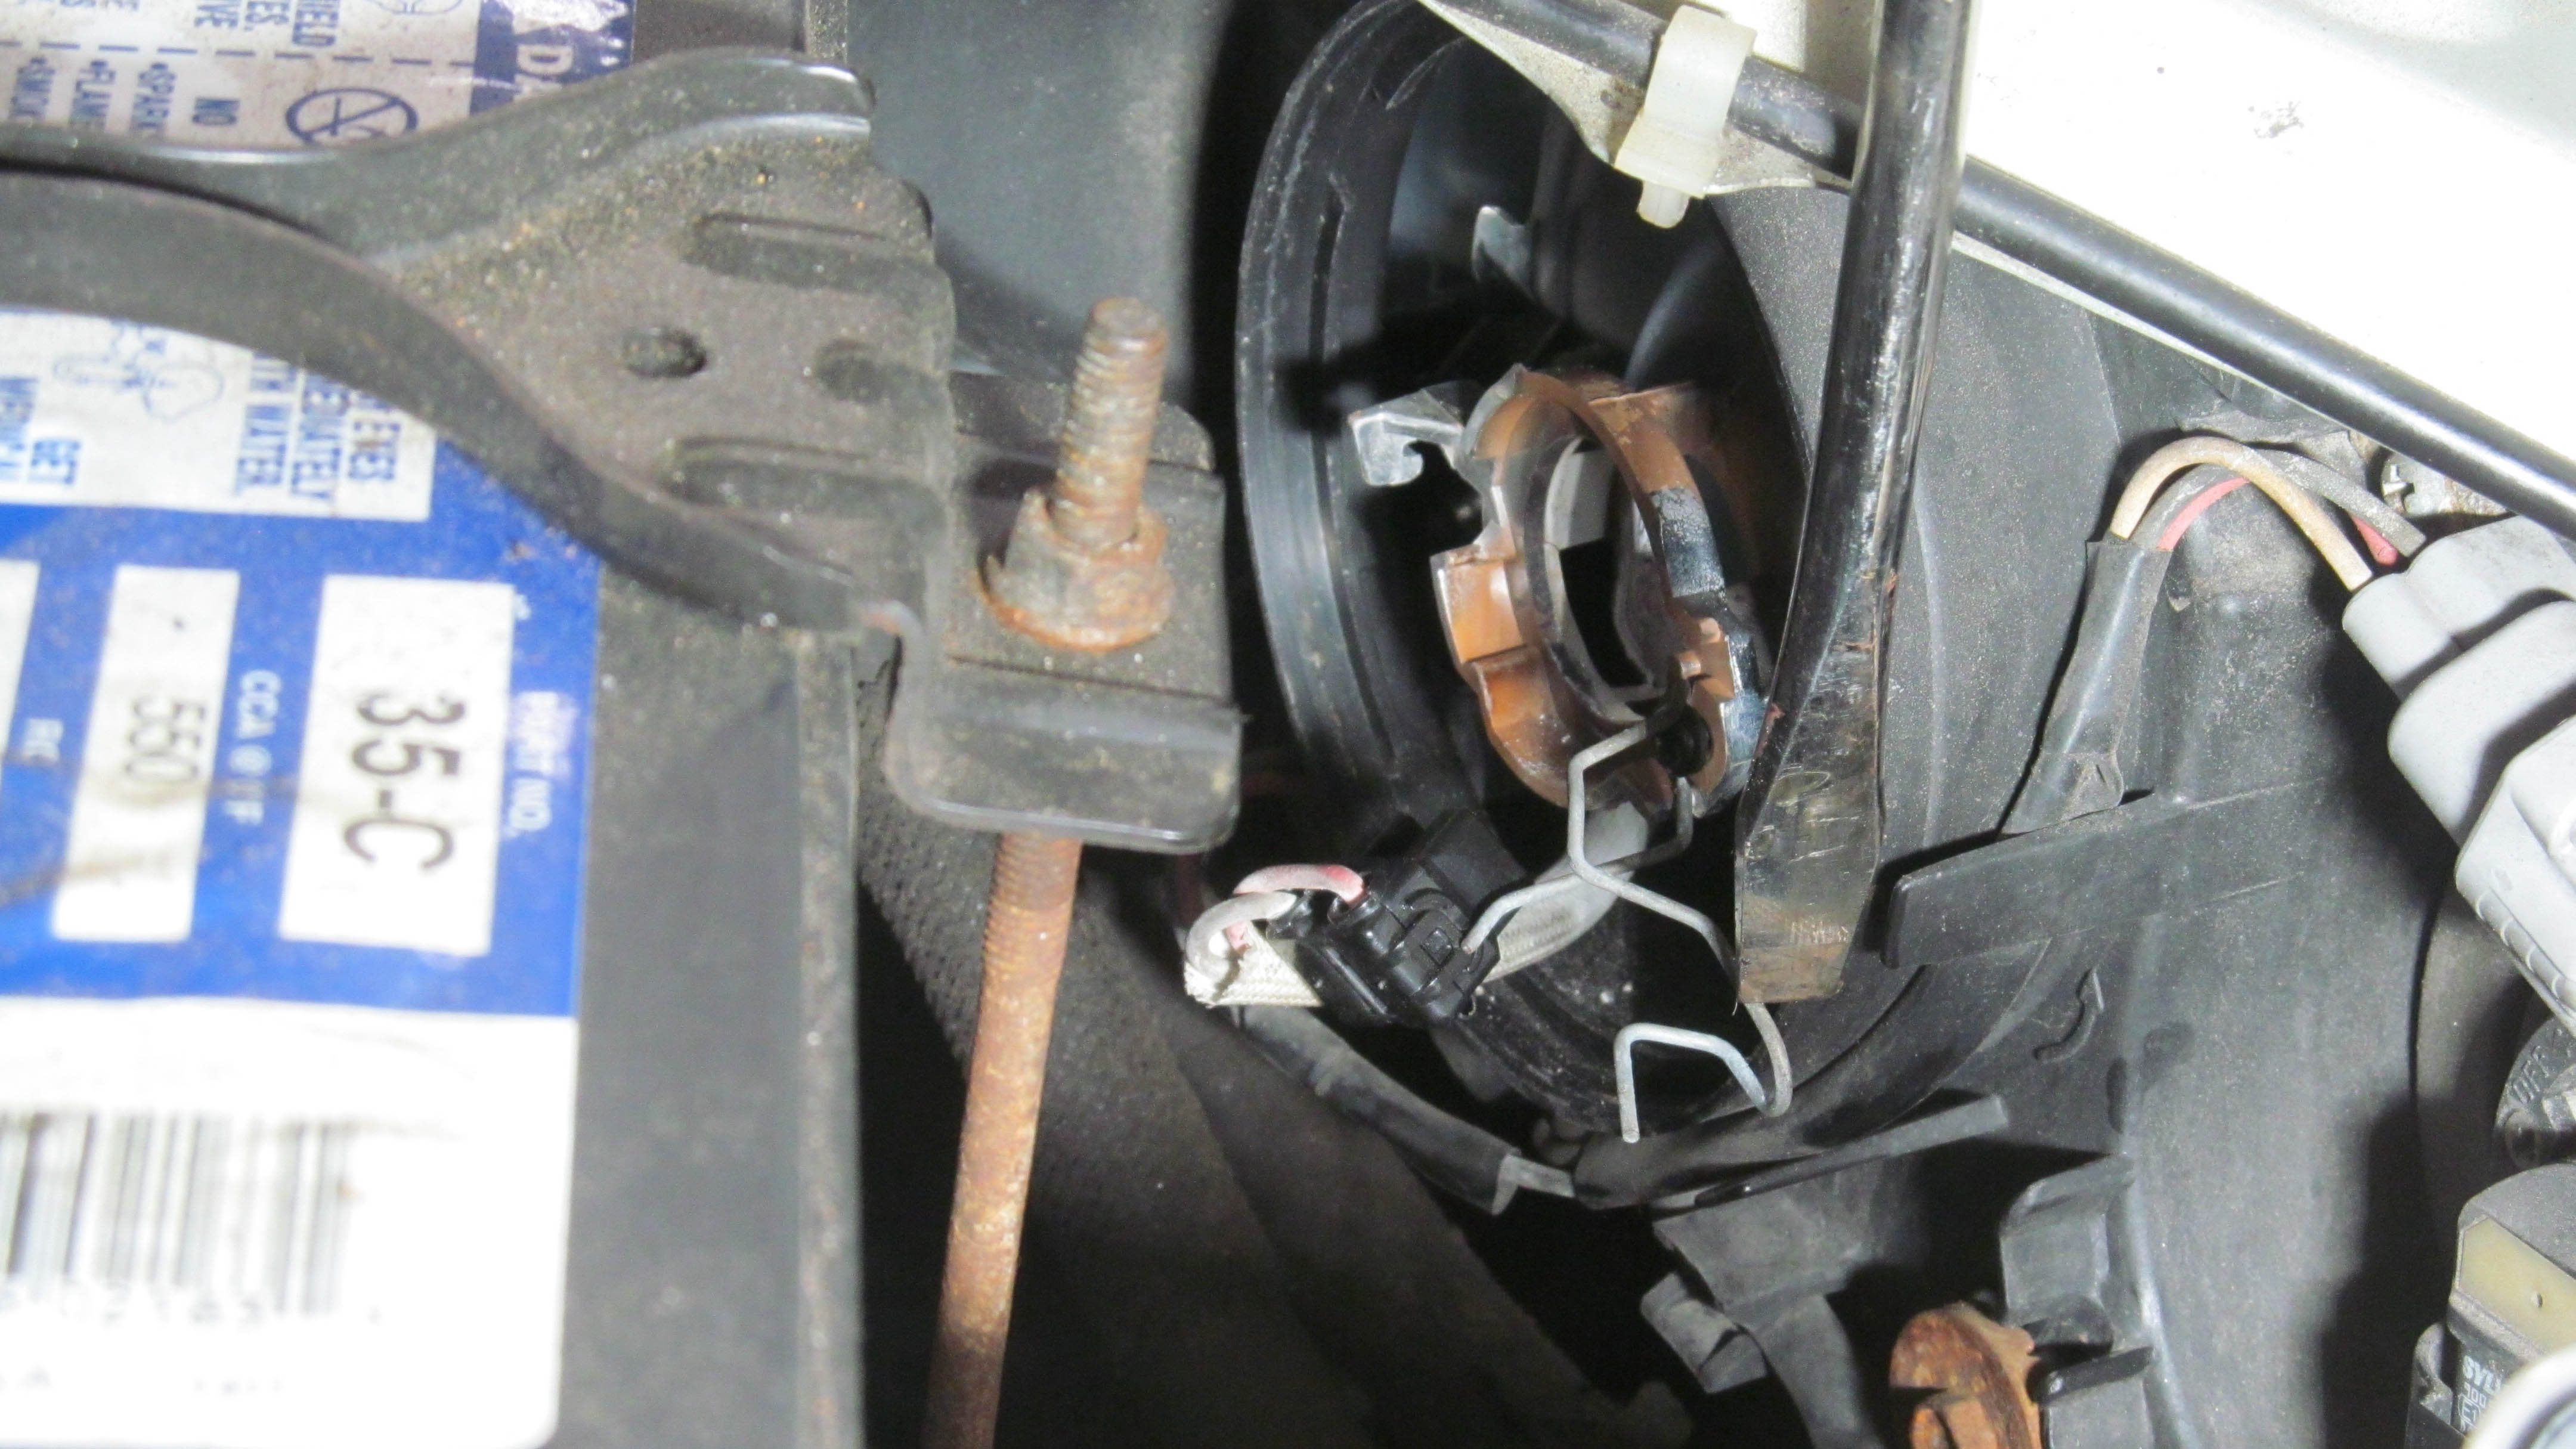
Remove the clip that holds the bulb in the headlight assembly, and carefully remove the headlight from the harness.
-
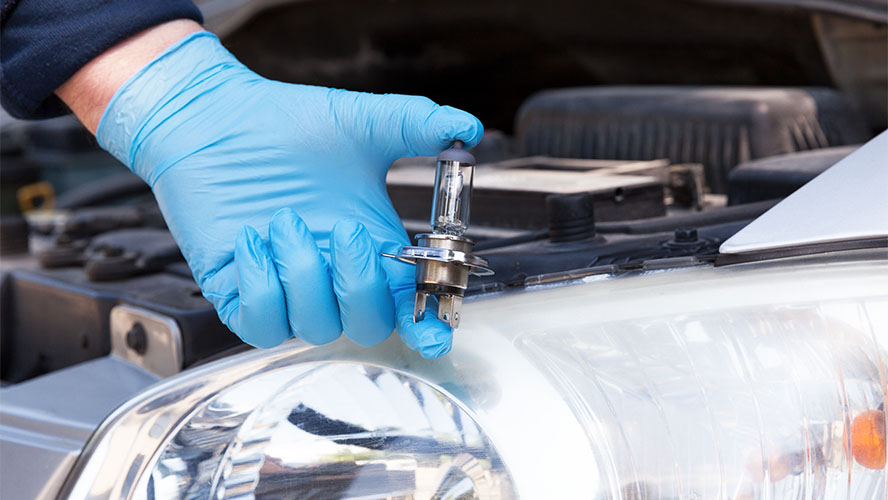
Wearing a cotton glove, carefully insert the new bulb into the harness.
-
Reinstall the clip that secures the bulb in the harness and push the harness into the back of the headlight. Twist it into place so it locks.
-
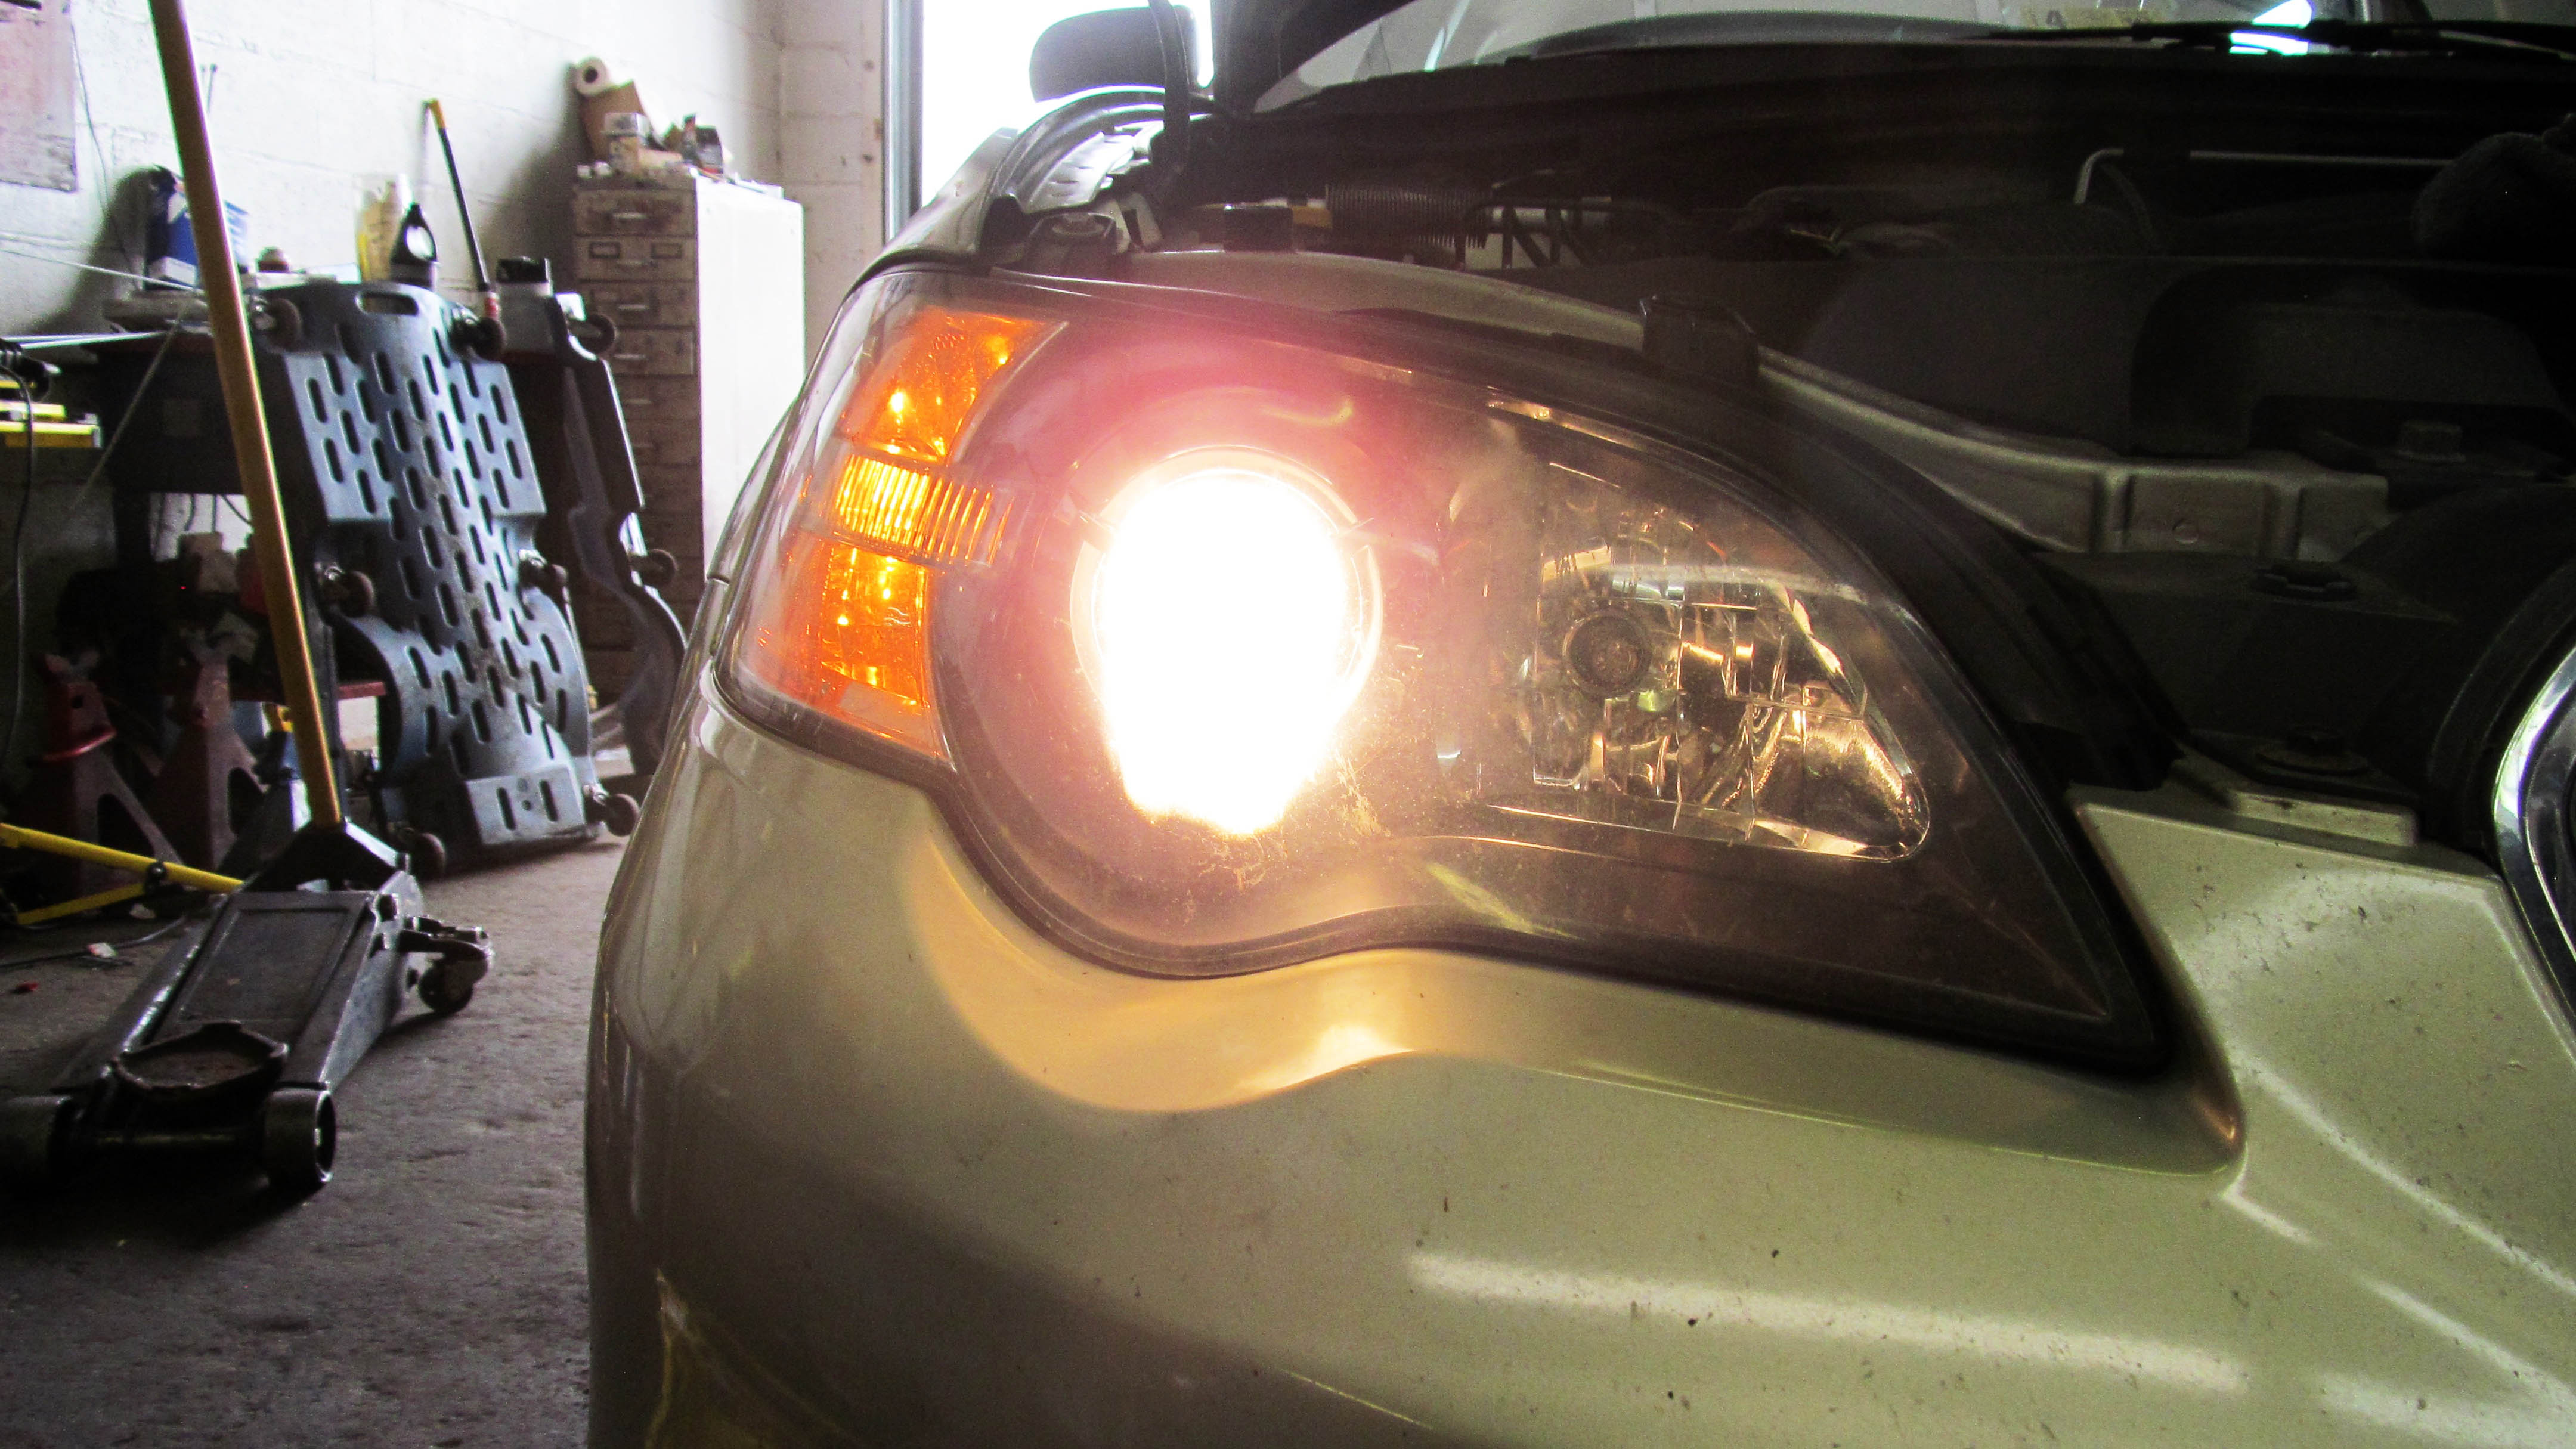
Turn on the headlights to make sure they're working.
-
Remove any frames, mounting screws, and/or plates that hold the headlight in place, but don’t remove the aiming screws that enable headlight adjustments.
-
Remove the headlight and then the wiring socket from the rear of the headlight assembly. To do so, pull the socket off of the sealed beam lamp. Even on domestic vehicles, assemblies like headlights are likely to come from a foreign supplier, so you may need metric sockets for this job.
-
Plug the wiring into the new sealed beam assembly, then place it into the mounting bracket and secure with screws previously removed. Re-attach trim.
-
Turn on the headlights to make sure they're working.
Consult your owner’s manual or check under the hood at the back of the headlights to determine if your vehicle has the older style, sealed headlights or newer headlights with replaceable bulbs. If you have questions about which headlights you have or which bulbs to use, ask a Team Member at your local Advance Auto Parts.


The glove prevents oil from your skin getting on the new headlight and causing premature failure.
You're done replacing car headlights! Don't forget to make sure your headlights are aligned properly before you hit the road.
On many newer vehicles where space is at a premium under the hood, access to the rear of the headlight bucket may be limited. Other assemblies may have to be removed before you can get to the bulbs. Check your service manual for the right disassembly steps, and reverse them after the job is done.
Watch Chris Fix's Headlight Tips and Tricks Video: