For over a decade, you've seen the headlights on high-end cars such as Audi and BMW with LED daytime running lights. It looks cool, right? Then you started seeing LED halo rings on everything from Dodge Challengers to pickup trucks. How did they do that? Here's a look at how you can add this feature yourself.
What are Angel Eyes?
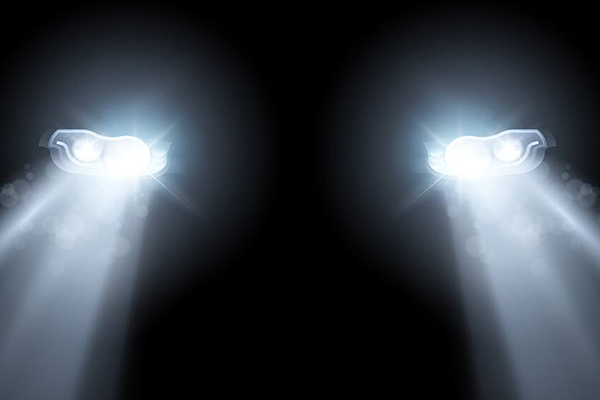
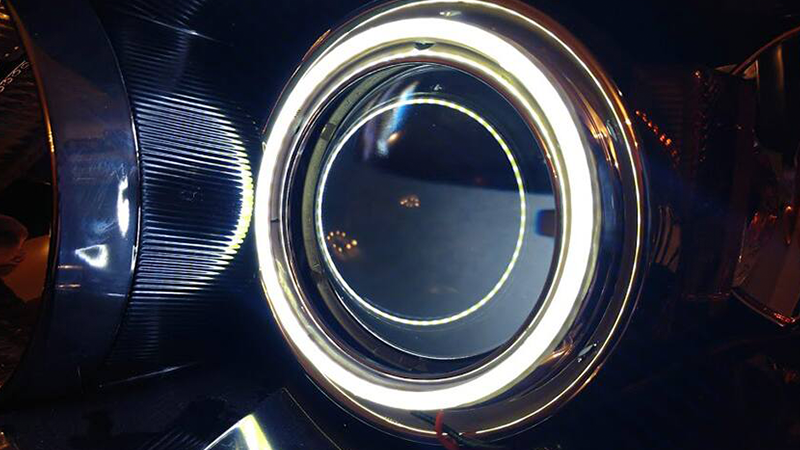
They're called many things, angel eyes, demon eyes, halo lights, and more, but they're all the same feature. This is a series of LEDs in a ring surrounding the main headlight projector. The LED ring acts as a daytime running light, or optionally can also work as turn signal, changing from white to amber when the turn signals are flashing. With low power draw, super-long life, and of course the cool looks, this is a popular upgrade.
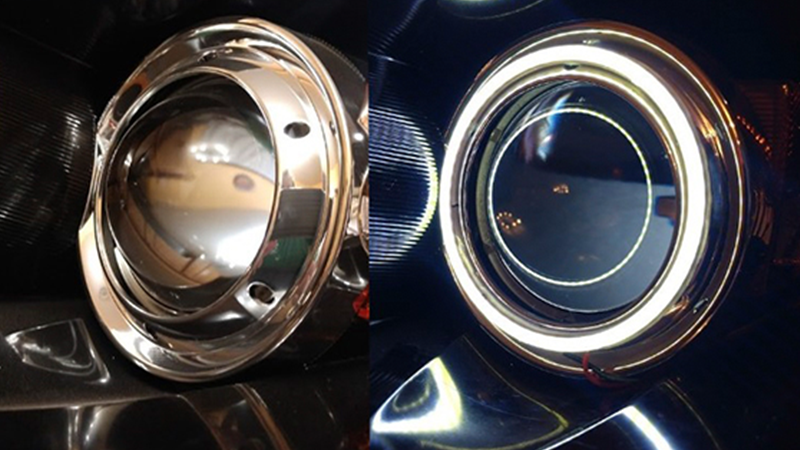
Before (left) and after (right) | Andy Jensen
The Quick & Easy Solution to Angel Eyes
The simplest step to add LED halo rings is swap out the entire headlight housing for an upgraded aftermarket unit. Just plug your vehicle information into Advance's online catalog and search “halo." This search will pull up some aftermarket tail lights, but also displays the wide assortment of LED halo headlights available. You'll see they often have a dramatic modified look, with projector headlights, and chrome bits to significantly change the appearance of your front end.
Note: Check your local laws before buying anything that might get you a ticket, like smoked housings or different color turn signal indicators.
These headlights are the easy solution since they swap out as a single component. Look here for upgrading and swapping out headlights. You'll need basic tools and around an hour per headlight, but the job is easy enough for most DIYers and gets you angel eyes right out of the box.
The Custom Solution
Alright, so you searched above and didn't find any LED halo ring headlights for your ride? No worries, you can still add angel eyes yourself. This takes some work, looks a bit messy and requires patience, but we'll walk you through it.
Note: This only works on modern vehicles (around 15 years old at most) with round projector style headlights in a plastic housing. Reflector style, like the headlights on a 1993 Nissan 300ZX or 1986 Ford Mustang, will need retrofitted with a projector first.
This is a project that needs some know-how
-
Take Apart Headlight Housing
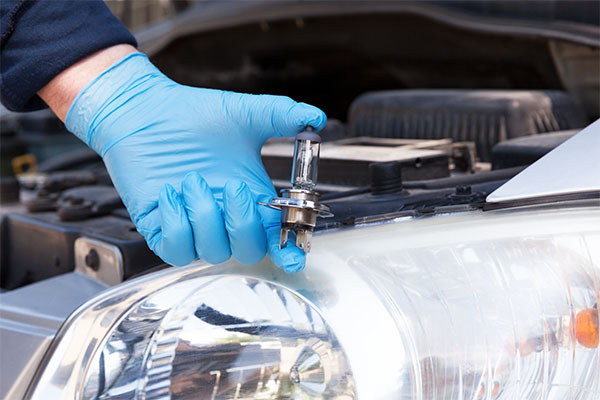
Pull the bulbs out of the housing, being careful not to touch the glass. The bulbs can handle the heat later on, but removing them here helps evenly distribute the heat inside the headlight. Leave any LEDs and other HID components attached for simplicity.
Source | Andy Jensen
-
Remove the screws running through the back of the housing with a Phillips screwdriver. Use a small flat blade screwdriver to carefully pry open the fastening clips that keep the clear plastic cover over the rest of the headlight components.
-
Preheat an oven 220 to 240 degrees Fahrenheit, then insert the headlight for 20 minutes. Remove from the oven with heat-resistant or mechanic's gloves.
-
To open the headlight housing, start at the bottom of the headlight to avoid leaving any visible pry marks. Insert a screwdriver at the bottom corner, and turn it to start the spread. Insert snap ring pliers and carefully work the perimeter of the housing open. Ensure the tabs stay released as you move down the light.
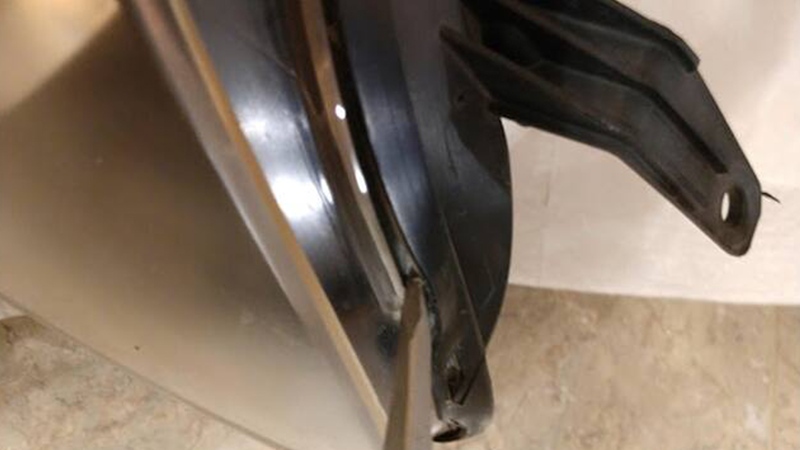
Source | Andy Jensen
-
Use a small screwdriver to flatten the factory sealant while it is still warm. You don't need to remove it.
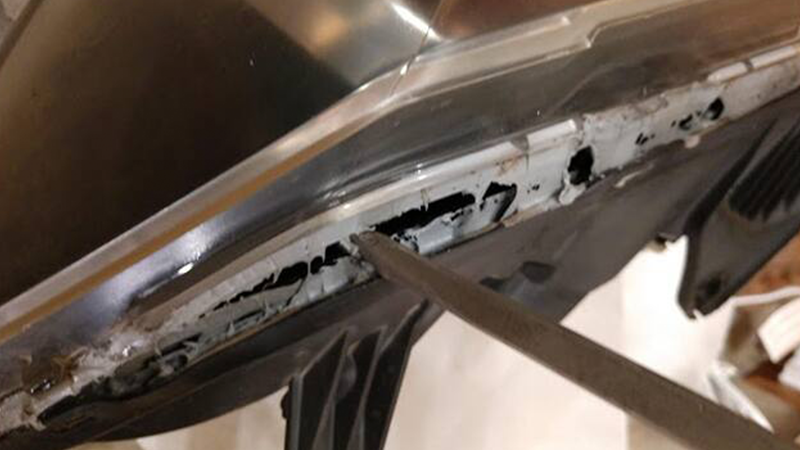
Source | Andy Jensen
-
Adding the LED halo rings
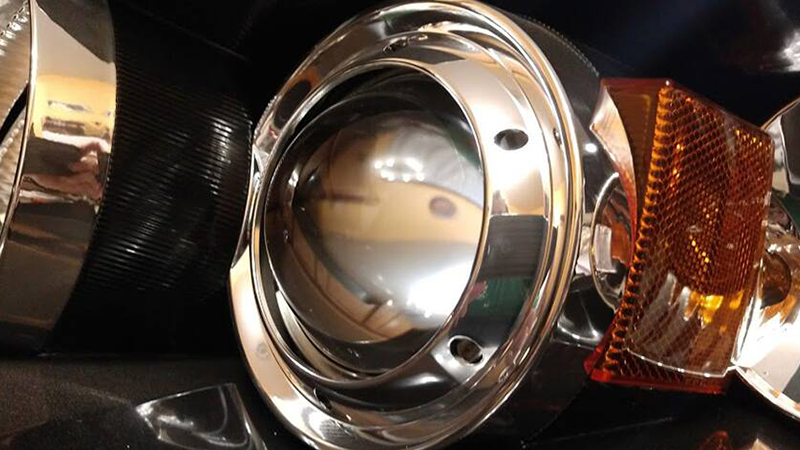
Once the headlight parts are cool enough to work on, it's time to attach the LED halo rings. Styles vary by the brand, with the more affordable version simply using a super-sticky version of double-sided tape, while more expensive versions require drilling a tiny hole into the projector, fitting a bracket, then the LED ring, and bolting it all together. The LED ring pictured here is a peel-and-stick variety that surrounds the projector.
-
Run the wiring through the back of the housing, through an existing hole or gap, or by drilling a tiny hole. The black wire is the ground, while the red is for power. Run the black wire to the nearest bolt going through the vehicle body, and route the red to a positive power source. You can select how you want the LED ring to operate: independently of the headlights, only when the engine is on, or switched on/off through a switch in the cabin.
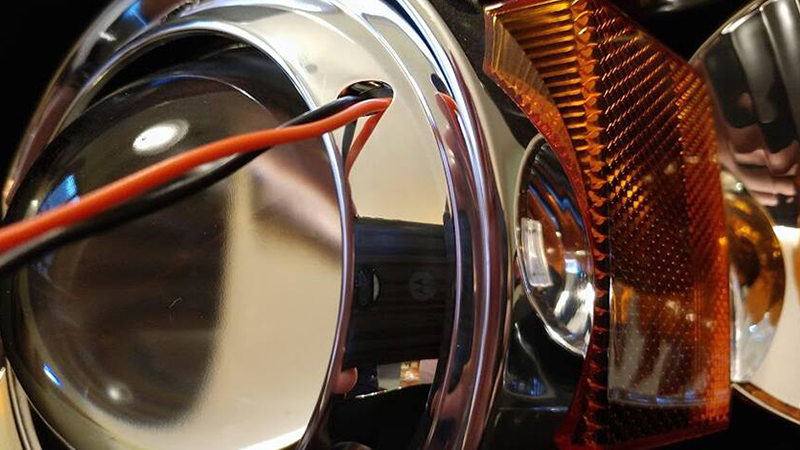
Source | Andy Jensen
-
Resealing the Headlights
Use silicone sealant to seal it back together. Look for heat and weather resistant. Warm the headlight for a few minutes to get existing sealant warmed up and stretchy. If using butyl sealant, warm it for two or three minutes in the preheated oven, then lay down a single bead around the headlight. Press it down as much as you can. Silicone doesn't need a pre-heat, so just lay down a thin continuous bead.
-
Put the headlight back into the oven for five minutes. Remove, and take flat blade to the warmed up new sealant, ensuring a consistent surface, and getting it into any missed parts of the channel.
-
Reattach the clear headlight cover to the rest of the housing. A can of compressed air sprayed into the bulb holes helps clear out any debris and dust.
-
Plug the bulbs back in, and test by connecting power. This lights up for a final check if you got everything clean.
-
While the headlight is still warm, use spring clamps around the perimeter, and put the screws back in. As the clear lens cover slides into place, some sealant might push out, but just leave it to dry. Secure the tabs, and let the headlight cool for 30 minutes. Pull the excess sealant while it is still tacky. The headlight is now ready to reinstall.
Source | Andy Jensen