What Is Rack and Pinion Steering?
Rack and pinion steering is one of two types of steering systems in use on motor vehicles. When a rack and pinion assembly wears, steering feel and capability diminishes. We'll explain how rack and pinion steering works and then go into how wear in the steering rack shows itself. We'll also take you through the basics of rack and pinion replacement.
This type of steering system uses a pinion gear at the end of the steering column turning against a geared rack, which is just a toothed metal bar. The steering column turns when you turn the steering wheel, causing the pinion also to turn. The pinion gear engages with the rack and moves the rack in the direction and amount required to make the turn you desire.
Power vs. Manual Steering
Steering can be either power or manual, with most last-model cars (since the mid-70s) having power steering. Until recently, this power assist was delivered by hydraulic pressure and a pump that's driven by the crankshaft and a drive belt. Engineers, however, have begun to replace hydraulic systems with electrically assisted power-steering assemblies. An example of a vehicle with electric power steering is the 2013 Ford Explorer, featured in the pictures below.

Source | Mike Aguilar
Does Your Car Need a Rack and Pinion Replacement?
Excessive play in the steering wheel is one of the major giveaways of a worn rack and pinion assembly, whether it's a power or manual unit. Hydraulic units can also leak, either internally increasing the resistance to your steering input or externally splattering fluid all over your car and driveway. Electric units will either start “growling/whining," lose power assist, or lock up completely. Vehicles that require a state safety inspection may fail if the power steering has failed or has a significant leak.
This is a challenging and technical project
-
Raise and support the vehicle with jack stands under the frame rails behind the front wheels after blocking a rear wheel.
-
Disconnect the steering joint between the steering column and rack and pinion assembly. Do not allow the column or wheel to turn while the joint is disconnected. The image above shows a steering universal coupler on the left and a rag joint on the right. I'm pointing to what is called a pinch bolt in the image on the left. This is all that needs to be removed to separate the column and input shaft. Both bolts in the right-hand image need to come out, after which you need to use a small chisel to open the bottom of the joint. Use a large screwdriver to pry the joint away from the steering rack input shaft.

Source | Mike Aguilar
-
Using a flare nut wrench as pictured, remove the two power-steering hoses on the rack and pinion assembly. Make sure the pipe does not spin with the fitting. Soak it with penetrating oil and rock it back and forth if it does.

Source | Mike Aguilar
-
Measure the distance between the bellows boot to the inside of the tie rod locknut on both sides of the vehicle. I also like to measure the distance between the inside edge of the tires. Write these numbers down.

Source | Mike Aguilar
-
Use an open-end wrench to crack the tie rod locknut loose. Remove the cotter pin in the castellated nut (I use pliers or wire cutters) and remove the nut with a wrench. Smack the side of the steering knuckle with a hammer to loosen the tie rod stud.

Source | Mike Aguilar
-
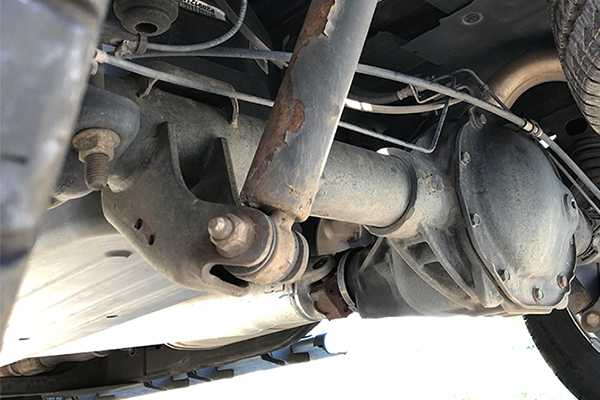
At this point, the location and ease of access on what needs to be disconnected can vary among vehicles. Here's an example of what needs to be done on a Toyota Tundra after removing the outer tie rod ends. No. 1 is the steering shaft connector. No. 2 is the two power-steering fluid lines from the pump. No. 3 is the three mounting bolts.

Source | Mike Aguilar
-
Remove the old rack and pinion and compare it with the replacement unit to ensure proper fitment. There may be mounts that you will need to transfer from the old unit to the new one, such as the Camry rack pictured above.

Source | Mike Aguilar
-
Install the new rack and pinion assembly and loosely install the rack mount bolts.
-
Reinstall the fluid lines, replacing any O-rings with those supplied with the new rack. Reconnect the steering column to the input shaft. Torque the rack mount bolts.
-
Reinstall the tie rod ends using the measurements from above and tighten the locknut. Torque the tie rod nut and install the new cotter pin in the tie rod castellated nut. Do not reuse old cotter pins.
-
Use the measurement from above and adjust the tie rods. Tighten the tie rod locknuts.
-
Replace the wheels and lower the vehicle.
-
If your vehicle is equipped with power steering, you will need to know how to bleed the power-steering pump after allowing all the old fluid to drain out during the replacement process. Refill the pump until the level no longer goes down. Check your owner's manual or repair manual to determine which fluid you need. Some use power-steering fluid, while others use automatic transmission fluid. Start the engine and slowly turn the wheel to both left and right lock positions, refilling the reservoir as needed. This bleeds, or purges the air from the system. You may hear a growling sound until all the air bubbles have been purged or bled from the system.
-
Get an alignment.
To keep the steering column stationary while disconnecting the joint, try extending the seatbelt through the steering wheel and buckle it. A bungee cord secured to a fixed object inside the cabin can also help.
Although rare, there are vehicles that require lowering the K-frame or crossmember at least a few inches in order to create the required clearance for rack and pinion repair. The repair manual for your car will include this step if it's necessary.
Some projects may be too challenging or time consuming to tackle at home, and that’s why we partner with trusted, professional shops that are ready to get you back on the road. Use our directory to find a qualified technician near you.