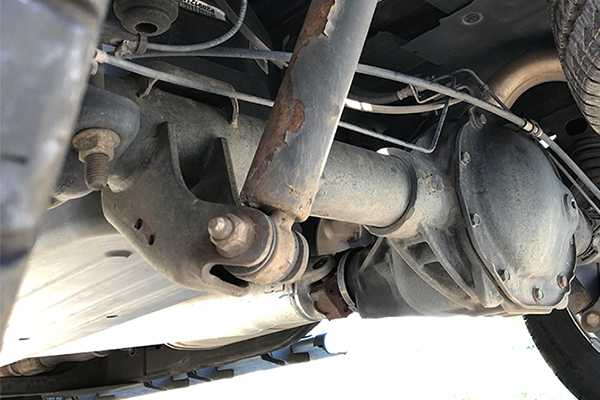
Struts are an integral component of your vehicle’s suspension system, and kind of important if things like handling, stopping, and riding in comfort matter to you. An easy way to define or think about the function of a strut is to picture a shock absorber and coil spring combination, working together to smooth out bumps in the road.
Struts are wear items, since they're the ones absorbing countless bumps in the road. That's why some experts recommend replacing struts on a car every 50,000 miles. Improved handling, shorter stopping distances, and a smoother ride are the benefits you realize from changing struts.
If your higher mileage vehicle has the following symptoms, it may be time to replace your struts:
- Excessive bounce after encountering a bump in the road
- Swaying from side to side
- The front end diving downward when braking
- Fluid leaking from the strut when parked. A strut that’s leaking fluid leaves no doubt as to when to replace struts on a car.
And remember, just like brakes, you should be replacing your struts in pairs.
This is a project that needs some know-how
-
Loosen, but don’t remove, the front tire’s lug nuts.
-
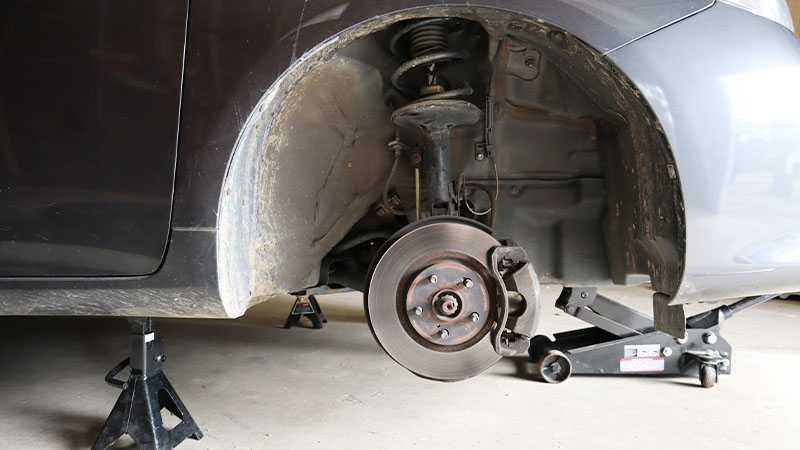
Jack up one side of the vehicle and place a jack stand underneath to secure it.

-
Remove the lug nuts and wheel.
-
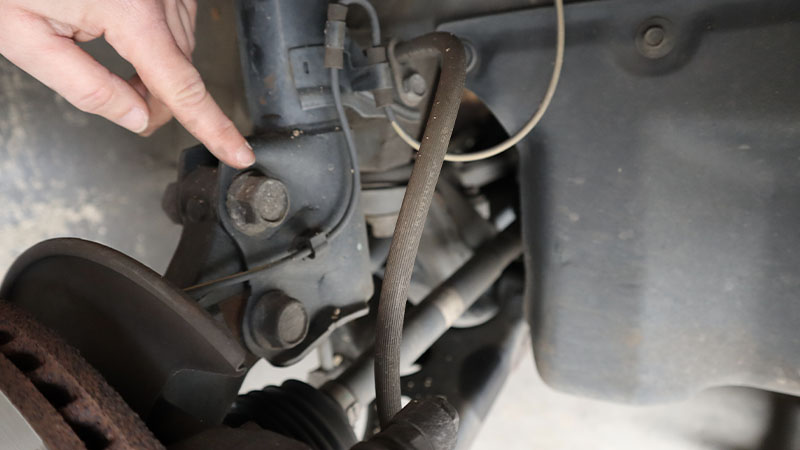
Locate the stud and look for any brake lines that may be fastened to it. If there are, carefully remove the brake line and its fasteners without damaging them.

-
Unscrew the bolts that are on the bottom of the strut connecting it to the wheel/steering components. You may need to use spray-on penetrating oil, a socket and breaker bar, and box wrench to remove stubborn bolts if they’re rusted.
Depending on your vehicle, there may also be a sway, anti-roll or stabilizer bar that needs to be removed.
-
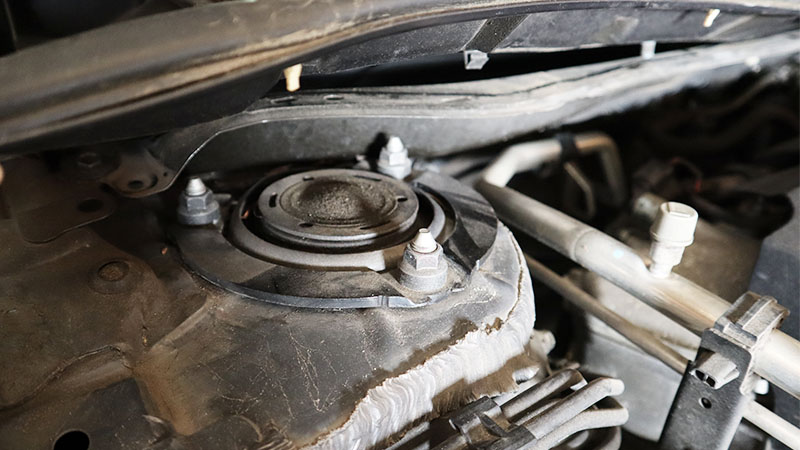
Open the hood and locate the top of the stud where it’s attached to the vehicle. On many vehicles, it will appear as three bolts in a circular pattern around a center bolt. Do not remove the center bolt as the strut is compressed under high pressure and loosening the center bolt will allow it to fly loose, damaging anything in its path. Remove the three bolts surrounding the center bolt.
At this point, it may be helpful to have a partner holding the strut to keep it from falling and possibly damaging other components like flexible brake lines and boots.
-
Remove old strut assembly from the wheel well, avoiding contact with the CV axle or drive axle so you don’t damage them.
-
Install the quick strut following the manufacturer’s directions.
-
Repeat the procedure for changing struts on the vehicle’s other side.
-
Take the vehicle for a low-speed test drive. After confirming your repair, head down to your trusted repair facility for an alignment.
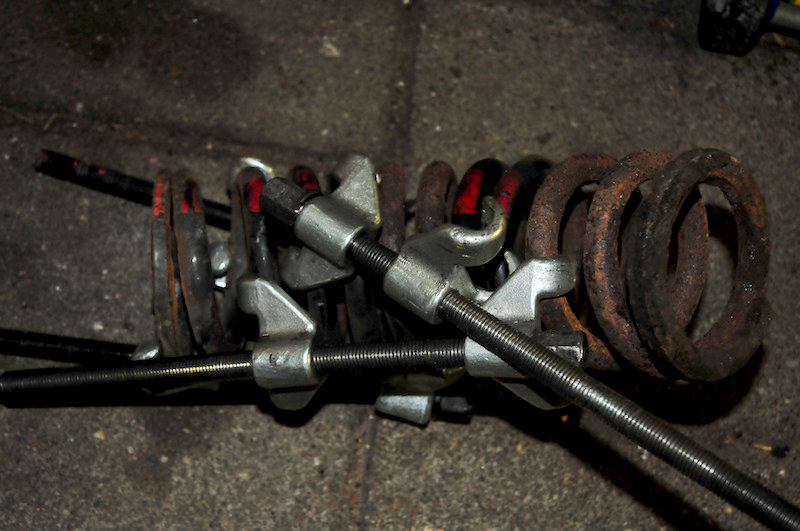
We recommend complete strut assemblies, which include the strut with the coil spring. Because this eliminates the need to compress the spring during strut removal, the job becomes much safer, easier and quicker.
Some projects may be too challenging or time consuming to tackle at home, and that’s why we partner with trusted, professional shops that are ready to get you back on the road. Use our directory to find a qualified technician near you.